

Fresh from the Oven
Another Baking Day at the Casa de Wicker. I recently came across an internet article for something that looked interesting — Parker House Rolls. Problem was that the recipe provided used six cups of flour and made way too many rolls, 3½ dozen to be precise. The original Parker Omni recipe also seemed unnecessarily complicated and tedious. For instance I hate hand-kneading when I can get the same results much more quickly and efficiently through mechanical means.
Thus it was time to get inventive. First I would have to reduce the amounts. Then I would need to come up with an alternative method of mixing all the ingredients together. What I came up with is super simple, incredibly easy, and very tasty. The amount came out to a baker’s dozen, a perfect amount for a family of two for breakfast with a half-dozen more available for freezing and later use.
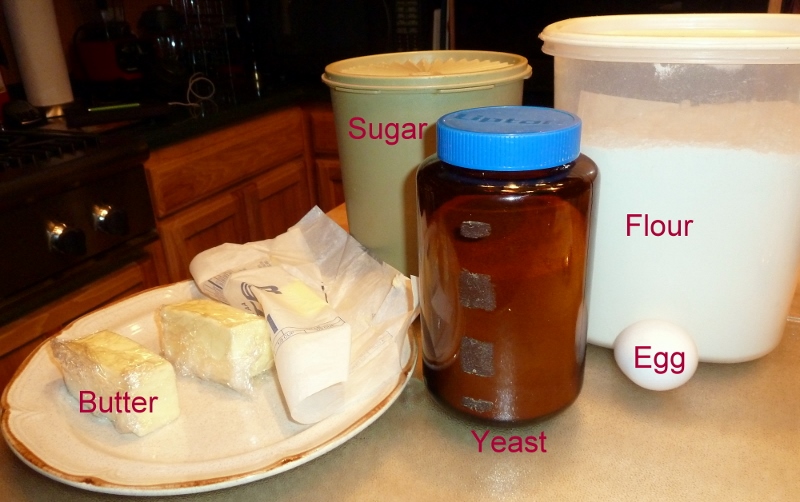
Parker House Rolls Ingredients
What you’ll need:
- 2 cups general purpose flour
- 2 ½ tbsp. sugar
- ¾ tsp. salt
- 1 ½ tsp. yeast
- 3 tbsp. softened butter
- 1 ½ tbsp. beaten egg
- ⅔ cups hot water straight from the tap
- Another 3 to 4 tbsp. butter for later in the recipe
- More flour for rolling out the dough and forming the rolls
Step 1: Assemble your food processor with the plastic dough blade. Place the flour, sugar, salt, yeast, and 3 tablespoons of softened butter into the food processor. Pulse the food processor until all ingredients are combined.
Step 2: Pulse into the above ingredients the ⅔ cups of hot water and the 1 ½ tablespoons of beaten egg. Scrape sides as necessary. Keep pulsing until the liquids are completely incorporated and the mixture forms a uniform dough.

In the Food Processor
Step 3. Place the dough into a buttered bowl and turn the dough so that it is fully greased on all sides. Cover the bowl and allow the yeast to do its work at a temperature of between 80° and 85° (27° to 29° Celsius). I place mine in a warmed oven and regulate the temperature accordingly. Let the dough rise for about 1 ½ hours.
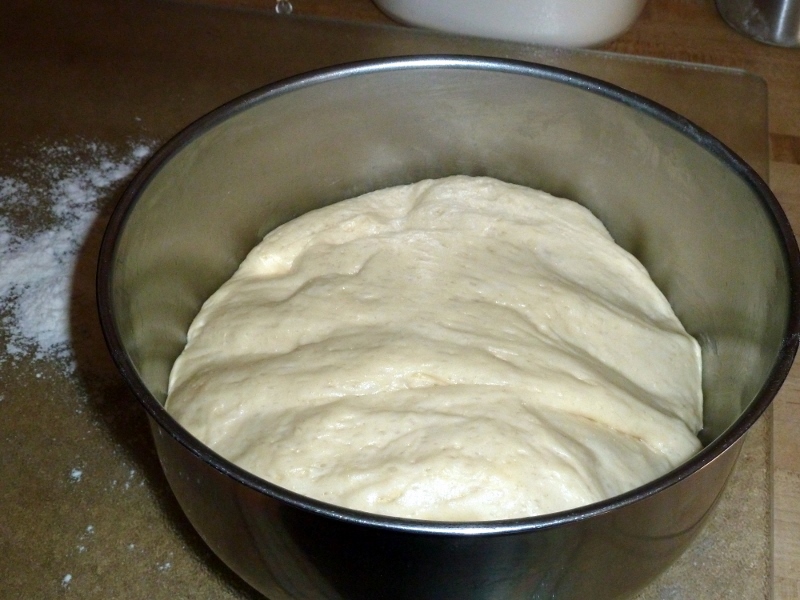
Step 4. Turn the dough out onto a floured surface and form into a tight ball. Cover the dough ball with the inverted bowl and let rest for about ten minutes or so.

After Proofing — Form into a Ball
Step 5. While the dough is resting, place a baking sheet over low heat and melt onto it about 3 tablespoons of butter. Smear the melted butter around the baking sheet.
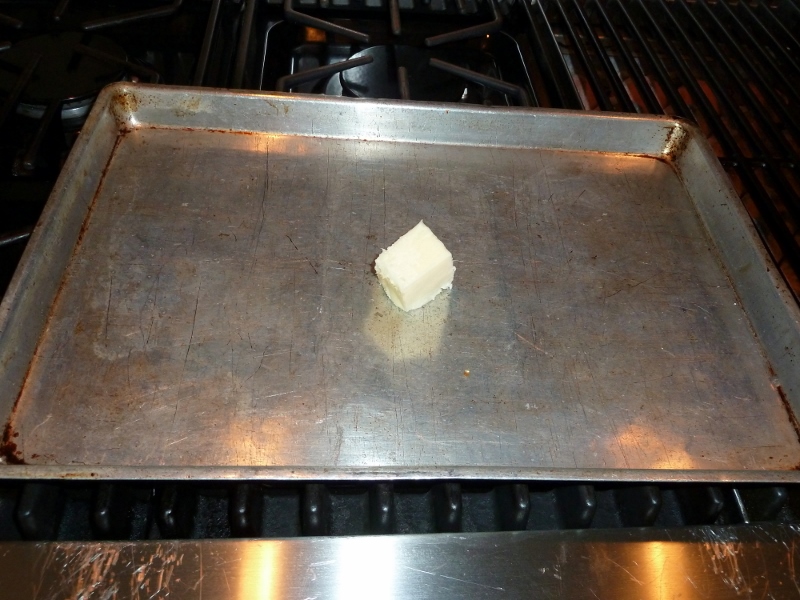
Heating a Baking Pan
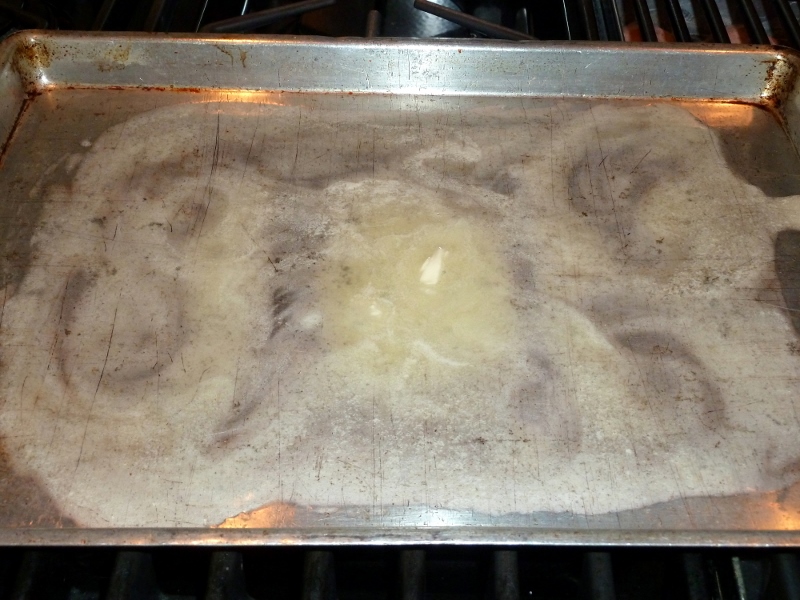
Melting the Butter
Step 6. Roll the dough out to a thickness of ½ inch (1.25 centimeters). Cut the dough into 2 ¾-inch (7 centimeter) rounds. Dip the rounds into the melted butter, coating both sides, and fold. I find the rounds fold a bit more nicely and hold together better if I stretch them slightly into an oval shape. Arrange the folded rolls in rows with the rolls slightly touching. Don’t worry about the rolls sticking together. They come apart quite nicely after the baking.
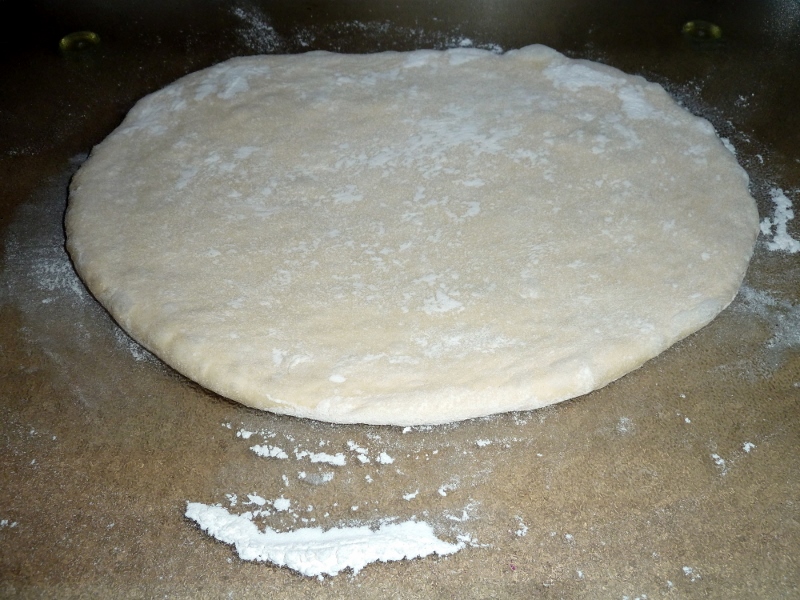
Roll Dough to ½-Inch

Cut into 2¾-Inch Rounds
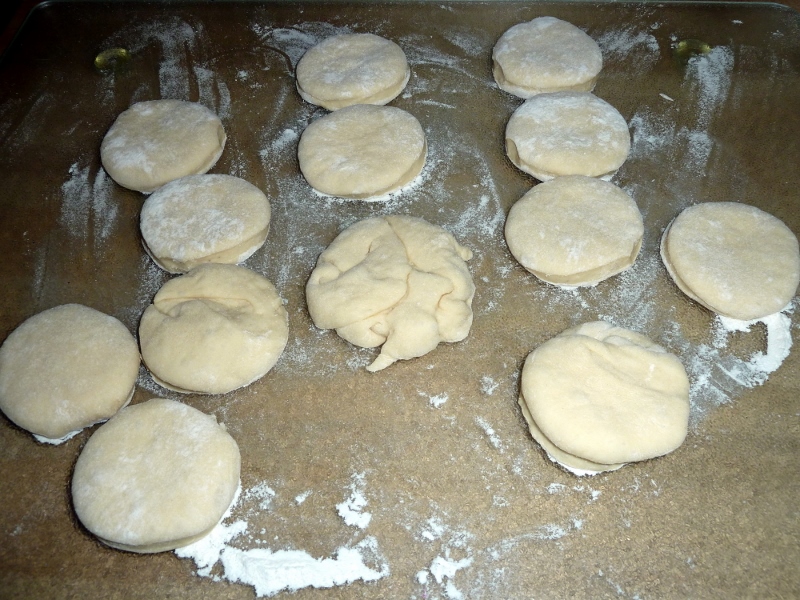
Ready to Fold
Step 7. Cover the rolls and return them to the warmed oven for another rise of about forty minutes. While this is going on heat your other oven to 400° (205° Celsius).
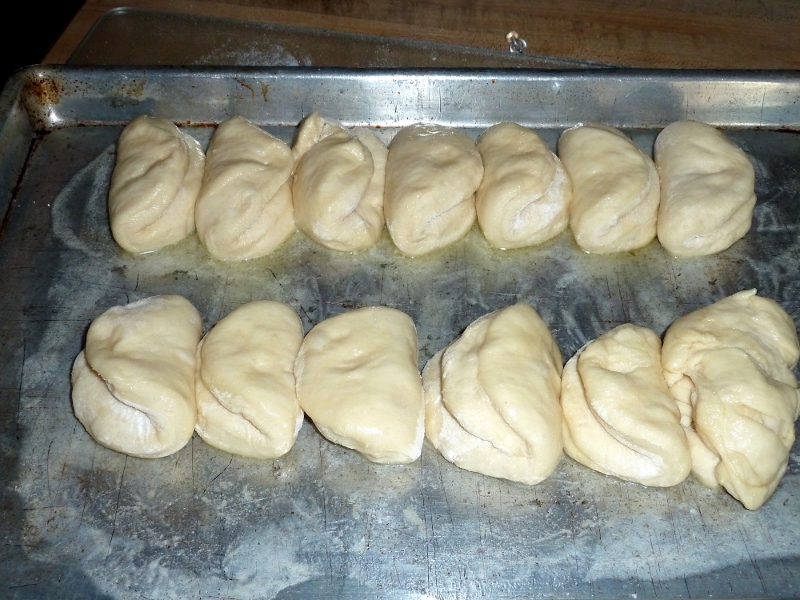
Dipped in Butter and Folded
Step 8. Uncover the risen rolls and place into the hot oven for between 15 and 18 minutes (16 minutes worked perfectly for me) until the rolls are nicely and uniformly browned.

40-Minute Rise
You’re done. Serve warm with more butter, your favorite jam or jelly, or dripping in honey.
400° at About 16 Minutes
My Swiss-born and raised wife Ursula who lives for European-style breads positively loved these light, fluffy, and slightly sweet rolls. The buttery taste is vaguely reminiscent of the French croissant, but Ursula actually preferred the taste of these rolls. That’s high praise indeed coming from a European.

Going Fast!
At any rate I would use these rolls in place of most biscuit applications not involving gravy. As such they’re definitely going to find a place at our table come next Thanksgiving Day. They’re just too easy to make and too tasty to forgo for a meal that special.
Freezing and Reheating Tips: Tightly cover each individual roll in plastic wrap and place them into a freezer bag. When ready to use defrost overnight in the refrigerator or on the counter for about an hour. Unwrap and place the defrosted rolls into a steamer basket and steam for five minutes. Place the steamed rolls onto a tray and put them into a 250° oven for about five minutes to take care of any residual sogginess from the steaming process.


 Decisions — Murder in Paradise
 The Globe — Murder in Luxury