
The End Result!
Eggplant parmigiana. Who doesn’t just love a really good one? Problem is that all good parmigianas are fried in oil, right? After all, if it’s not fried it’s not crisp. If it’s not crisp it’s not good.
Wrong. Here’s my version of this classic dish. It’s crisp, light, not greasy, reheats well, and once it comes out of the oven you can serve it any way you want: As is either as a side or the main star; individually topped with marinara and mozzarella and baked again; layered lasagna-style, again with marinara and perhaps ricotta and parmesan and topped with mozzarella.
I’m also going to show you the secret to removing the bitter flavor some people taste when eating eggplant. So, if eggplant normally tastes on the bitter side to you, you may still want to give this a try.

What You’ll Need
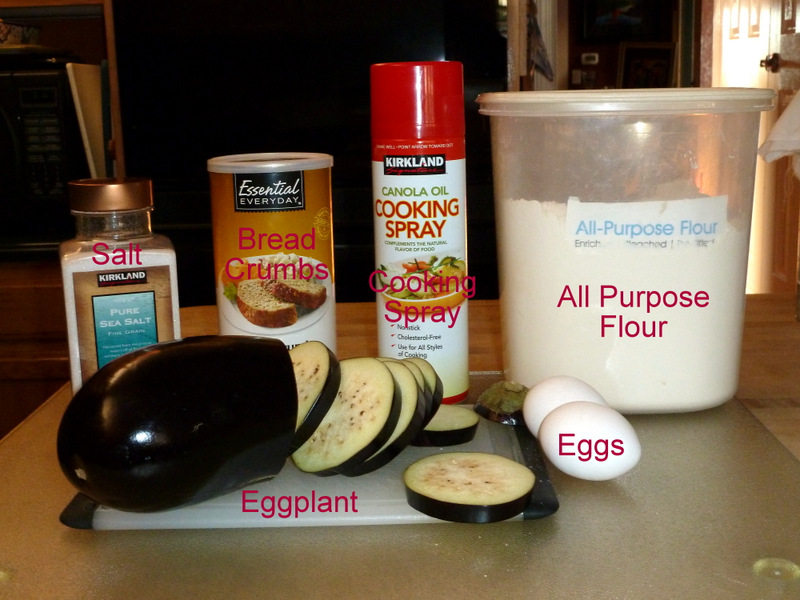
What you’ll need:
- One large, firm, fresh eggplant
- Salt . . . lots of salt
- All purpose flour
- Egg wash (2 eggs beaten with four tablespoons of water)
- Breadcrumbs (I prefer plain, although you may like Italian)
- Cooking spray
- Optionally — grated parmesan cheese
Cut the eggplant into thick slices — from ⅓- to ½-inch thick.
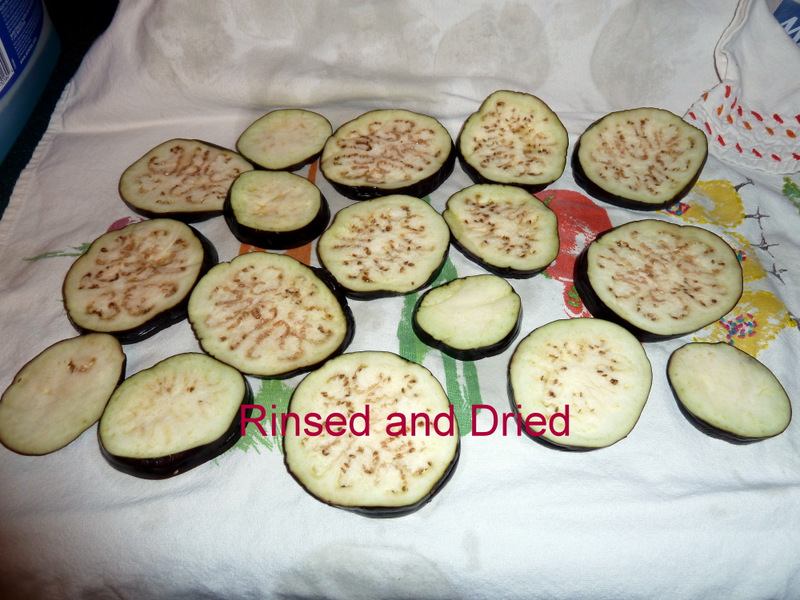
Now for that secret trick to remove the bitterness that some people seem to taste in eggplant: Liberally coat both sides of each slice with lots of salt, place the slices into a bowl or colander, and just let the slices sit for about an hour. You’ll notice that the salt seems to extract from the eggplant a darkish liquid. That’s what we’re looking to draw out. After the salt has done its job just rinse it away along with the bitterness and pat dry the slices.

Salt Away the Bitterness

Rinsed and dried
At this point you may want to mildly salt the slices again, but there will be some residual salt inside the slices so go sparingly. Dredge the slices through the flour.

Floured
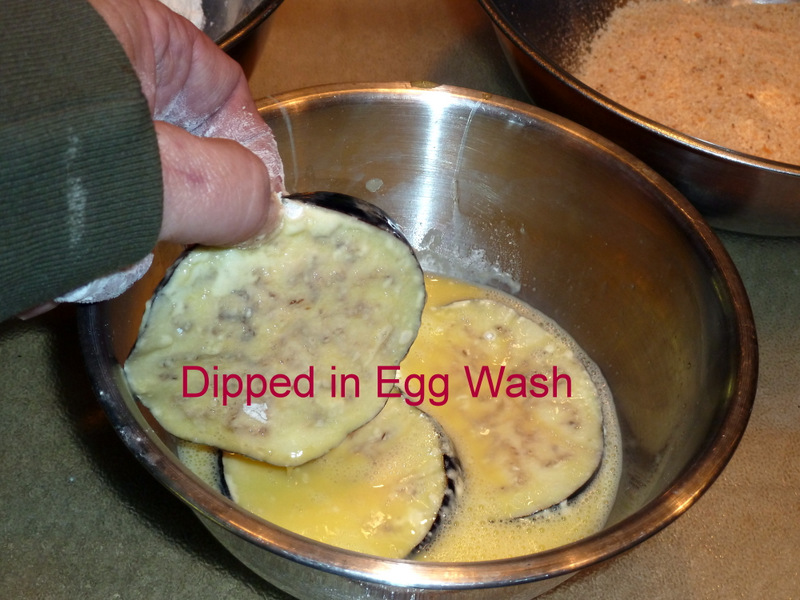
Coat both sides of each floured slice with the egg wash.

Dipped in Egg Wash
Toss the eggplant with breadcrumbs until thoroughly coated. Here’s where the optional parmesan cheese comes in — mix some into the breadcrumbs for additional flavor if desired.

Coated in Bread Crumbs
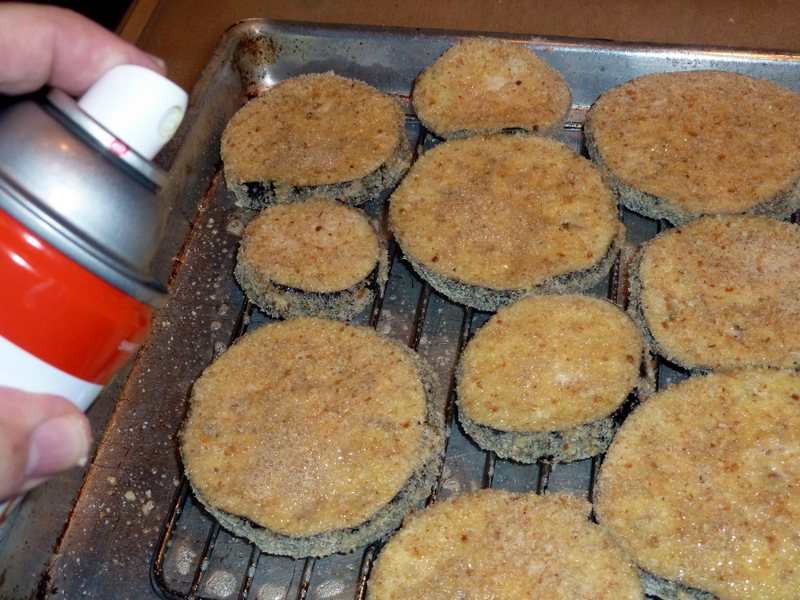
Arrange the slices onto a rack placed inside a shallow oven-proof tray. Spray the top of the slices with a layer of oil.

Sprayed with Cooking Oil
Place the eggplant, rack, and tray under the broiler, but not too close. You want the slices at least eight inches to a foot away. If your oven has a “Convection Roast” feature (in which the convection fan blows while the broiler element supplies the heat) so much the better. This is the method I use with the oven set to about 400° to 425°.
Check the slices frequently. Once they start to brown they can burn pretty quickly. When the slices are nicely and evenly browned remove the tray from the oven. Flip the eggplant slices and spray another layer of oil on the newly exposed side. Return to the oven and brown.

Flip and Repeat
Once the oven “frying” is complete remove the eggplant and use in any of several ways as mentioned above.
Wine pairing: Hey, it’s Italian. You certainly can’t go wrong with Sangiovese or Chianti Classico, right? Other options include Shiraz if you’re using a spicy marinara. Pinot Noir makes another good choice, especially if you’re going to serve the slices straight out of the oven. Tempranillo would make for a creative but workable pairing. I would tend to stay away from Super Tuscans, Bordeaux-style reds, or heartier Zinfandels as they would probably overpower the delicate eggplant flavor.


 Decisions — Murder in Paradise
 The Globe — Murder in Luxury