Random Pictures


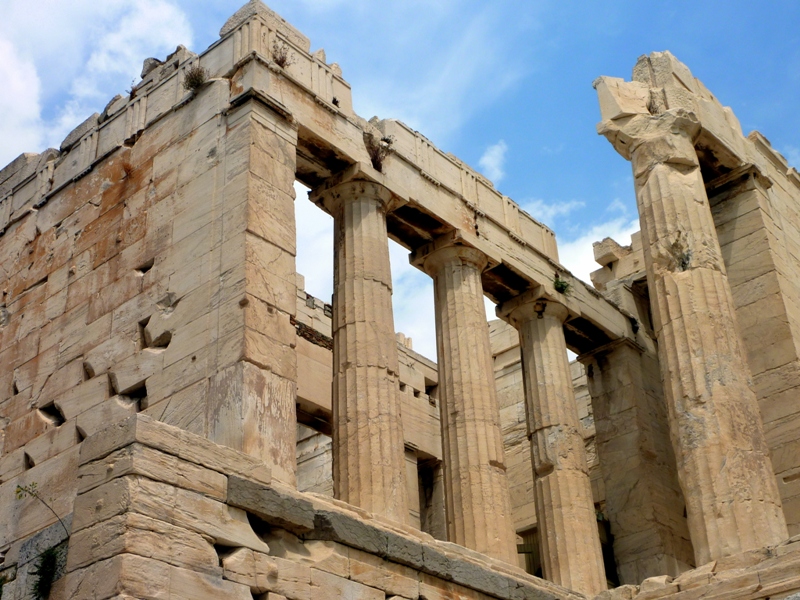
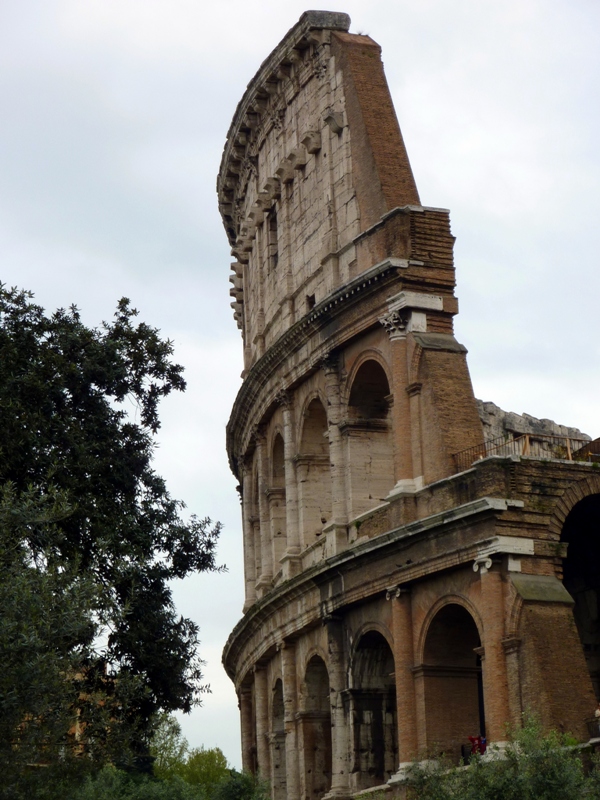
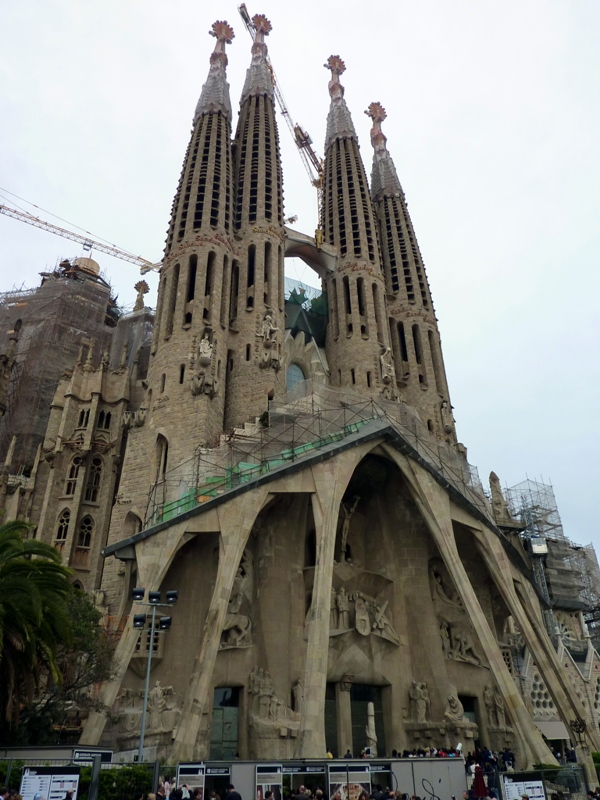
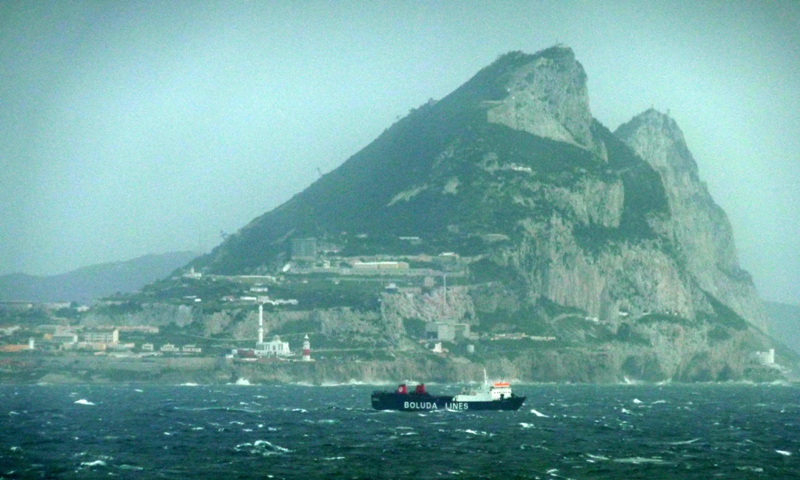
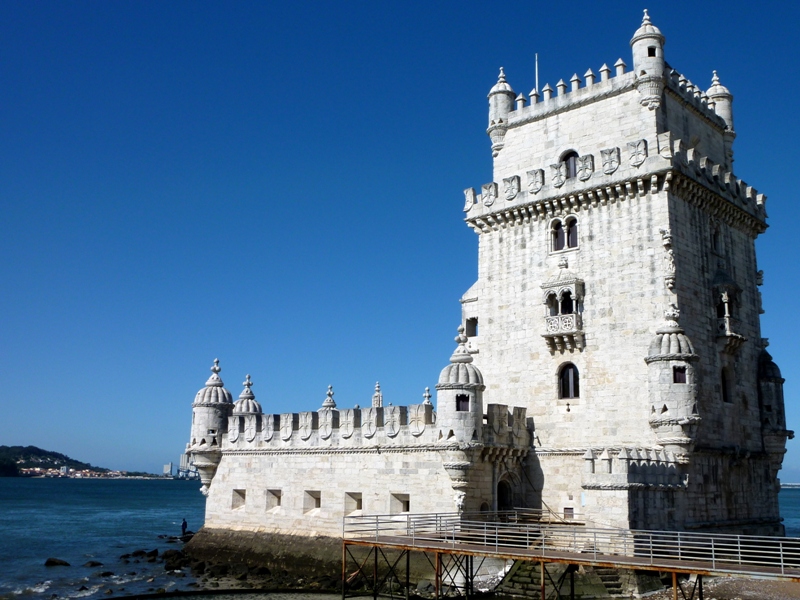
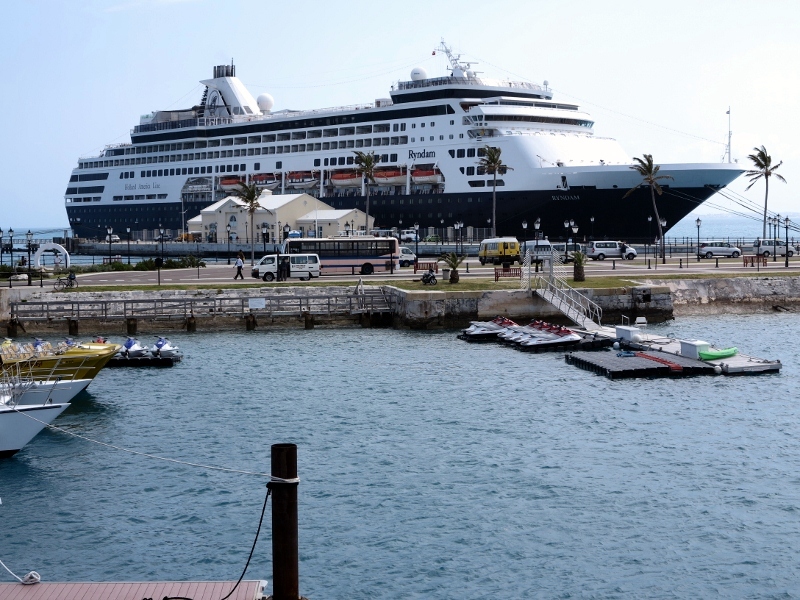
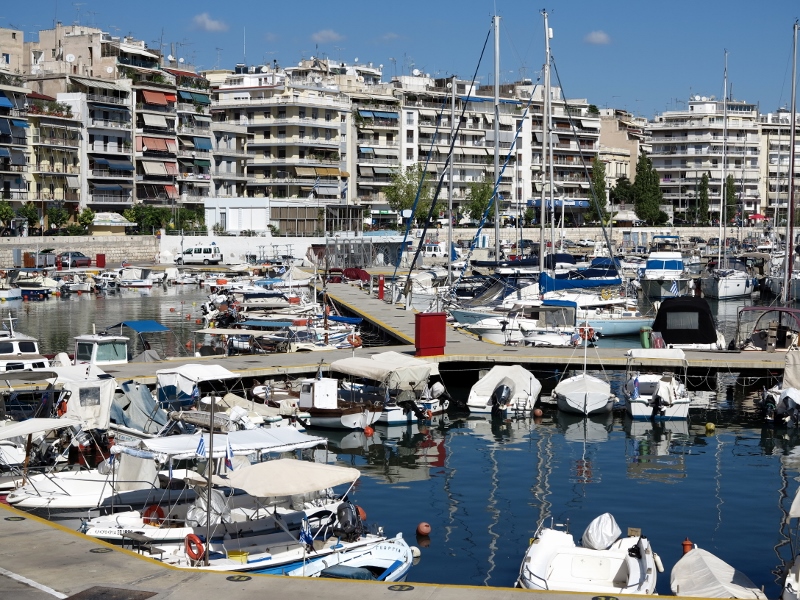
Today I’m going to just post some random favorites from our last Caribbean cruise this past April.  Enjoy (click on an image for a captioned slideshow):

Comments Off on Random Pictures

Filed under Photography, travel

For Menudo Fans


Ooops.  Wrong “menudo.”  I meant this stuff:

A Bowl of Red

A Bowl of Red

Menudo is one of El Paso’s best kept secrets.  And it’s either really, really good or dismally bad.  There is seldom an in-between with this stuff.  El Paso’s La Malinche serves a very, very good bowl of menudo.

La Malinche

La Malinche

Traditionally, menudo is served on weekends for breakfast, as it purportedly has recuperative powers post-hangover.  I’ve never eaten it for that reason, but both Ursula and I love a good, steaming bowl of it . . . especially on a cold winter morning.  Alas, it’s June and in the triple-digits of late, but on Fathers Day we went anyway.

So, how long have we been going to La Malinche for menudo?  Here’s an indication.  See this woman?

Sandra

Sandra

That’s Sandra.  She’s been serving us for years, and she doesn’t even bother to ask us anymore what we want.  She just motions us to one of the tables in her section; plops down a pitcher of tea and glasses with ice; fetches the onion, green lemon slices, Mexican oregano and crushed chili pepper; and then weaves through the hungry throngs to deliver to us some of the best menudo you will ever eat.

Tea, "Limón," and Onion

Tea, “Limón,” and Onion

Menudo, Bread, Oregano, and Crushed Peppers

Menudo, Bread, Oregano, and Crushed Peppers

Menudo is a chili-based broth containing posole (Mexican hominy) and chunks of beef tripe (the “menudo” in menudo) that have been simmered for hours until they are marvelously tender.  This is not to be confused is a bowl of “posole,” which substitutes pork for tripe and is not nearly as flavorful.

As with most of the really good Mexican restaurants, La Malinche is a real hole-in-the-wall lacking in both charm and ambiance.  You come here for the food, not the decor.

La Malinche

La Malinche

 But that’s okay.  That’s what really good and authentic Mexican cuisine is all about, and it’s part of the dining experience.

Now, how to properly dress a bowl of menudo:  Here locally menudo is served with bread (either toasted with butter or in whole rolls), green lemon wedges, chopped yellow onion, “Mexican oregano” (course, whole buds of the lippia graveolens plant) , and crushed red chili.  We prefer the whole bread to the toasted so that it can be broken into pieces and floated into the broth to soak it up.  So spoon in some chopped onion, drizzle on some lemon juice, float some of that bread, and sprinkle on some chili pepper and “oregano” (easy on the chili).  As for that “oregano,” we like to rub it vigorously between the palms as we sprinkle it.  As with most herbs, rubbing released both the essence and the flavor.

Do all that and this is what you get:

Menudo Dressed and Ready

Menudo Dressed and Ready

What a great way to wake up to Fathers Day in El Paso, Texas.

4 Comments

Filed under Photography, Wine & Food

Photo Tip Week — Controlling Depth of Field


An explanation on why today’s post may be a tad familiar:  My oldest daughter is in town, as well as four of the grandchildren.  So, being tied up (or, in this case, strapped to a table saw as we play, “Pit and the Pendulum”), I’m going to do a rare reblog-week using three of my most popular photography tip blogs.

On Monday we did The Rule of Thirds.  Wednesday we took pictures in available light photography without a tripod.  Today we’re going to look at controlling depth-of-field using the aperture control on your camera.

And now, the encore presentation ofGetting Out of Your Depth (of Field)

Depth-of-FieldIt can either work for you or against you . . . if you do not fully comprehend what it does and how to control it.  So, why leave such vagaries to chance?  Today we’ll discuss ways to make depth-of-field work to your advantage.

Maximum depth-of-field will present objects in both the foreground and background in the sharpest possible focus.  Minimum depth-of-field is used to keep a single subject in sharp focus while deemphasizing the distractions by blurring anything in the foreground or background that is not germane to the subject.

LandscapesHere you usually want maximum depth-of-field, allowing you to capture in sharpest possible detail everything from middle distances out to the horizon.

PortraitsGenerally speaking, these call for a very narrow depth-of-field.  You want to have your subject in sharp focus, but if the background isn’t blurred then it will compete for the viewer’s attention.  This may not be the case if you want your subject framed against the backdrop of a noted landmark such as the Eiffel Tower, or with the Grand Canyon residing in the background.  In those cases, your “portrait” shot will need to be more like a landscape.

Still Life Photography—If your subject is a single flower, think of your photograph as a “portrait” of that flower and blur the foreground and background accordingly.  If your subject is a collection of brightly colored fruit, a large bouquet or a bed of flowers, then maximum depth-of-field may be required to bring out the highest degree of visual impact.  But in this latter case, you may still want to find a depth-of-field middle ground to blur background distractions.

Controlling Depth-of-Field (DoF)—There are many ways to control this aspect of photography.  Generally speaking wide-angle photography has more DoF than telephoto settings; smaller camera sensors give greater DoF than do larger sensors at the same lens aperture settings and relative focal lengths (think pocket camera versus DSLR here); and wider apertures narrow the DoF while smaller aperture settings increase the DoF.

Inherent to the above paragraph is the understanding that you’re going to have a tougher time reducing your DoF with a small camera than you would if you have a camera with a larger imaging sensor.  On the other hand, this means that a point-and-shoot will have a built-in advantage over your DSLR when it comes to providing maximum depths-of-field.  Also inferred is that if you own a DSLR and do a lot of portrait-style or other narrow-focus photography, you need to consider investing in more expensive, wider aperture zoom lenses, or perhaps even go to fixed focal length (non-zoom) lenses for some of your photographic work as fixed focal length lenses are often available in wider apertures.

The best focal lengths for portraits, whether you use a small pocket camera or a larger DSLR, are (in 35mm equivalent) in the 85mm to 135mm range, with 105mm being my personal “sweet spot” for optimum portrait DoF control.  Indeed, my favorite all-round zoom lens for everything from landscapes to portraits is a 24-105mm f/4.0 mounted to a DSLR with a full-size (35mm) sensor.  Professional photographers will go with dedicated 85mm and 105mm f/2.8 fixed focal length lenses, but I personally just can’t justify that kind of expense for a hobby.

But watch out for the extremes—You may be tempted to go with the maximum aperture available for portraits and the smallest possible aperture for all your landscapes.  Resist the temptation unless you really need it.  The widest aperture will frequently give you vignetting (light drop-off) at the corners of your photograph, and most lenses also produce a softer image when set this way (not necessarily a bad thing in true portraits, as softening helps to hide skin imperfections and blemishes).  At the other end of the aperture spectrum many lenses are prone to chromatic aberration (also known as “color fringing”), which causes different colors to focus at differing points in the photograph.  This can result in an odd, distracting, rainbow-like effect at the edge of a subject that diminishes clarity and sharpness.  Another problem associated with DSLRs set to minimum aperture is dust and dirt on the sensor.  These contaminants (which may otherwise be rendered all but invisible at wider apertures) will come into sharp focus at f16 to f22, especially against a uniform background such as blue sky.  Sure, you can edit these specs out later in post-processing, but why make your life more difficult?

Now, a little trick for even greater Depth-of-Field—

The Setup:  You have a potentially award-winning composition.  In the foreground lies a field of amber grasses with long, flowing stalks.  The background displays an impressive range of majestic, snow-covered peaks against cerulean skies.  A warmish, setting sun is directly behind you, giving both the grasses and the mountains a pleasing, surreal reddish hue.

The Problem:  Even at the narrowest aperture your lens allows, if you focus on the grassy foreground, the mountains lose their crisp focus.  If you lock on the mountains, those amber waves of grain become a blurry, confusing mush.

The Solution (for DSLRs and higher-end point-and-shoots):  Take your camera off autofocus and manually focus at a point between the foreground and background, with the focusing point biased toward the foreground.  Optimally, this focal area will be at an imaginary point one third the distance from the closest foreground subject, two-thirds away from the farthest object.

The Solution (for “consumer” point-and-shoots):  If your camera does not allow for manual focusing but does let you select from one of several available focusing points, select a focus point between the foreground and background biased in favor of the foreground as described in the above solution for DSLRs.  If your camera does not allow selective focus points, focus directly on a portion of the scene as described above—one third of the distance past the foreground and two-thirds the distance in from the background—by depressing the shutter release button halfway.  Continue this halfway press to lock in the focus (which will also lock in the exposure settings, by the way), recompose the scene, and then depress the shutter release button the rest of the way to snap the shot.

The following photographs were taken using a Canon EOS 5D with a 24-105mm f/4L IS lens.  Focal length and aperture settings are as listed.  Subsequent shots in each sequence represent in sequence a wide-open aperture, a medium aperture, and an extremely narrow aperture.  Thus, the apertures in each sequence are: f4.0 on the wide end, either f8 or f11 in the middle, and f22 on the narrow side (click on this link for my previous discussion on f-stops).

Note how the DoF increases as the aperture decreases (remember that when discussing aperture in photograph, the higher the number the smaller the lens “opening,” or “aperture”).  Also, you can see examples of the aforementioned vignetting problem in the f4 photographs in the 60mm and 105mm series—look at the darkening of the blue sky in the upper corners.

Comments Off on Photo Tip Week — Controlling Depth of Field

Filed under Photography