

Perfect Pork
Okay, you’re simply not going to believe how quick and simple this main course is. Meanwhile, your dinner guests aren’t going to believe how tasty it is.
But before we get started let’s talk about the blackening seasoning. This seasoning will remind you of the pricy premade stuff that comes in containers emblazoned with the likeness of certain celebrity chefs, but it’ll cost you a fraction of the amount and taste a whole lot fresher because you make it that way. This blackening seasoning by the way is good for a whole lot more than just pork chops. It also works exceptionally well with flattened chicken breast, fish (especially wild salmon), thinner-cut beef steaks, and other meats using the same basic cooking principles described below, although you wouldn’t want to pound fish.
Blackening Seasoning:
- 2 tsp. salt
- 1 tbsp. garlic powder
- 1 tbsp. onion powder
- 2 tsp. white peppercorns
- 2 tsp. black peppercorns
- 1 ½ tsp. cayenne pepper
- 2 tsp. whole thyme leaves
- ½ tsp. oregano leaves
- 1 ½ tsp. paprika
Put the seasoning ingredients list above into a heavy-duty blender, preferably one such as the Vitamix with the dry ingredient blender. You can use the blender that originally comes with your Vitamix, but over time hardened spices such as peppercorns will scratch up the inside of your container and make it cloudy. It’s better in my view to just go ahead and get the attachment to take that abuse.
Blend the seasoning ingredients at high speed until everything is the consistency of a fine powder, including the peppercorns and the thyme and oregano leaves. Put the seasoning into an old spice jar that comes with a top containing shaker holes. This blend retains its freshness for at least a couple of months, but don’t make more than you’ll use much beyond that time as the complex fragrances will diminish over time.

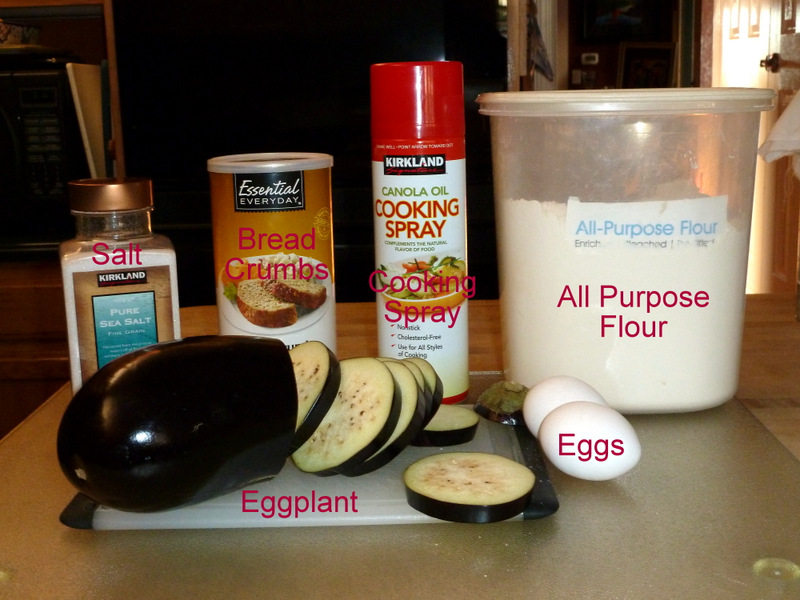
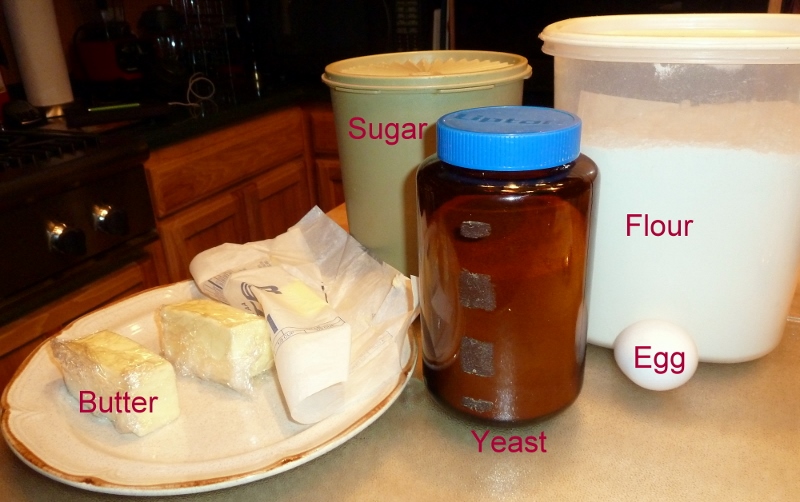
What You’ll Need
The Rest:
- 2 thick-cut pork chops, frozen (The ones photographed for this blog were 1 ½ inches thick)
- 2 to 3 tbsp. butter, melted
About an hour before you’re ready to begin take the frozen chops out of the freezer. You want the chops to still be frozen when you slice them, but not so hard as to make it difficult. Place the chops on edge and slice in half, then slice the halves yet again resulting in four cutlet-style medallions. Set the cutlets aside to fully defrost, about ten minutes or so.

Frozen Meats Slice Easier
While you’re waiting for the pork to defrost start heating a cast iron skillet on highest heat. Don’t forget to turn on your exhaust fan! This is going to get smoky. You want that pan hotter than you’ve probably ever had it before.

Super Hot Searing
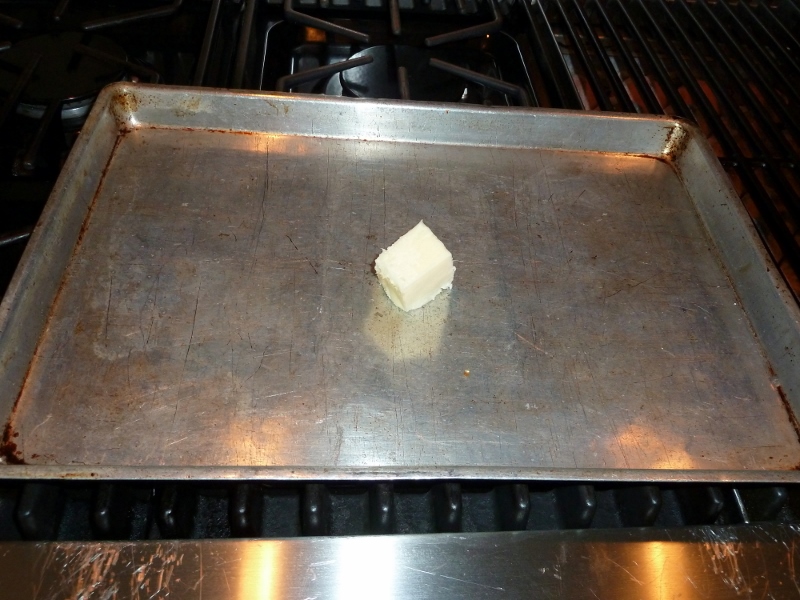
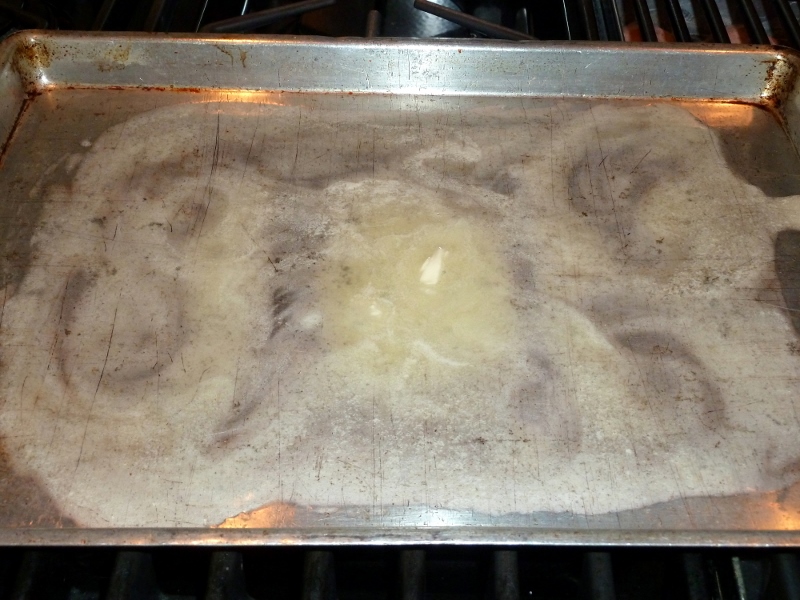
Now go melt that butter. While the butter is melting pound both sides of the pork cutlets with a tenderizer until they are very, very thin.

Pound Into Submission
Pour melted butter onto the cutlets and smear the butter using the backside of a spoon.

Buttery Goodness
Sprinkle liberal amounts of your fresh blackening seasoning. Flip the cutlets over and repeat on the opposite side.

Seasoning with Gusto
Is your skillet smoking hot? I mean really smoking? Can you feel the heat radiating off it from a foot or two away? I mean really radiating? If so, then you’re ready. You might want to open the doors and windows now, too, because that exhaust fan is going to need all the help it can get.
Place some of the pork cutlets directly onto the sizzling hot skillet. Don’t crowd the pan. After no more than a couple of minutes check the underneath side of one. If it’s nicely browned then flip the lot and brown on the opposite side. Remove and keep warm as you repeat the process for the remaining cutlets.

Don”t Crowd Me!
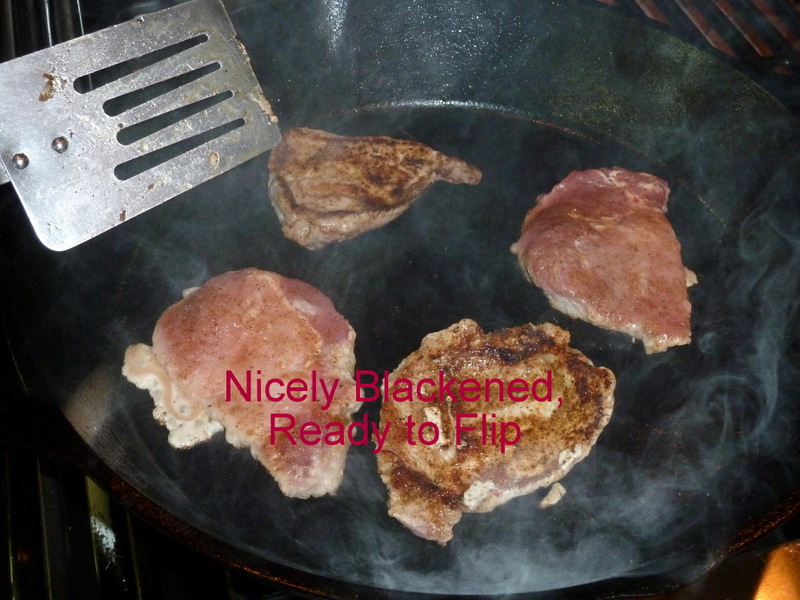
Blackened and Ready to Flip
Wine selection: You can go a couple of ways with this mildly spicy dish. My preference would be an Australian Shiraz to compliment the peppery flavor of the seasonings used. You could however get by with a slightly sweet white such as a Gewürztraminer or perhaps even a Johannesburg Riesling. If you wanted to cut the difference, I would probably go with a Pinot Noir or perhaps even a mildly sweet rosé. I would definitely stay away from Bordeaux-style reds, oaked Chardonnays, or anything either too tannic or too hearty in flavor, although a good GSM or Châteauneuf-du-Pape just might hold up to these complex assortment of flavors.


 Decisions — Murder in Paradise
 The Globe — Murder in Luxury