Tag Archives: R. Doug Wicker

Great Walls Make Great Neighbors — Part 1


The Great Wall of China

The Great Wall of China

Well, you knew it was going to come to this sometime before we left Beijing.  Admit it.  After all, no blog about China is complete without at least a reference to The Great Wall, and Beijing is situated pretty close to a portion of it.  And in case you’re wondering why we’re here, it’s always been one of Ursula’s dreams to stand upon this enormous structure.

The Great Ursula on the Great Wall

The Great Ursula on the Great Wall

According to our Great Guide Jim Mao, the Great Wall was built because the Mongolian hoards and others from the north were basically using China to the south as one big ATM machine, and the Chinese got tired of them constantly invading to make withdrawals.  So, at it’s most basic, The Great Wall was ancient China’s attempt at “Border Control.”

The Great Wall of China

The Great Wall of China

If you don’t believe me, this is my photo from an earlier blog of the U.S. version (only our version is a whole lot uglier and will never make it as a UNESCO World Heritage Site):

The Great Wall of the United States of America

The Great Wall is the single largest structure ever made by man.  I’ll have more on that, including some awesome statistics, on Wednesday’s blog.

The Great Wall of China

The Great Wall of China

While we were traversing this small portion of The Great Wall we stumbled upon one of our countrymen who was fulfilling a long time ambition of his — to sit upon The Great Wall while capturing it in a painting of his very own making:

An American Tourist doing his "Dream Painting"

An American Tourist doing his “Dream Painting”

In this next photograph you’ll see two uniformed guards.  Look closely and you’ll note no weapons in those holsters.  The police throughout China were also conspicuously without weapons.  You’ll also see a discreet earpiece in the right ear of the guard closest to the camera.  What may not be immediately obvious to you is the third guard, and I noticed this wherever we saw uniformed guards in military garb.  In each instance, approximately ten or so feet to one side, you’ll always find another person standing nearby with a very watchful eye on the crowd.  The covert guard in this case is the warmly dressed chap with his back to the wall, smiling toward the two uniformed guards.  They’re usually not so obvious to spot.

The Great Wall of China

The Great Wall of China

The Great Wall in this area generally follows natural ridge lines for easy defense.  In other areas you’ll see segments drop along the sides of hills.

The Great Wall of China

The Great Wall of China

Wherever we went we were greeted with throngs of people.  Many were very amused at the stocky, bearded American wearing a People’s Army winter guard hat with a rather large, rather conspicuous red star.  Hey, at least it was warm, and it has since found a home amidst my extensive hat collection.  We were stopped several times and asked if people could pose with us for a photograph.  Others tried to covertly snap a shot until I invited them to come over and pose next to us as well.

Great Wall Crowds

Great Wall Crowds

I’ll have more information and photos for you on Wednesday, and Fun Photo Friday will highlight my favorite shots of The Great Wall.

The Great Crowd on the Great Wall

The Great Crowd on the Great Wall

1 Comment

Filed under Photography, travel

Dinner was Just Ducky


There is a delicacy for which certain high-end restaurants in Beijing are famous.  It’s called “Peking Duck.”  I must say that it is indeed impressive.

After a very exhausting day our guide Mao Gu’i “Jim” Chen of China Spree turned us loose for a bit of rest back at the hotel, only to return a short while later to herd us to our next destination — the famous Bianyifang Restaurant dating back originally to 1855 using an established name that goes back even further.  A lot further.  To 1412 to be exact.

Can you imagine . . . a restaurant that traces its roots back to 364 years before the signing of the Declaration of Independence, and some 80 years before Columbus tripped over the New World on his way to Beijing for some Peking Duck?

The most incredible thing you’ll first notice about Peking Duck is the tasty, crisp skin.  It’s simply indescribably.  You just have to taste it to know what I mean.  Served with the duck were lotus root, noodles, snow peas, other assorted vegetables, a type of crepe in which to place the duck meat, various condiments, and a rather interesting Yanjing beer.

Here’s the feast complete with descriptions:

5 Comments

Filed under Photography, travel, Wine & Food

Old Doug, New Trick — Baguette Redux


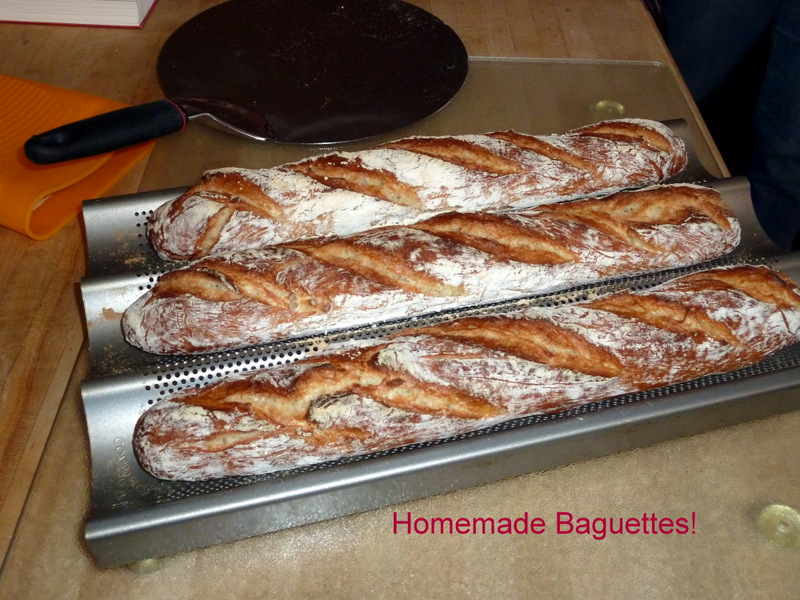
Homemade Rustic French Baguettes

Homemade Rustic French Baguettes

Who says you can’t teach an old Doug a new trick?  Remember this recipe?:  It’s in the Bag(uette)

Today I’m going to show you my new favorite French baguette recipe, derived from The King Arthur Flour Baker’s Companion.  But don’t worry.  We’ll get back to that China series on Wednesday.

Today’s recipe is modified to make slightly larger baguettes better suited to my larger baguette rack.  I’ve also changed the steaming procedure and baking time slightly from that called for in the King Arthur version.

Poolish ingredients

Poolish ingredients

As with all really good rustic breads, this one starts with a fermented poolish.  For this you’ll need:

  • Unbleached all purpose flour, 148 grams/5.25 ounces by weight
  • Cool water, 148 grams/5¼ ounces by weight
  • Yeast, ¼ tsp.

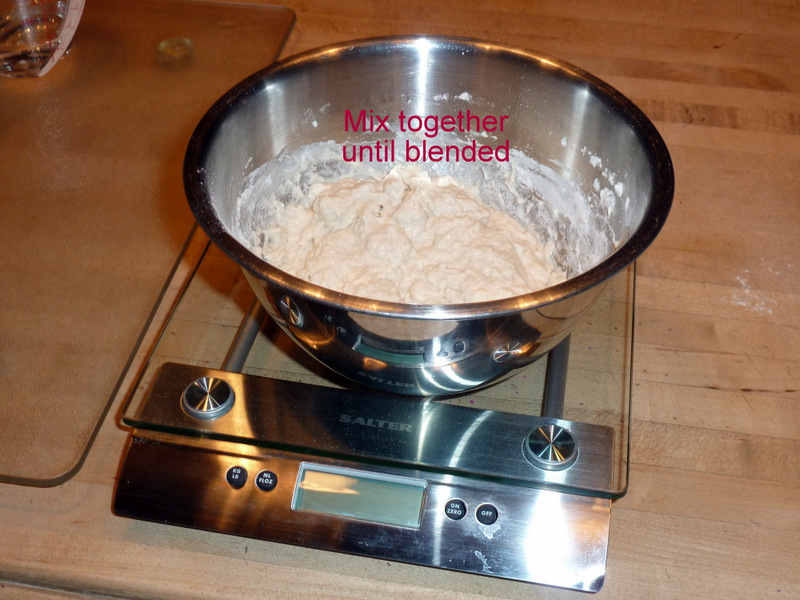
Mix the flour and yeast together, then add the cool water.  Blend until the flour and water are fully incorporated.

Blend together

Blend together

Cover and let the poolish ferment for 12 hours.

Fermented Poolish

Fermented Poolish

Next comes the dough.

Dough ingredients

Dough ingredients

This portion of the recipe calls for a lot more of the same plus salt, butter, and the poolish:

  • Poolish
  • Butter
  • Flour, 298 grams/10½ ounces by weight
  • Water, 148 grams/5¼ ounces by weight
  • Salt, 2½ tsp. table or 5 tsp. coarse Kosher
  • Yeast, 1¾ tsp.

Pulse together in a food processor the flour, salt, and yeast.

Flour, yeast, and salt

Flour, yeast, and salt

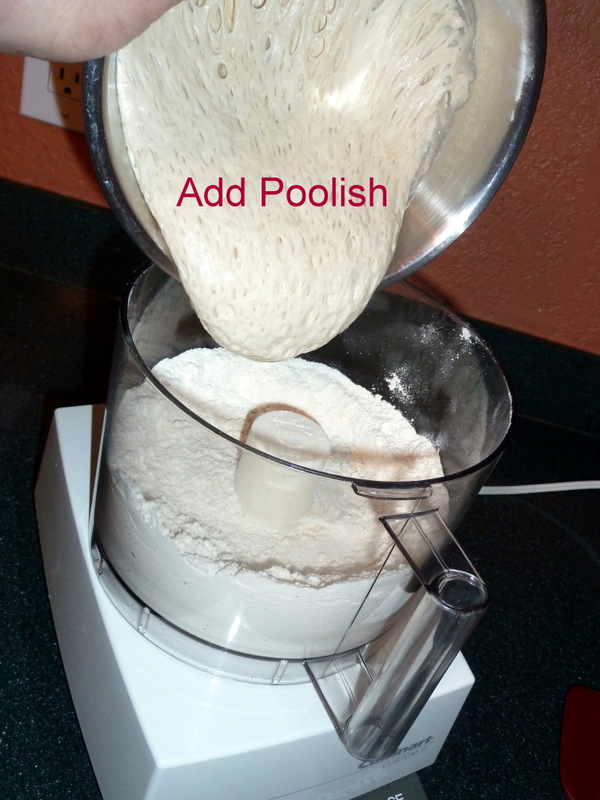
Add the poolish.

Add the poolish

Add the poolish

Add the water.  I like to first swish the water around the now-empty poolish bowl to get all the remaining fermented goodness out of it.

Add Water

Add Water

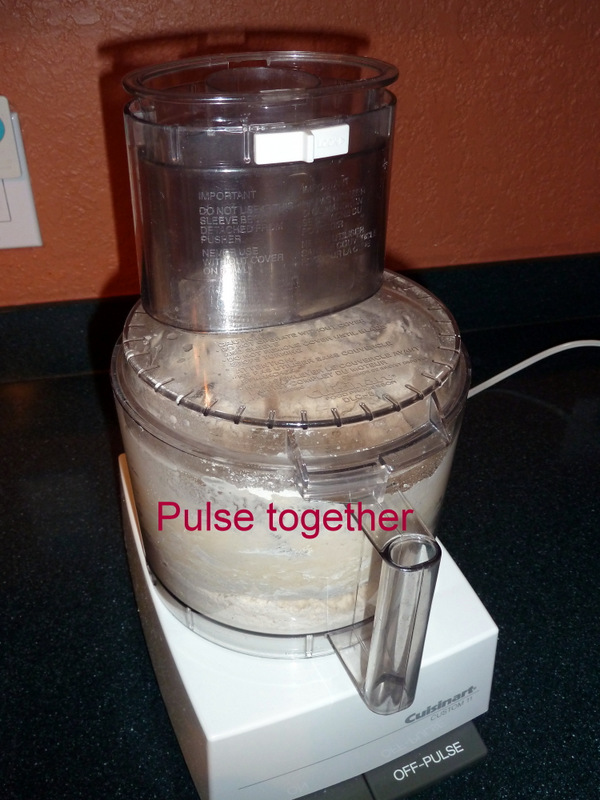
Pulse together all the ingredients except for that pat of butter.  You’ll be using that in a moment.

Pulse together

Pulse together

Scrape the sides of the processor.

Scrape sides and pulse again

Scrape sides and pulse again

Wait about 20 minutes to let the flour hydrate, then start pulsing again.  Don’t overdo it!  You want to pulse just enough that the dough holds together and the ingredients are fully incorporated, but you don’t want the dough to smooth out and become elastic.  If you do that then your bread will become tough and chewy on the inside.

Don't overdo it

Don’t overdo it

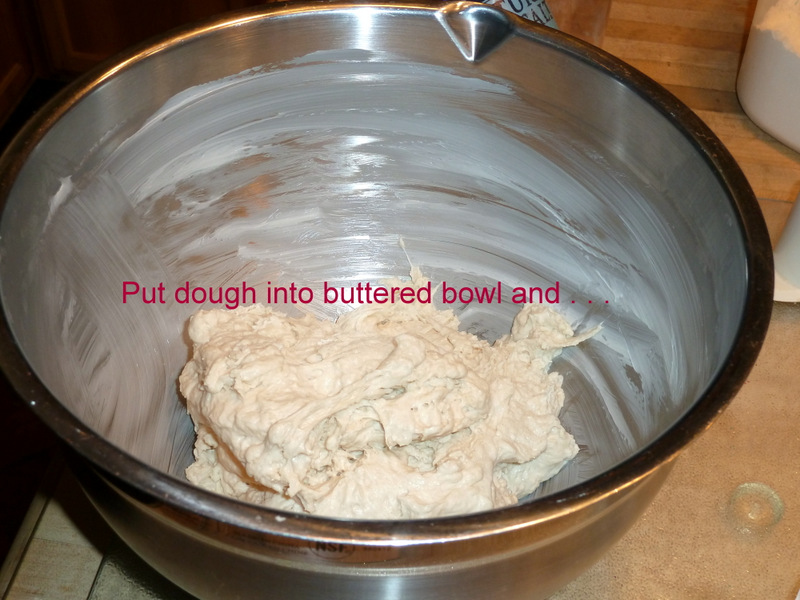
Now, remember that butter?  Use it to liberally coat a large bowl and plop the dough into the bowl.

Place dough into buttered bowl

Place dough into buttered bowl

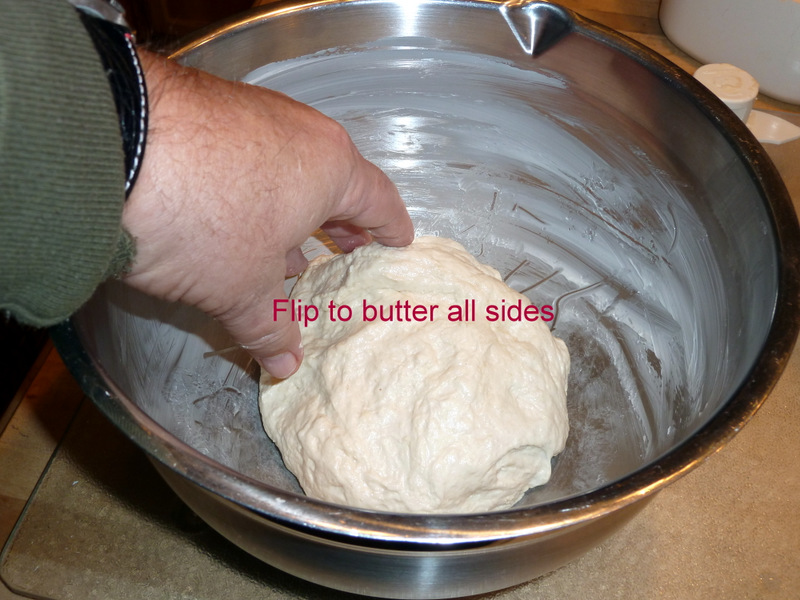
Turn the dough so that it’s well greased on all sides, then cover the bowl and let the dough rise for two hours.

Turn to butter all sides, cover and let rise

Turn to butter all sides, cover and let rise

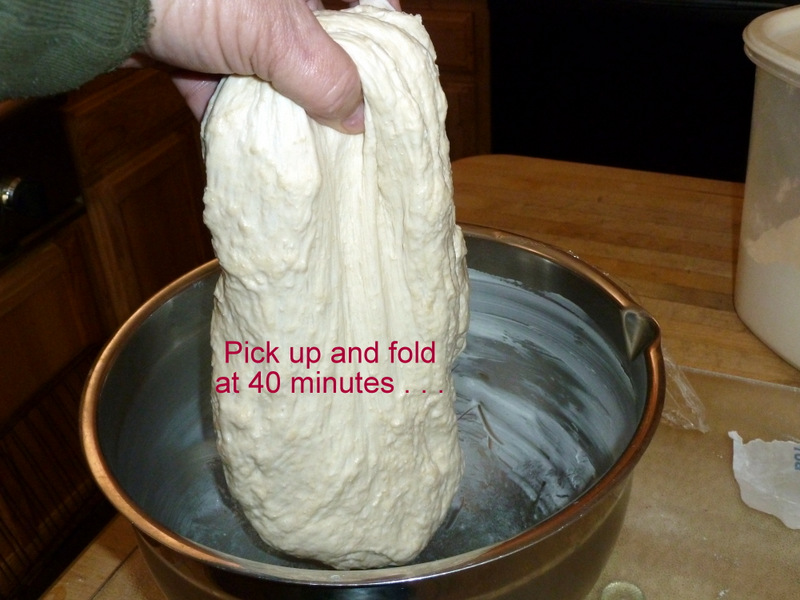
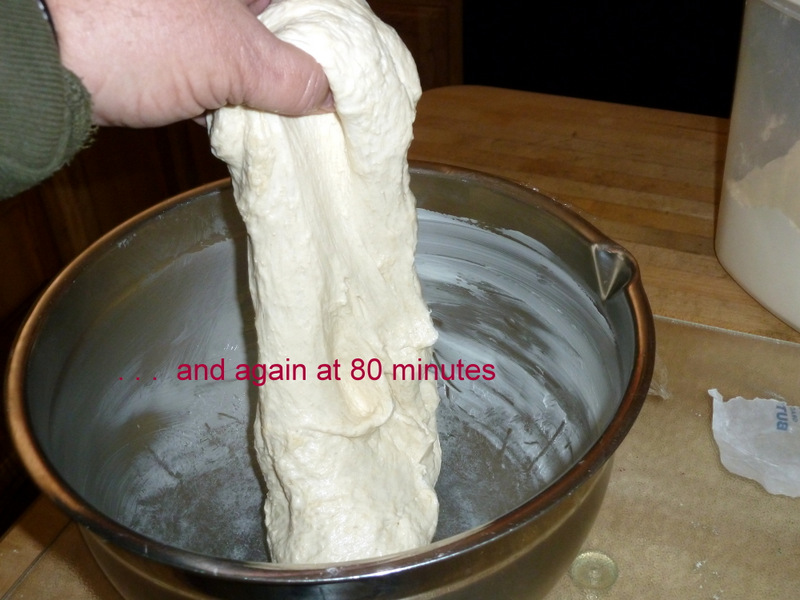
During that two hours you’re going to uncover the bowl twice — once at the 40-minute mark and again at the 80-minute mark.  During these times you’re going to pick up the dough, let it gently elongate, and then you’re going to fold the dough onto itself.  This redistributes the yeast and removes excess carbon dioxide from the dough.

Deflate and fold at 40 minutes

Deflate and fold at 40 minutes

And again at 80 minutes

And again at 80 minutes

After the two hours are up divide the dough into three equal pieces of about 250 grams/8⅞ ounces each and place the pieces onto some parchment paper.  Roll each piece into a rough log shape, cover, and let rest for 20 minutes.

Divide and form into logs; rest for 20 minutes covered

Divide and form into logs; rest for 20 minutes covered

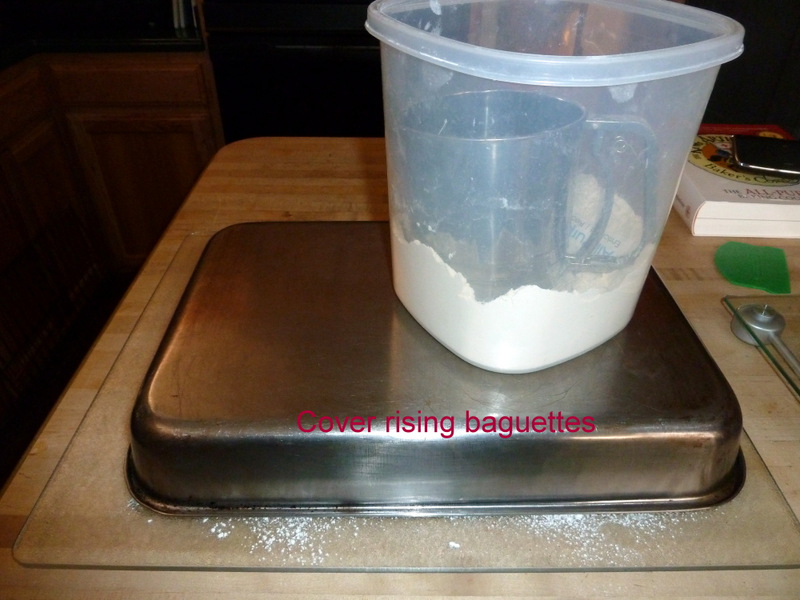
Cover during rests and risings

Cover during rests and risings

Uncover the logs and place them onto a well-floured surface.  Keep that parchment paper.  You’ll use that again later.  Generously flour the tops of the logs as well.

Flour tops

Flour tops

Now hand-roll the logs into long, thin baguette shapes.

Hand rolled

Hand rolled

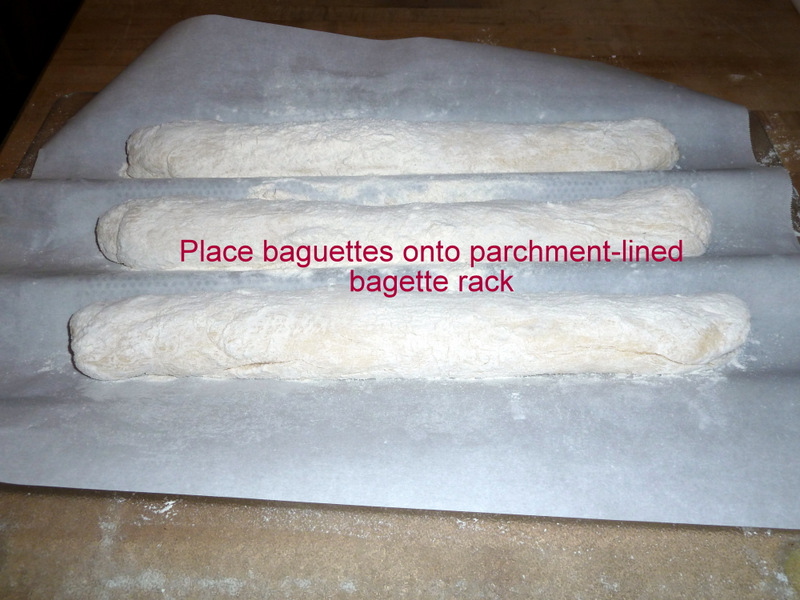
Place the floured, rolled baguettes into your baguette rack, which you’ve now lined with that piece of parchment paper you saved from earlier.  Cover the baguettes again and let them rise one final time for about fifty minutes.

Baguettes ready to rise

Baguettes ready to rise

While the baguettes are doing their final proofing, place a cast iron skillet on the lowest rack of your oven and crank that sucker up to 500°F/260°C.  You read that right.  We want that oven almost crematorium hot.  Well, that’s a slight exaggeration.

Place your racks in this configuration and start heating that skillet to 500°

Place your racks in this configuration and start heating that skillet to 500°

After the final rise uncover the baguettes and gently pull out the parchment paper lining.  Allow the baguettes to roll as you pull away the paper.

Carefully remove parchment paper after the rise

Carefully remove parchment paper after the rise

Put on a good heat resistant glove for this next step.  Water boils at 212°, but the temperature of steam is unlimited!  Open the oven, quickly pour into the heated skillet one cup of water, and immediately shut the over door.

Add water to that 500° skillet, but BEWARE THE STEAM!

Add water to that 500° skillet, but BEWARE THE STEAM!

Without delay start slashing the tops of your baguettes with a razor blade or other extremely sharp implement.  The trick here is quick, shallow, diagonal cuts holding the blade at about a 45° angle rather than slashing straight downward.  Make four or five cuts almost lengthwise with a slight side-to-side bias.

Shallow, angled, diagonal slashes

Shallow, angled, diagonal slashes

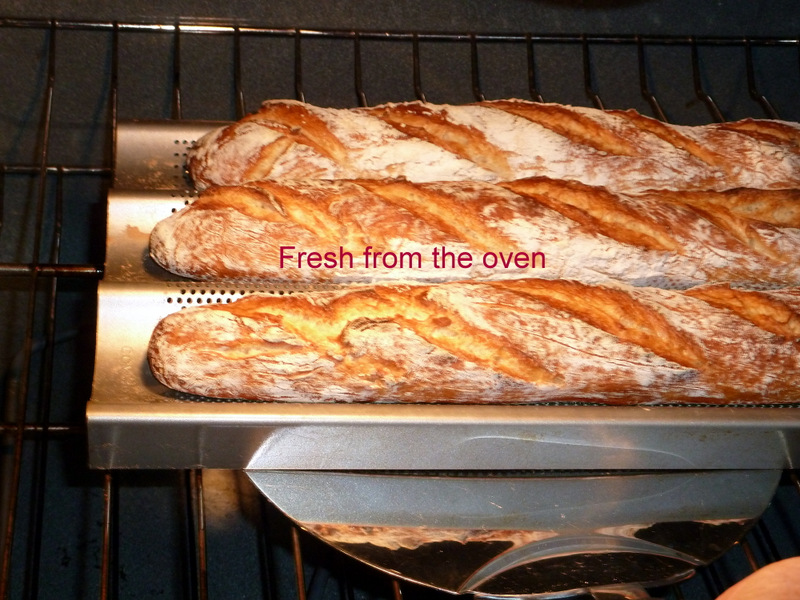
Immediately following the slashing (starting to sound like an early Jamie Lee Curtis film, isn’t it) transfer the baguette-laden rack to the oven, placing the baguettes directly over the hot, steaming skillet.  Shut the oven and lower the temperature to 475°F/245°C.  Let the baguettes bake for 20 minutes, then quickly remove the skillet, shut the door, and bake for another four or five minutes at most.  This will allow direct heating to crisp and brown the bottom of the baguettes.

Fresh from the oven

Fresh from the oven

If you’ve done this last step correctly, your baguettes will have an even, dark brown, rustic look on all sides.

Rustic look on all sides

Rustic look on all sides

As with any rustic baguette this bread is great on its own, served with butter, used as an accompaniment with escargot or pasta dishes, or as the supporting actor in a steamy production of Swiss fondue, which is the fate that awaited these particular examples.

Swiss Fondue and Rustic French Baguette Bread — What a Combo!

3 Comments

Filed under Wine & Food