
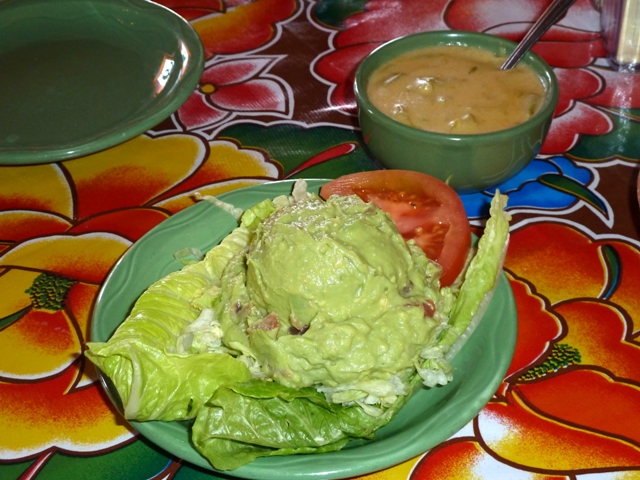
Perfectly done
Barbecue Season draws near. That means the usual smoking suspects lurk just beyond the kitchen corner — Smoked pork shoulder (often referred to as Boston Butt); Smoked brisket; Smoked ribs.
But, first (or, is that, “Butt, first . . .”?) a brief primer on what barbecue is and what barbecue is not. Firstly, barbecue is most assuredly not something cooked directly over hot coals or a gas burner and then slathered in some sweet and spicy tomato-based concoction. Never has been. Never will be. That is “grilling,” and it is as far removed from true barbecue as blackening is from sautéing. Far too many people have fallen into the trap of confusing grilling with barbecuing. Don’t be one of them.
True barbecue is the art of taking what would otherwise be a fatty, often tough (in the case of brisket or ribs), bland-tasting cut of meat and seasoning it with a complimentary blend of flavors. Then the meat is very slowly roasted at a very low temperature in a slightly smoky, high-humidity environment until the external fat caramelizes into a deep, dark, richly colored crust, and the internal fat gently liquefies into a flavor-transporting internal baster that deeply infuses the meat with a rich yet delicate smoke flavor. This is a project of many, many hours (18 or more for a large brisket; 12+ for a pork roast; 4 to 5 for pork ribs).
Done correctly you wind up with a perfect harmony of moist, flavorful, incredibly tender meat that pulls apart easily. But, again, this is an art. Too high a temperature will result in a chewy, fatty-tasting, flavorless mess — smoky on the very outside and bland beyond. Too much smoke will impart a sharp, bitter tang that overpowers the meat and turns the stomach. Too dry a smoking chamber and the outer meat will dry out, locking out both the smoke and seasonings before they can fully penetrate the meat. Continue in a dry chamber and you’ll have a crunchy shell surrounding a dry and uninspired brick.
In the old days, this carefully choreographed blend of low temperatures, light smokes, flavorful but not overpowering spice blends, and humidity was accomplished using charcoal or hardwood fires beneath pans of water. The chef would then divert this humid, smoky, heated air into an attached chamber holding the meat. Vents at the firebox controlled the heat of the fire, and another vent in the smoking chamber controlled the amount of smoke and heat building up around the meat. Accurate thermometers were a must, and tending the smoker required constant vigilance.
Then came the digital electric smoker. Now you can set up the whole thing — temperature, chunks of good, dry hardwood for smoking (or water-soaked wood chips if that’s all you can find), a water tray, and the meat — stick it all into the smoker, set the temperature, and forget about it except for a brief check of wood and water levels every two to three hours. It’s still an art. It’s just a much easier art.
Last month Ursula got me a new “canvass” for my smoking art (a skill I learned from my Southern-born and raised father, and a skill which has been handed down for generations). My new canvass is the Landmann Smoky Mountain 40” Electric Smoker, which she purchased for me last month at Costco for just under $400 (MSRP $575). Included in Costco package was a weather resistant zippered cover for which Landmann normally charges another $44.

Landmann 40″ Electric Smoker
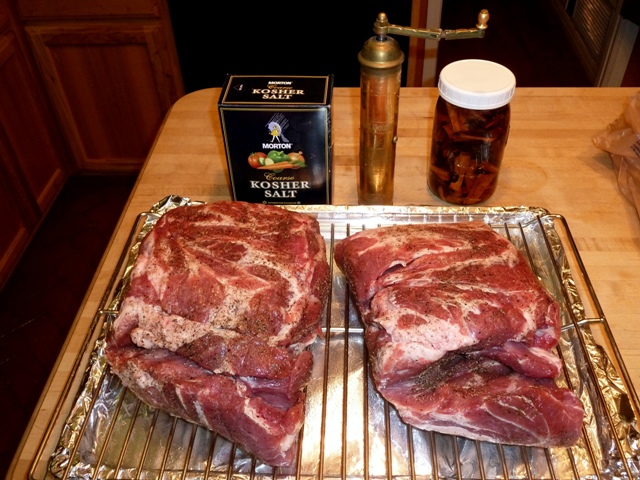
Shopping the meat: You’ll need a couple of large Boston Butts (or pork shoulders as they’re referred to in some areas). They can be either deboned or bone in. It’s your choice. They should have a fair amount of fat on at least one side, which will serve to baste the roast as it smokes.
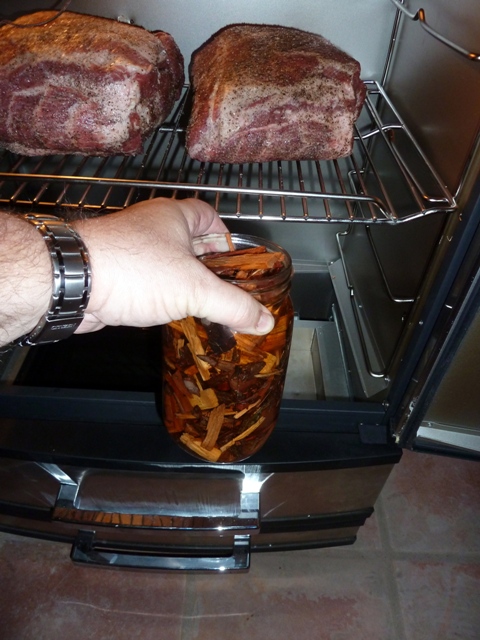
Prepping the wood: If you’re using large chunks, you’re ready to go. If you’re using wood chips, soak about three cups of chips in water so that they do not release too much smoke too soon. A couple of hours soaking is good.

Soaked wood chips
A word about wood choices: Stick with hardwoods; never use pine or other softwoods, as the sap will ruin the flavor of your meat (and very probably your smoker). You can never go wrong with hickory for either pork or beef. Oak works better with beef, in my opinion, but fruit tree woods such as apple and cherry really impart an interesting “sweetness” smell-wise to a pork roast. Stay away from mesquite. Mesquite is a short-term grilling wood for beef (think: steak), as the smoke from mesquite is far too intense in flavor to be used for the long smoking periods associated with true barbecuing.
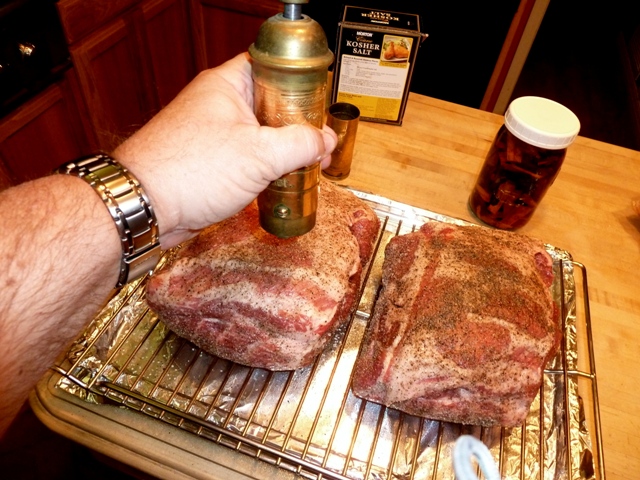
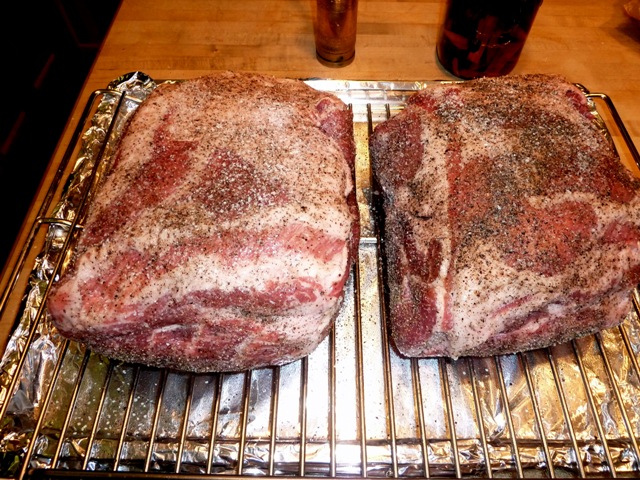
Prepping the pork: Fatty pork takes smoke very easily. As such, I’m of the opinion that less is more when it comes to seasoning these little gems. I also find that garlic (powdered, granulated, crushed, or whole) and other pungent choices clash with the delicate smoke flavor imparted to the meat and quickly overpower the pork itself. Thus, my pork sees only two things before going into the smoker — prodigious amounts of freshly cracked black pepper and coarsely flaked salt (Kosher salt works great for this application despite the irony of “Kosher” and “pork” being used in the same sentence). Coat the entire butt in a fine crust of both. If you’re using a boneless butt then don’t forget to put more salt and pepper inside where the bone once resided. Don’t worry about tying a boneless roast; just fold it together to close off the area exposed by the removal of the bone. Encase the seasoned roasts in plastic wrap and store in the refrigerator for at least two hours, preferably longer.

Kosher salt and pork?!?!?

Pepper. Lots of it!

Salted and peppered

Seasoned and tightly wrapped
Prepping the rack: Spray vegetable oil onto the rack. Unwrap and place the roasts fat-side-up upon the rack. Sprinkle with more salt and pepper if you lose a lot on the unwrapping, or if the meat appears to have absorbed most of the salt crust. Place the rack near the center of the smoking chamber and insert the digital meat thermometer into the thickest part of the largest roast (if your smoker doesn’t come with this, consider getting one of the newer wireless remote probes that sends a signal to a receiver, or go this route if you have an iThingy: The iGrill).

Spraying for easy cleanup
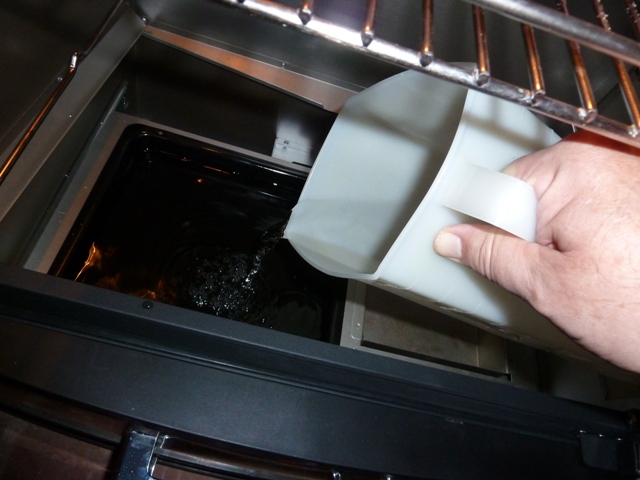
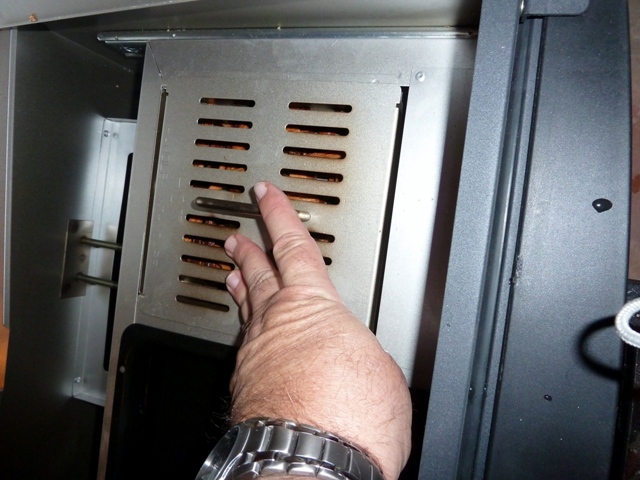
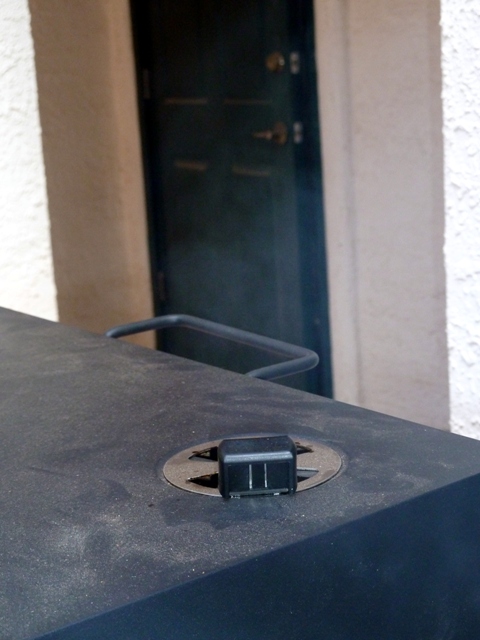
Prepping the smoker: Note: This part assumes that you’ve already seasoned your newly acquired, assembled smoker by heating it to 250° Fahrenheit (120° Celsius) for at least two hours, and that you smoked up the inside with at least a couple of handfuls of chips. If you haven’t, do so now. Fill the water tray per the directions for your smoker (mine calls for leaving about an inch from the top of the tray to avoid spillage when sliding the tray back into the smoker). Place some wood chunks or about a third of the soaked wood chips into the vented smoking box. Position the water tray and smoking box back into the smoker over the heating element. Open the vent atop the smoking chamber to between halfway and fully open erring on the open side. Set the temperature to between 215° and 220° Fahrenheit (102° to 104° Celsius) and the time to around twelve hours.

Inserting the temperature probe

Adding water

Soaked wood chips

Closing up the wood box

Setting the vent
Checking progress: In half an hour or so the smoker should be up to the set temperature. Take a look at the smoke coming from the vent (use a dark background in bright light for a better sense of how much smoke is exhausting out the vent). The smoke should be visible, but not obscuring. If too much is coming out, consider opening the vent fully to purge excess smoke, or remove some of the chips from the smoker box.

Barely visible smoke
After that initial check: Go play a few hands of bridge, watch a movie, or pick up a copy of Decisions or The Globe for your Kindle, Nook, or your device using either the Kindle or Nook reading app. The point is, leave that smoker alone! Don’t even think about so much as looking at that smoker for at least two full hours. This isn’t the old days, when you had to constantly watch and correct the temperature; the digital smoker is doing that for you automatically. After a couple of hours or so, return to the smoker and carefully check the water and wood levels. Top off the water. Add another third of the wood if the smoking has stopped or reduced to where you can barely see it coming out of the vent.
Think about what you just saw: If the water level was still fairly good and the wood box was generating smoke, consider going three hours before your next check. If the tray was nearly dry and there was little smoke coming out, stick to the two-hour check interval. Whatever you do, do not open the actual smoking chamber unless that’s the only way to access the water tray and wood box on your smoker. Every time you open the door to look at the meat you lose heat, moisture, and most importantly smoke flavor.
My three cups of wood chips are gone! No, you don’t need more. After three helpings of wood chunks or soaked wood chips, you’re now at least six hours into the smoking process. Adding more smoke now is not only unnecessary, it’ll actually over-flavor the meat making it bitter. Right now, the internal fat is slowly breaking down. As it liquefies, it’s starting to draw deeply into the meat the salt from the exterior crust and, with it, the smoke flavor that has imparted to the outside a beautiful and rich mahogany color (What? You didn’t get the model with the window? Well, trust me on that mahogany color, but don’t open the door to check me out on that!). This is the beginning of what will eventually develop into a delectable, almost crunchy exterior which barbecue experts refer to as the “bark” of the roast.
At this point you can increase the temperature slightly if you want. If you want to reduce the roasting time, this is when you can take it on up to 225° (about 108° Celsius). Do not go over this temperature.
What temperature am I looking for? You want the internal temperature to reach about 185° (85° Celsius).
Well, then, why is it stuck at 150°? Because this is the transformation temperature during barbecuing, be it beef or pork. Around 150° (65 Celsius) is the temperature where the fat is transforming into a runny, meat-soaking, flavor-inducing river of liquid that is slowly permeating the entire roast. You’ll likely be stuck right around this temperature for at least a couple of hours, so go back to that copy of Decisions or The Globe you just started.
It still hasn’t gotten to 185°, and everyone’s hungry from the smell! Okay. Time to panic.
Just kidding. You’ve busted through the 150° barrier and the butt is now up around 170° to 175° (75° to 80° Celsius). That’s okay. The smoker has done all it’s going to do flavor-wise, the internal fat has done its flavoring job, and now we’re just waiting for the meat to reach the optimum temperature for tenderness. We have two choices here to speed things up:
- We can increase the temperature of the smoker to somewhere around 275° (135° Celsius), or
- We can take the butts out, place them onto a rack inside a roasting pan, tent and tightly seal the pan with heavy-duty aluminum foil (carefully making sure that the foil does not come into contact with the that salty “bark” crust), and insert that pan into a 275° over for about an hour. (this is my choice: it saves the smoker from wear and tear from excessive heat, and the sealing with foil keeps the meat internally moist while preserving the crusty bark)
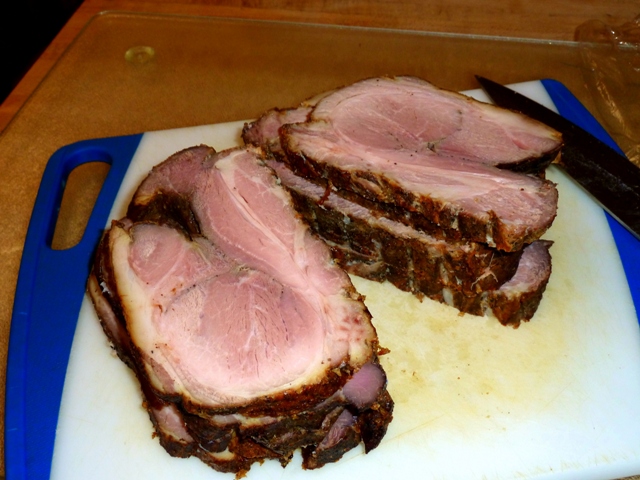
Perfectly done
After this final hour in the oven, don’t even bother checking the internal temperature. You’ll be close enough. Take out the butts and uncover them. Let them cool for at least half an hour. This is important — you want that internal fat to at least semi-solidify to lock in both the flavor and the moisture. If you carve the butt hot out of the smoker/oven, you’ll see a runny mess ooze out, taking along with it all the moistness and much of the smoke flavor from your (until now) carefully prepared creation.
Slice and enjoy with your favorite barbecue sides. No need for barbecue sauce on this initial serving, as you want people to marvel at that delicious smoke flavor.

A little slice of Heaven
If you want to try barbecue sauce the next day: take leftover roast and slice very thinly, slather the slices in barbecue sauce, place under the broiler until nicely burned in (you need do this on only one side), and serve on toasted hamburger buns.
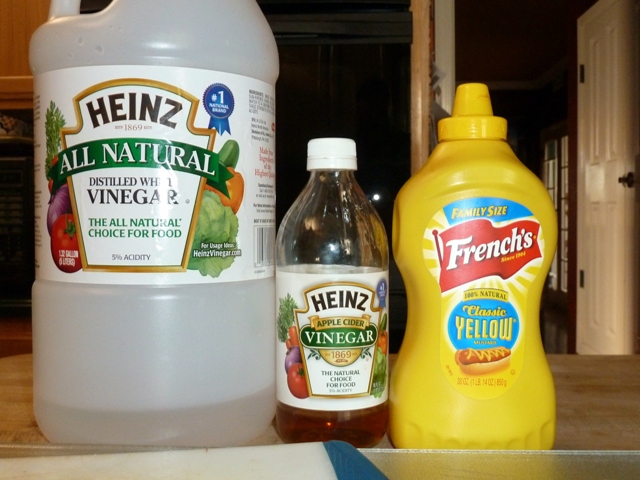
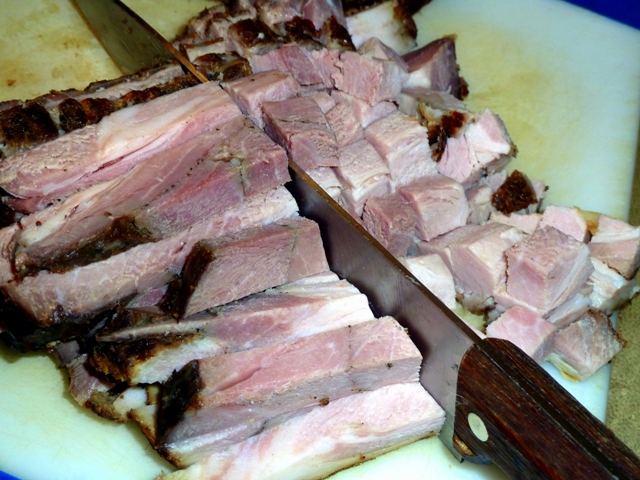
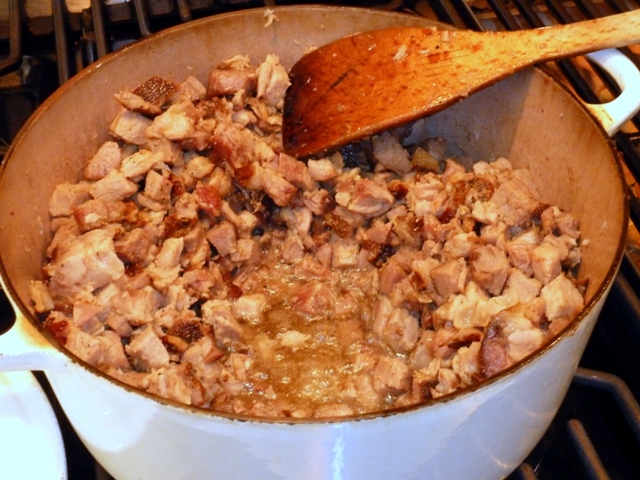
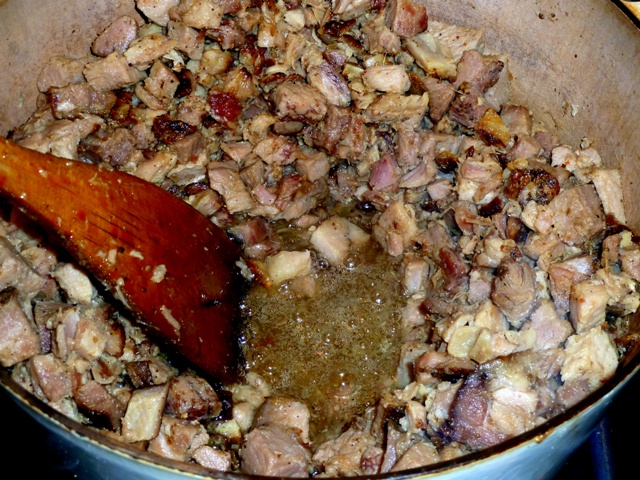
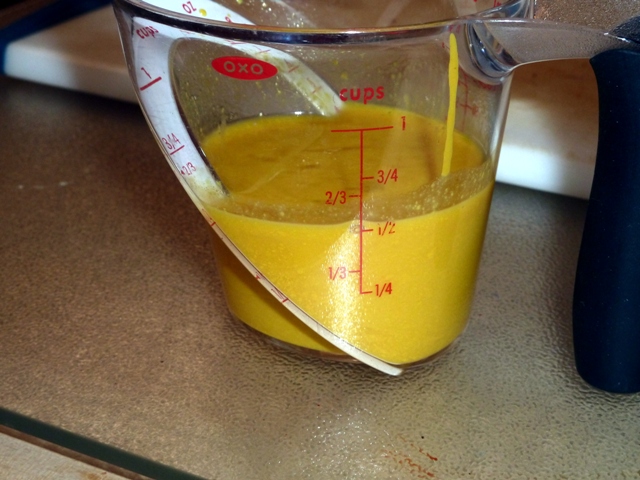
But . . . I still have one whole roast left! Great. I’ll show you what to do with that sucker sometime next week. Hint: We’re going to transform it into a Carolina delicacy known as barbecue hash using a blend of vinegar and yellow mustard. Don’t worry. We’re not going to make it tart. We’re going to create a masterful dish that will have friends and family begging for more, and which truly brings out that incredible smoke flavor you worked so hard to produce. Link: Smoked Boston Butt — Carolina-Style Mustard Barbecue Hash
Ooops. Almost forgot the wine pairing. This is barbecue. It is — by definition and through the presence of all that black pepper — spicy. That hints at the customary wine for both barbecue and grilling: Peppery shiraz from Australia, preferably one from the Barossa Valley. Other good choices include Châteauneuf-du-Pape or the Australian GSM (Grenache, Shiraz, Mourvèdre) equivalent. Argentine Malbec would also work here.


 Decisions — Murder in Paradise
 The Globe — Murder in Luxury