
On Monday I presented my favorite recipe for red enchilada sauce, as well as my heretofore secret source for the perfect chili powder. Today, I’m going to show you what to do with it using that leftover turkey breast that’s been sitting in your freezer since shortly after Thanksgiving.
Most of you are probably familiar with the rolled red enchilada filled either with cheese or ground beef. Some of you may be familiar with rolled chicken enchiladas smothered in green chili sauce. But unless you’ve lived in the Southwestern U.S. or have spent any length of time in Mexico other than the usual tourist spots, chances are that you’ve yet to become acquainted with the flat enchilada — the Mexican answer to lasagna, in a sense. The advantage to the flat enchilada is primarily one of reduced calories and fat, since rolling a corn tortilla is hard to do unless the tortilla is first dipped in hot oil. As we’re not going to roll these enchiladas, there’s no reason to first dip the tortilla in all that fat.
What you’ll need for this recipe:

Turkey breast, enchilada sauce, onion, corn tortillas, cheese
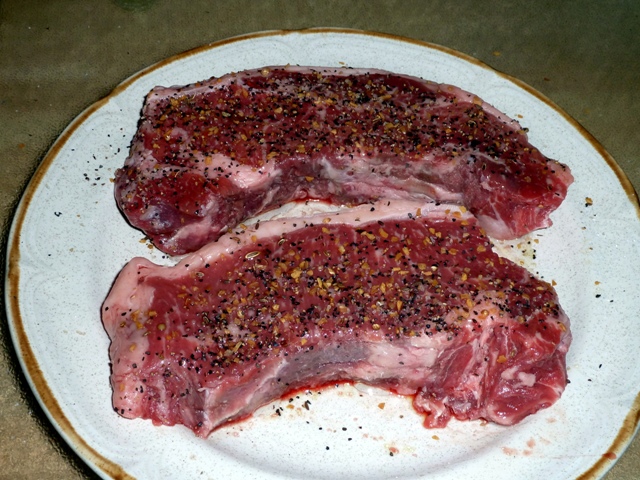
Turkey breast, coarsely chopped
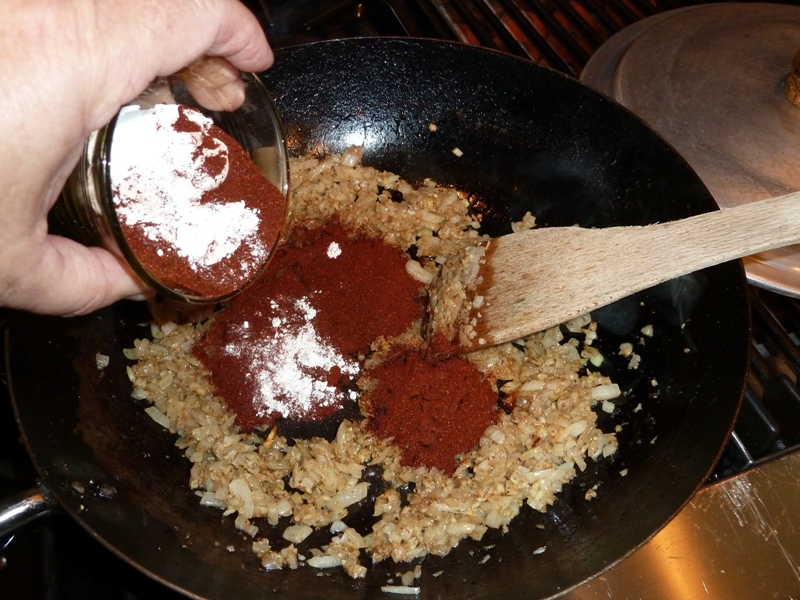
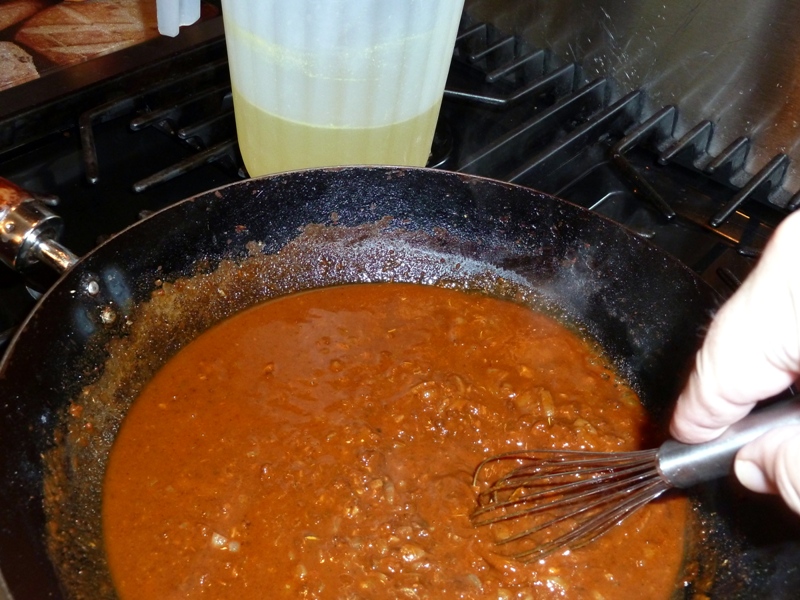
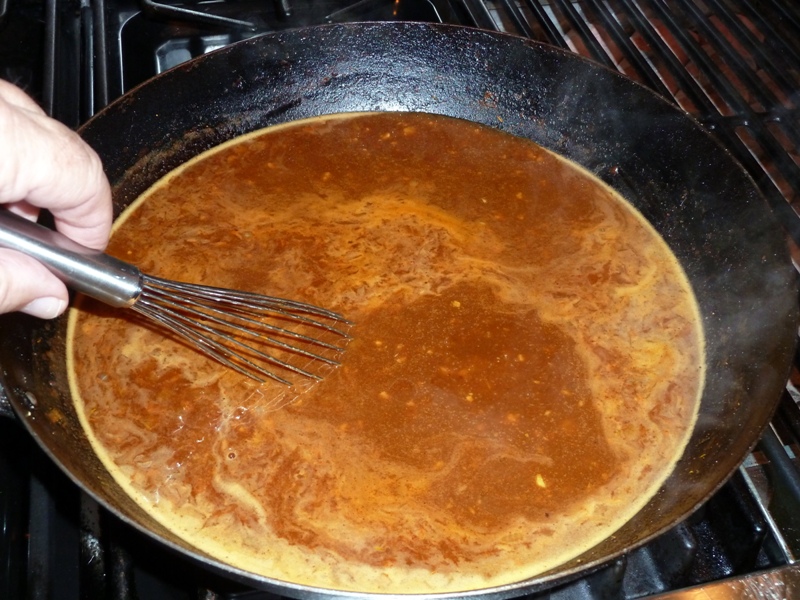
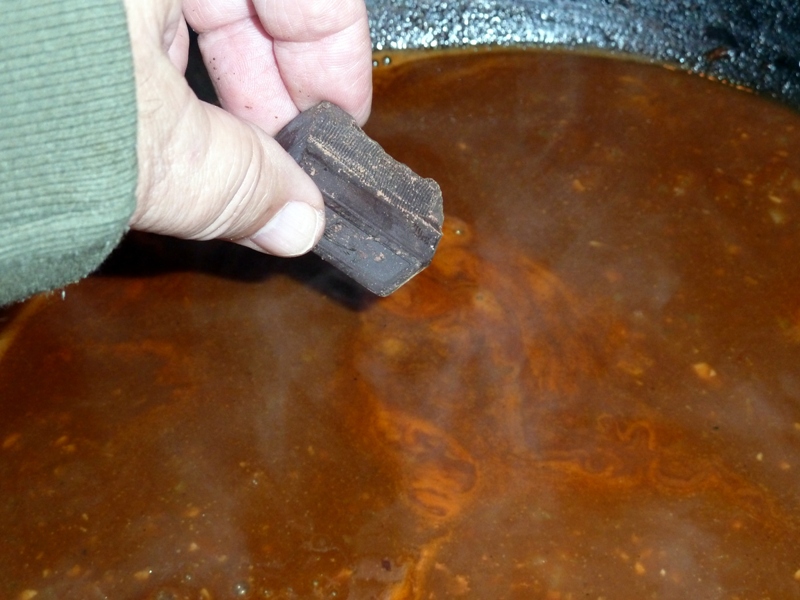
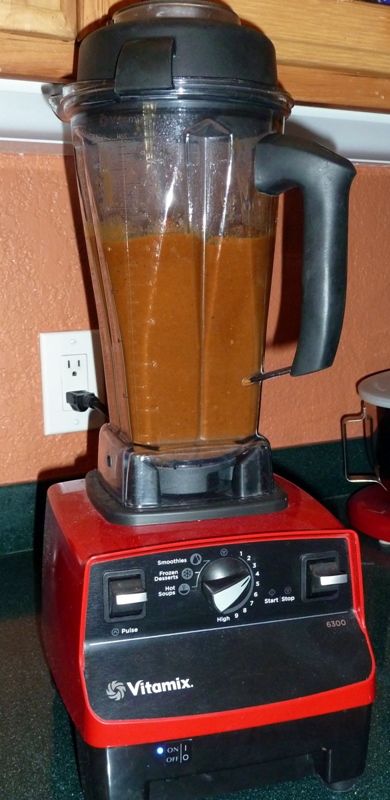
Red Enchilada Sauce (from Monday’s blog)
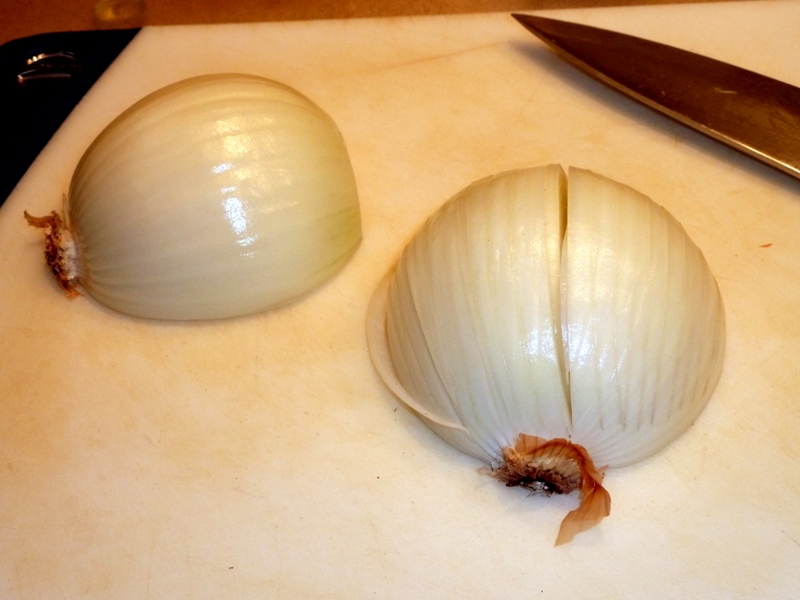
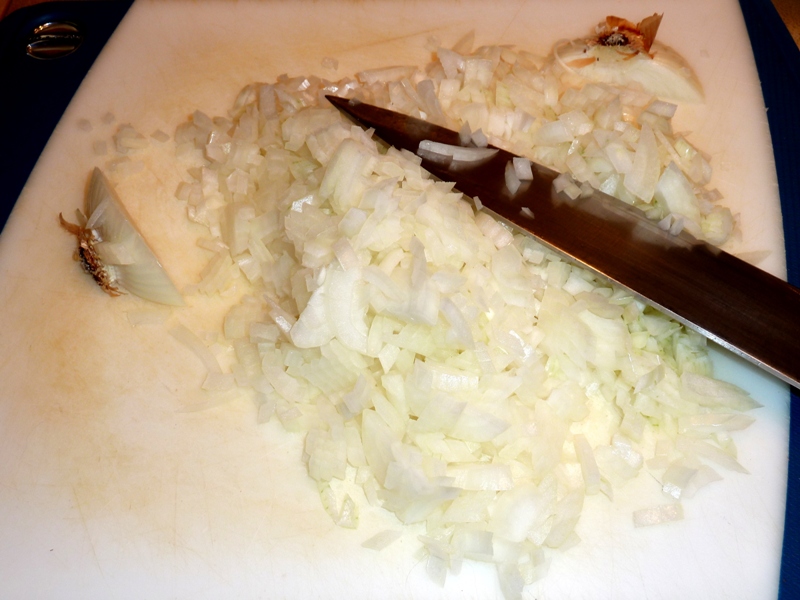
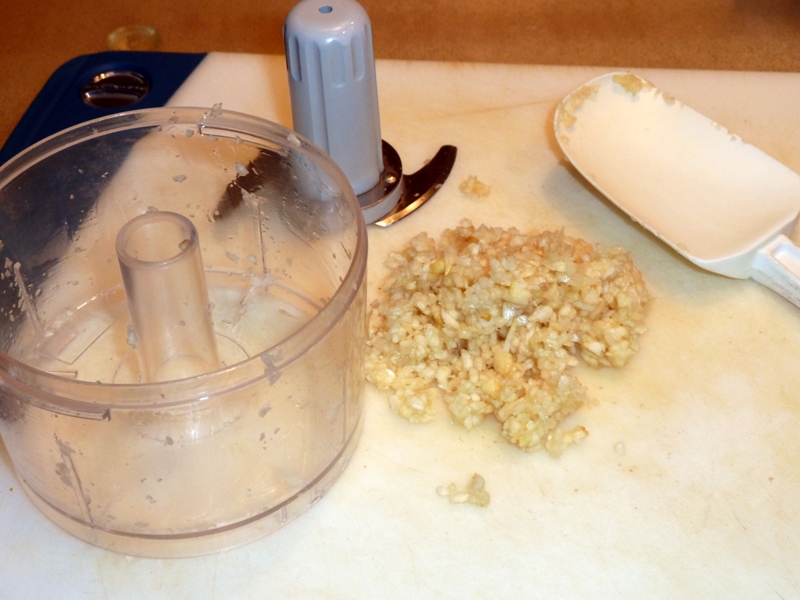
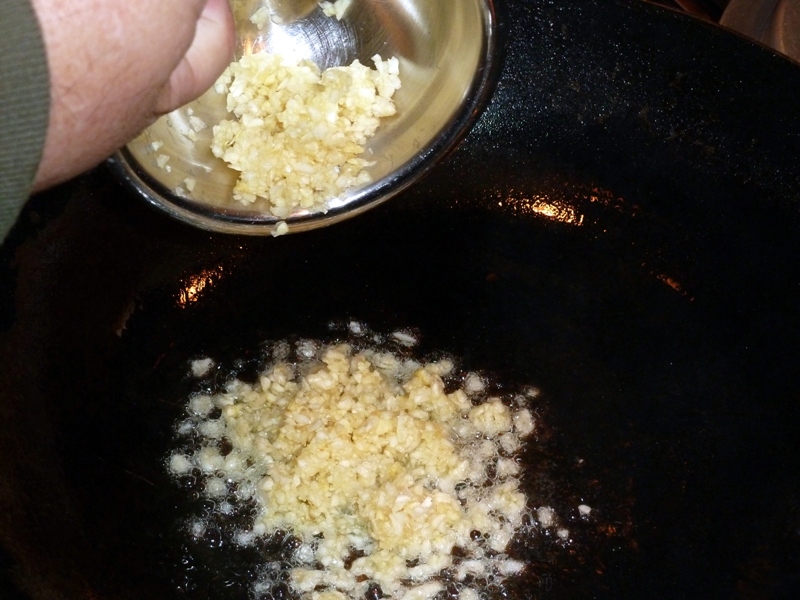
Finely dices onion
Cheese, shredded (Colby, longhorn, cheddar, and/or Monterrey Jack)
Fresh corn tortillas
And, optionally:
Freshly roasted green chiles diced into large pieces (This was Ursula’s idea):

And, optionally, green chile
If you do decide to add green chile here’s a quick refresher on how to prep them (we did this before with Chile Rellenos). Roast the chiles over flame or hot charcoal until the skin is charred, but the flesh remains firm.
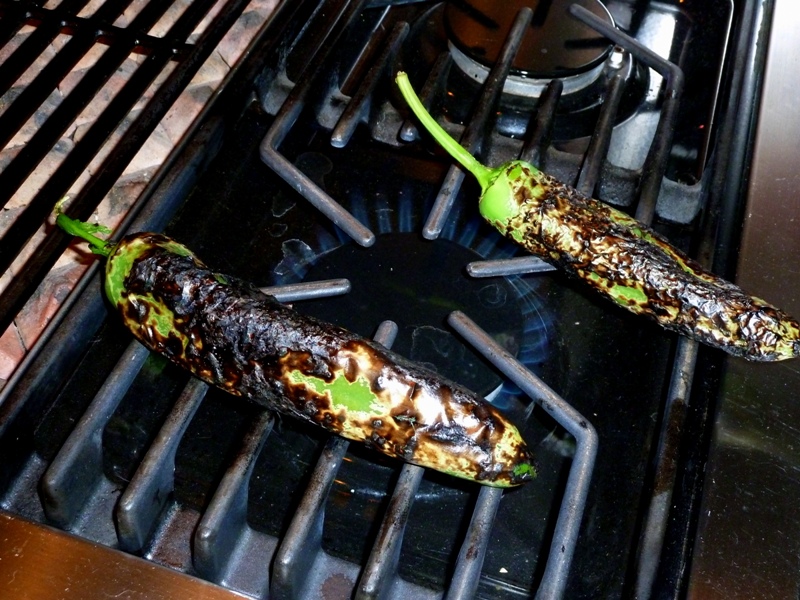
Roast chiles until charred
Steam the skins for easier removal by placing the still warm chiles into a plastic bag and leaving them to sweat for about five minutes.
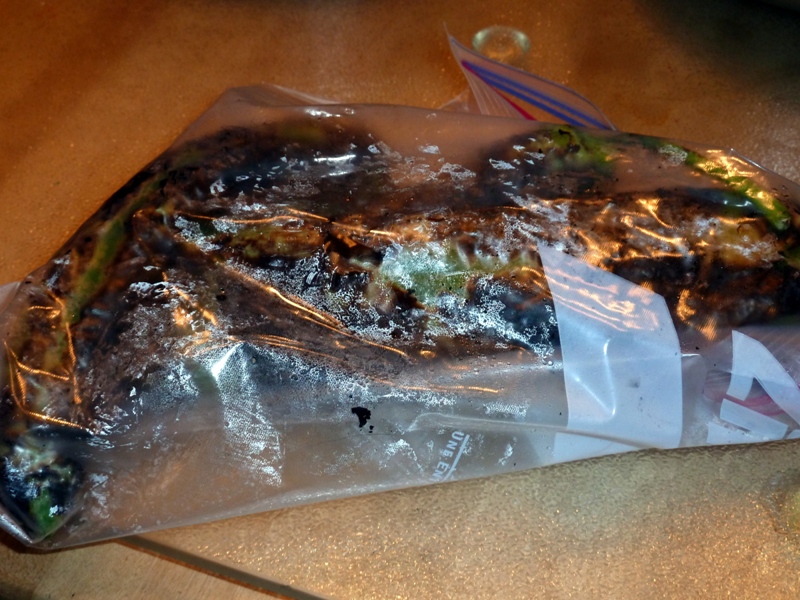
Allow chiles to steam in a bag
Scrap off the charred skin with a knife, cut off the stems, slice open and remove the seeds, and then dice into fairly large pieces.

Scrap off the skin, seed and slice
Now that we have the optional stuff out of the way let’s return to the heart of this recipe. Spray a large baking tray with cooking spray. You’ll be glad you did later when it comes time to clean it.

Makes later cleanup easier
Dip corn tortillas into Monday’s red enchilada sauce and allow the excess to drain off. Arrange tortillas into a single layer. Top with turkey breast.
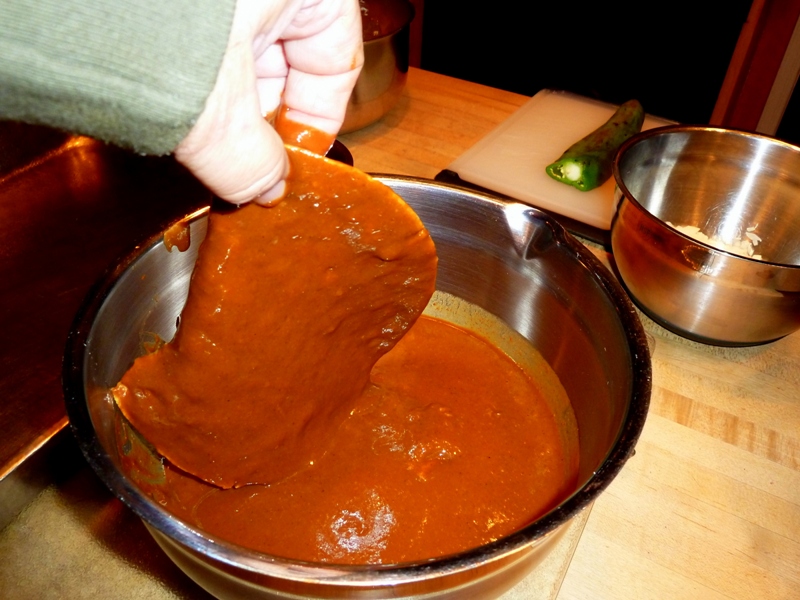
Coat both sides of the corn tortillas

Arrange the first layer of tortillas; top with turkey breast
Add some of the grated cheese, diced onion, and green chile (if you decided to use it).

Add cheese, onion, and (optional) green chile
Make a second layer of coated tortillas.
Arrange second layer of tortillas
Top that layer as you did the first — with turkey, onion, cheese, and green chile.

Top again with turkey, cheese, onion, and chile
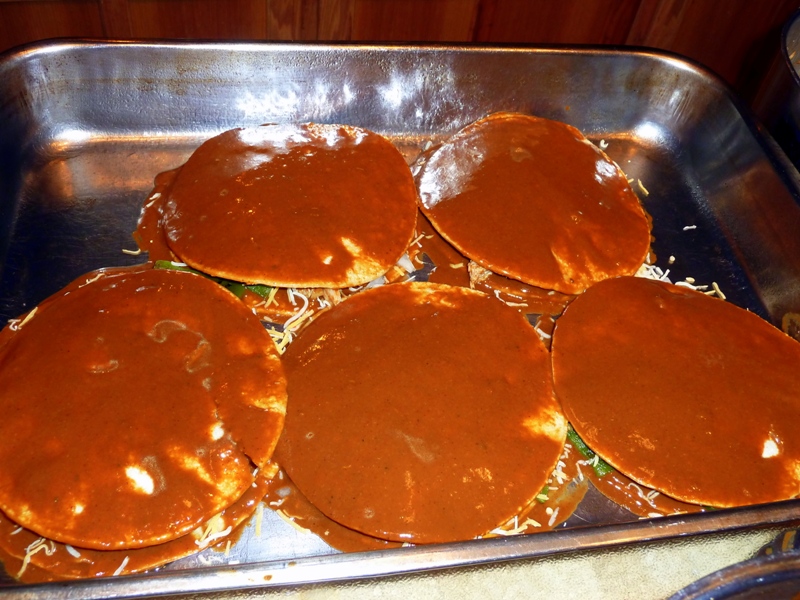
Now add a third and final layer of coated tortillas, but this time top the uppermost layer with only cheese and onion. Turkey on the top layer would dry out, and the green chile might overcook and lose texture.

Add third and final layer, and top only with cheese and onion
Bake at 375° (190° Celsius) for fifteen minutes or so, until the enchiladas are fully heated throughout, the cheese is completely melted, and the sauce steaming hot and almost bubbly.
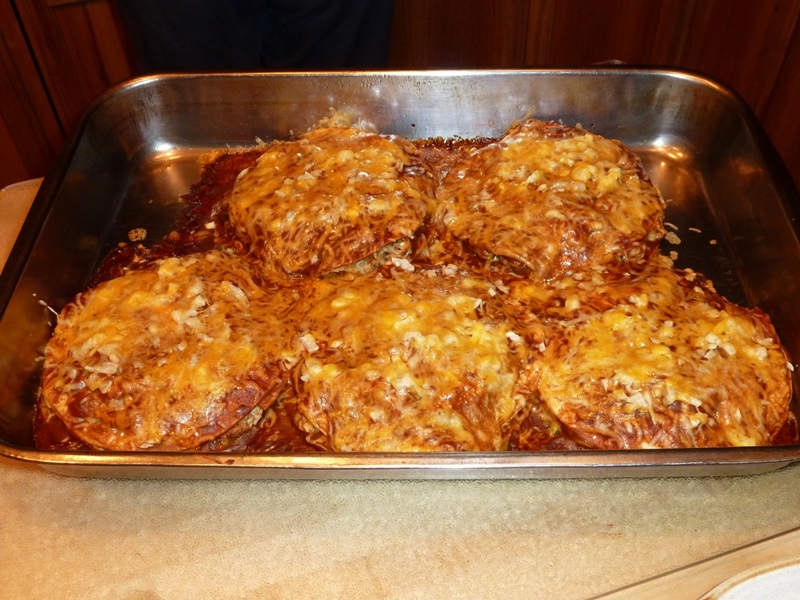
Bake at 375° (190° Celsius) for 15 to 20 minutes
Serve alongside a nice salad with cooling ranch-style dressing to quench the spiciness of the enchilada sauce.
A popular and very traditional variation to the flat enchilada is to top the whole concoction with an egg, either sunny-side up or over easy.
Wine Selection: This is of course an inherently spicy dish, even if you chose to make it with mild chili powder. It’s also a white-meat dish. Both of these characteristics imply a white wine, with the spiciness suggesting one on the slightly sweet side (sweetness counteracts spicy heat on the tongue; white wine complements lighter bird meats such as chicken and turkey). That criteria gives us a selection of wines from which to choose — Gewurtztraminer, Chenin Blanc, some of the German-style Rieslings, and on the drier side (and one of my favorite all-round whites), a New Zealand Sauvignon Blanc, or perhaps a Pinot Grigio.


 Decisions — Murder in Paradise
 The Globe — Murder in Luxury