Category Archives: Photography

A Thera By Any Other Name Is Still a Santorini


This island goes by two names:  Thera (or Thira) and Santorini.  It is the remains of a volcano that produced what is probably the fourth most powerful explosion in all of recorded history, an explosion that wiped out a civilization and decimated most of the known world at that time.  Indeed, the Minoan Eruption, as it is known, may be the genesis (pun intended) of the tales for both Atlantis and the Great Flood of Noah’s Ark fame.  Just how big was this explosion?  It was probably four times more powerful than the famed  Krakatoa explosion of 1883, and nearly on par with the Mount Tambora explosion in 1815.  All told, about 100 cubic kilometers (24 cubic miles) of debris were blasted into the atmosphere.

Today, Sanorini is a quaint travel destination that has much to offer in the way of visually stunning sights and almost limitless photographic opportunities.  But it’s a tricky place to take photographs.  The colors that you see are often not the colors that come out of the camera.  That’s because there are two obstacles facing those who normally rely on their camera’s automatic settings, and both of those obstacles can be attributed to one of the very things that make Santorini so picturesque—the extensive use of whitewash on many of the buildings.

Exposure Control:  Whitewash reflects bright sunlight that fools your camera’s light sensor into thinking the scene is dimmer than it actually is.  Think snow.  All that reflected white presents much the same problem here, and is one which I covered before in a previous article.

Color Balance:  You would think that color balance would be a snap with all this white, but there’s a trap.  If the “white” object you’re photographing happens to be in shade, it will record with a distinctly bluish tint.  We discussed this before as well—white balance in shade versus direct sun.

To compensate, you’ll either have to correct things in post processing or, better still, get the picture settings correct to begin with.  That calls for two adjustments to the camera.  To correct for the tendency to underexpose, it’s best in this case to use positive exposure compensation somewhere between +⅓ and +1 full stop depending on the amount of white in the scene and how much of that white is reflecting direct sunlight back toward you.  But don’t go overboard here.  This isn’t snow blanketing the bulk of an entire frame; it’s white reflecting off an object or set of objects within a much larger scene.  As for white balance, that depends on whether the sun is reflecting off your whitewashed subject, or if most of your whitewashed subject is in shade.  It’s best to override your camera’s automatic white balance settings accordingly and manually set the camera for sunlight or shade balancing.

If you do all this then you can probably get away with photographing in JPEG and avoiding the pain of dealing with camera raw.  But if you want to make sure you get the best possible shot, this may be one of those occasions when you’ll want to go with raw to give yourself the most possible latitude in correcting things on a computer later.  After all, visiting Santorini isn’t something you’ll likely get to do very often.  You may only get there once, so don’t blow it.

And if you do get it all right, here’s just a small sample of what you can expect in the way of photographs:

4 Comments

Filed under Photography, travel

As Our Hero Rides Into the Sunset . . .


Sunset photography is all about the color.  Unfortunately, your camera doesn’t know that, so you have to tell it.  If you don’t, you can just about count on your sunset photographs coming out far less impressively than what you thought you saw.

And here’s why:  Your exposure meter will more than likely over expose the shot, especially if you use center-weighted metering.  Overexposure will wash out the colors, making them duller and not nearly as vibrant and memorable.  Also, your camera’s auto white balance feature may get confused by the bright colors and attempt to “fix” those colors for you.  So, what do you do about all this unwanted help from your camera?  Easy.  You compensate.

There is a way to get around the camera’s tendency to overexpose.  And the way to do that is to employ negative exposure compensation.  Below you will see a set of photographs.  The first has no exposure compensation.  The following four have a -⅔ exposure compensation.  The next four after that show a full stop of negative compensation.  Hovering your cursor above a shot will show the exposure compensation that was used, and clicking on a shot will expand it.  And, just to show that sunsets aren’t the only condition that can benefit from negative exposure compensation, I also threw one final picture to show how this technique can also add drama to darkened skies and ominous clouds.

To prevent the camera from ruining the colors, I manually set the white balance for all these shots to daylight.  This helps to ensure that the colors I saw were what the camera recorded.  If I hadn’t done this, there’s a very real possibility that the camera would think the shots were taken under a red light, causing it to try to make those reds closer to white.  That would have been a major disappointment, as you can see.

And here are the results:
4 Comments

Filed under Photography

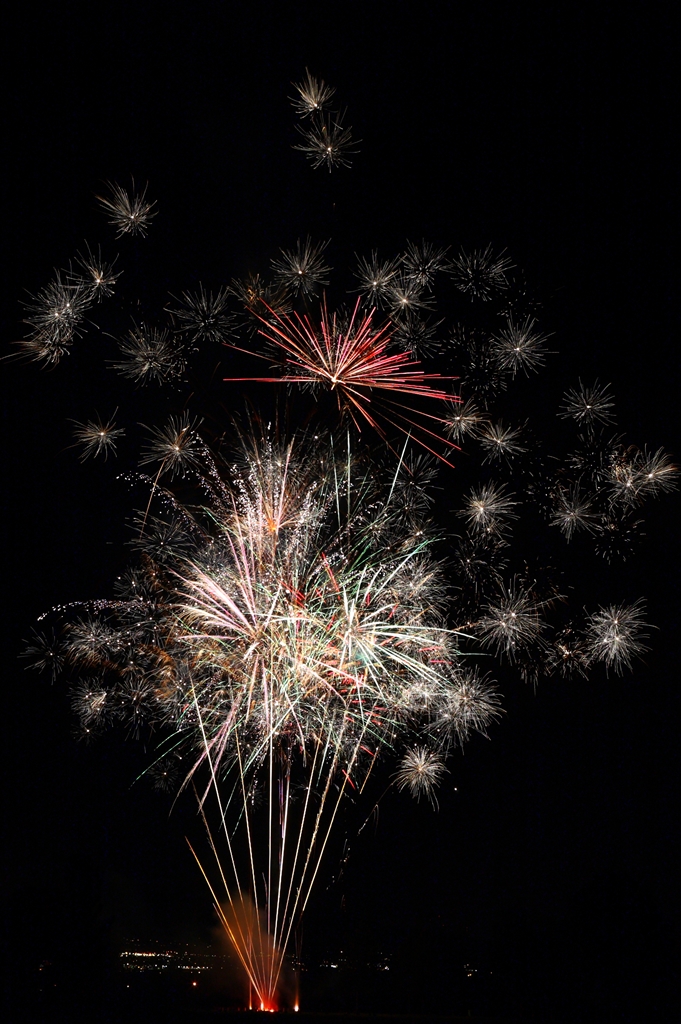
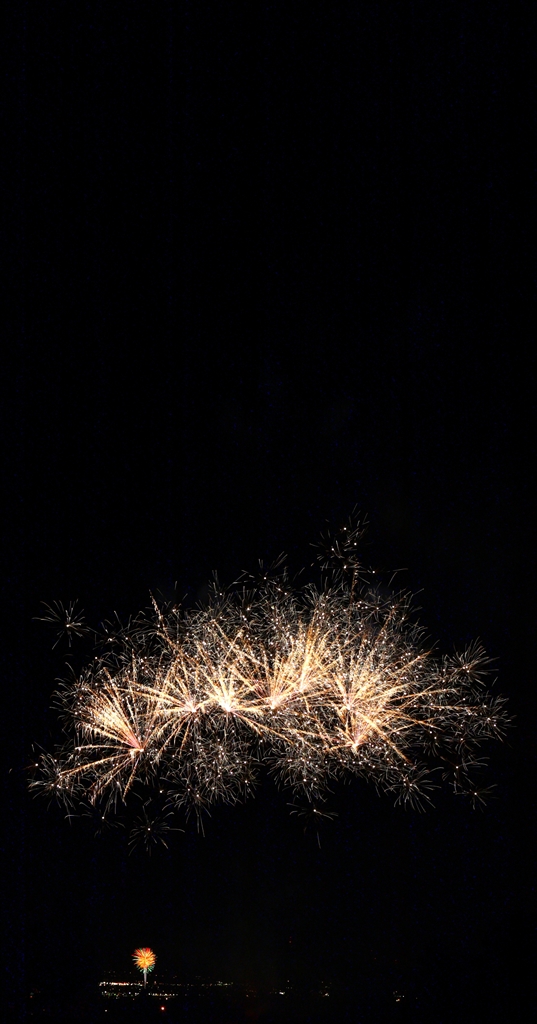
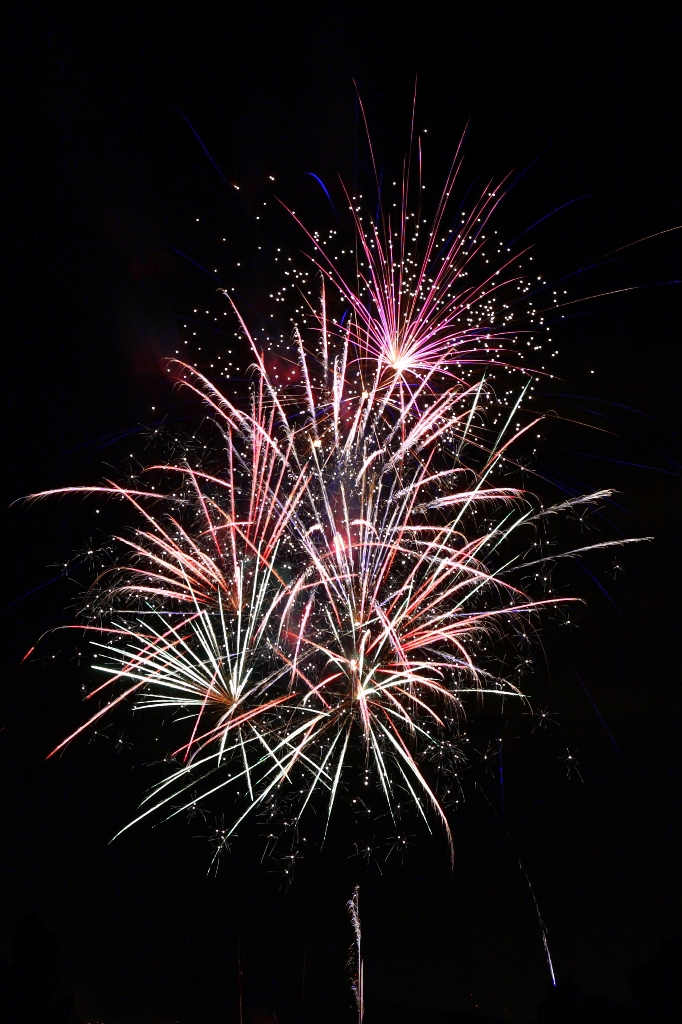
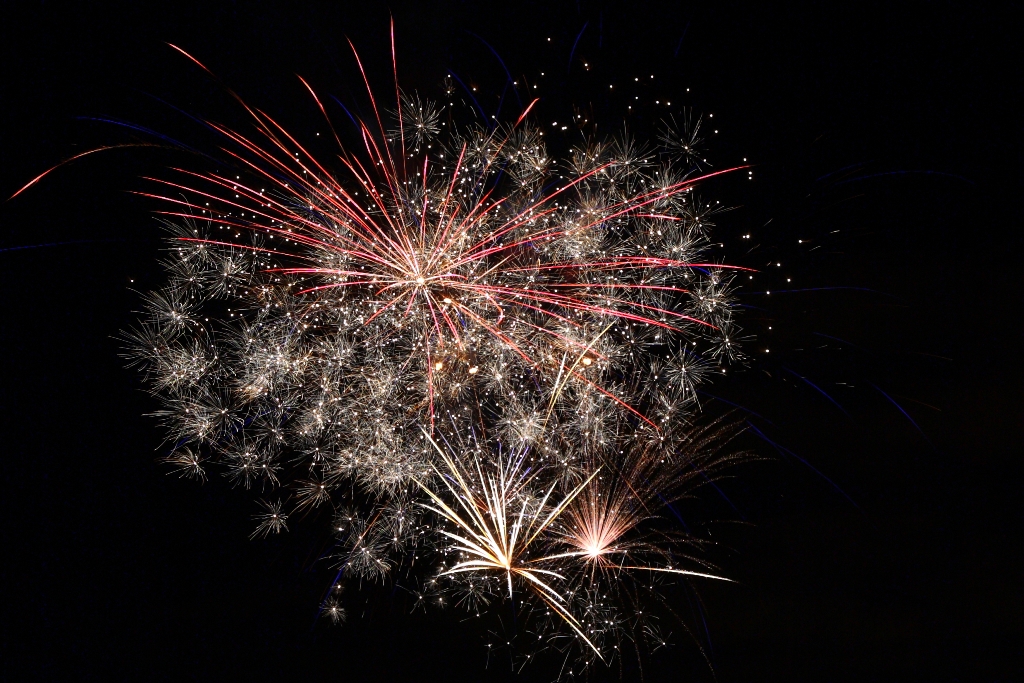
4th of July Fireworks Part II (and how I did them)


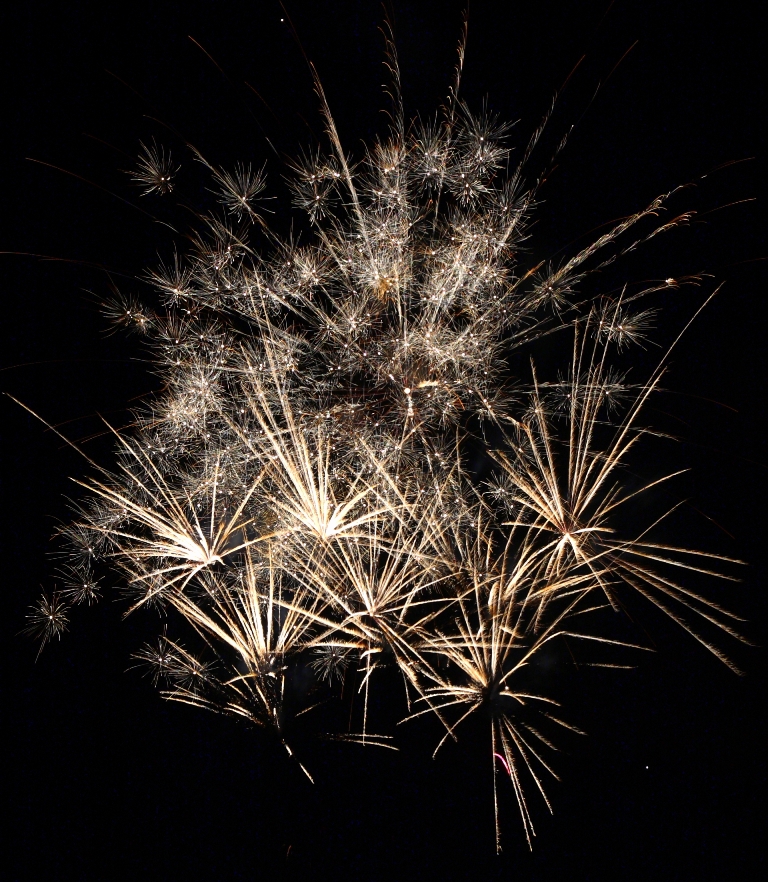
In Wednesday’s blog,  I presented photographs I took of fireworks during Monday’s 4th of July celebration here in El Paso, Texas.  Today I’ll highlight  more pictures taken that same evening, and this time I’ll give you information on how I took them.

I more and more frequently find myself using a simple point-and-shoot for much of my photographic needs, but occasionally I simply have to get out the more sophisticated equipment to get the most out of certain subjects.  For these shots I used my trusty, tried-and-true  Canon EOS 5D.  The great thing about the 5D is that it was the first “affordable” digital single lens reflex (DSLR) on the market using a 35mm-equivalent sensor.  That means that not only would all my older Canon 35mm lenses work with the EOS 5D, but they would also have the same magnification factor as they did with my 35mm film cameras of the past.

The glass I chose for this outing was my only L-series, professional grade Canon lens—my Canon 24-105mm f/4 L IS (Image Stabilized) zoom.  This is my favorite lens, and the one that fills the requirements for the vast majority of my shooting situations.  It’s just that versatile, and the f/4 aperture in conjunction with the EOS 5D’s exceptional low noise performance at high ISO settings make it a true godsend in low light situations.

Also included in my kit that night was a tripod and, of course, a remote switch.  In the old days, our “remote switches” were cable releases that screwed into a small hole atop the shutter release button.  In the digital age, they’re now electronic switches that plug into the side of the camera to allow operation of the shutter without the need to touch the camera, thus reducing the likelihood of camera shake or vibration ruining the shot.  My choice of remote switch is the Canon RS-80N3.

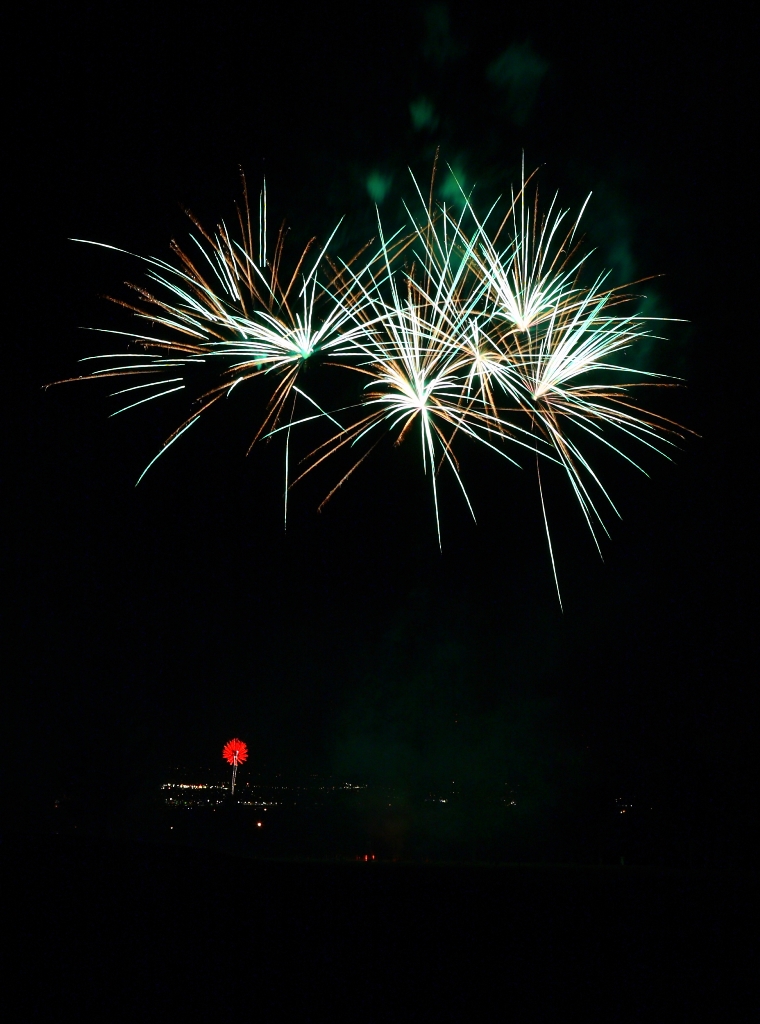
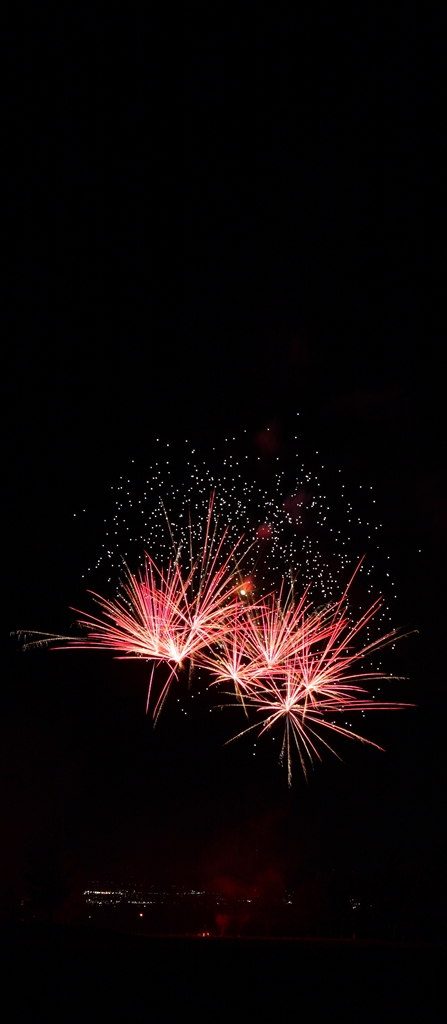
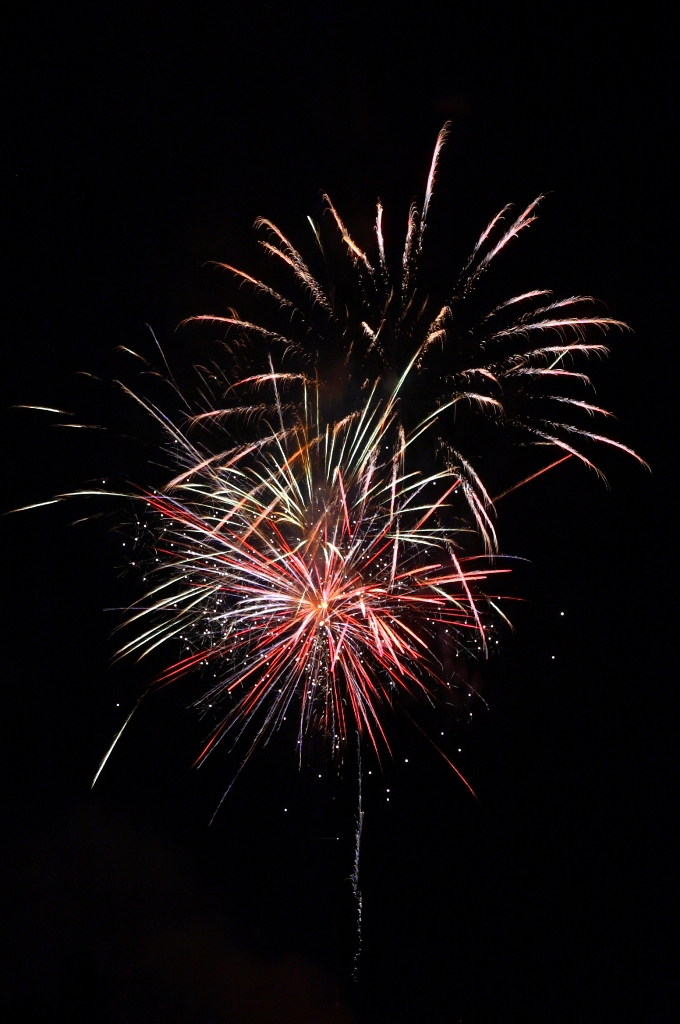
Now, the important stuff—camera settings:  I set the ISO to 100 to minimize noise.  I also have Custom Function 02 (C.Fn-02) on my EOS 5D set to option 2.  But you don’t care about that.  You just want to know what it does:  This setting applies additional in-camera noise-reduction processing for all exposures over one second.  Pictures were taken in Canon raw format to allow for the most leeway in post-processing, but I believe I could have obtained pretty much the same quality if I’d set the camera to shoot in JPEG format.  White balance was manually set to “tungsten” to give a more pleasing “warmth” to the colors.  I used Canon’s “Standard” picture style to obtain the highest preset color saturation because, let’s face it, with fireworks it’s all about the colors.  The lens was zoomed to approximately 40mm to obtain a sufficient amount of width to capture the action, yet still narrow the range enough to bring out detail from the bursts.  Exposure times were mostly in the one- to four-second range using the aforementioned remote switch, but some of the photographs were exposed for up to eight seconds with no visible degradation in quality or increase in detectable noise levels.  The lens aperture was stopped down to f9.0.  This was an arbitrary decision on my part, and it turned out to be almost exactly what I needed.  The aperture was wide enough to capture even the smaller sparkles, yet not so wide as to blow out detail in the brighter areas.  Indeed, in post processing I found that I could comfortably increase highlights without fear of blowing out details and colors.

The camera was placed in portrait orientation atop the tripod to take full advantage of the vertical travel of the rockets.

Post processing was kept to a minimum.  Indeed, after conversion to JPEG, the only post processing I did were minor tweaks in saturation, bumping up the highlights, and some creative cropping to increase the visual impact of the shots.  Conversion from raw was performed using Canon’s Digital Photo Professional, which I also used to correct lens aberration prior to conversion.  Post processing was done with Google’s Picasa photo editing software, which is available as a free download.

And here are the results:

2 Comments

Filed under Photography