
As we found out in Wednesday’s blog article (Black & White Photography—It’s All in the Color!), many of today’s higher-end DSLR cameras come equipped with the ability to digitally “filter” for Black and White (B&W) photography. These digital “filters” come in yellow, orange, red, and green. But what the camera is actually doing when these “filters” are employed is digitally shifting the camera sensor’s individual red, blue, and green channels to emulate the use of an actual filter. It’s a nifty little trick, and it saves you from having to actually purchase a set of expensive filters for your different lenses to get the most out of your B&W photographs.
But what if you don’t have a DSLR? What if your camera doesn’t have digital “filtering,” and only records photographs in JPEG format? I was recently asked just these questions by a reader of this blog. So, Camille LaGuire of the Daring Novelist Blog, this article’s for you. Now, let’s see how to bring out the Ansel Adams in your JPEGs by using a very easy post-processing technique using one of my favorite FREE photo-editing software programs—Google’s Picasa (Link to Windows version) (Link to Mac version) (Link to Linux version).
Picasa is remarkably sophisticated for a free program. It never ceases to amaze me with its versatility and capabilities, and I’m still discovering features. In fact, I discovered the following nifty tool just yesterday when I started pondering Camille’s questions.
When you open a photograph in Picasa’s editing window, there are three tabs to the left of the image—“Basic Fixes,” “Tuning,” and “Effects.” Under the “Effects” tab are a dozen options, including the one concerning today’s topic. And, no, it’s not the “B&W” option in the top row, right column. Look further down, all the way down to the last row of options. The option we’re looking for is in the left column of the bottom row, the one marked “Filtered B&W.” Select that option and your photograph will immediately be stripped of all color and a small, multi-colored square labeled “Pick Color” will appear in the editing window.
Clicking on “Pick Color” brings up several options. The multi-colored square enlarges and an eyedropper appears in place of your cursor. Above this square is a line containing eight colored hexagons in the following order: light green, light yellow, yellow, intense yellow, light orange, orange, red, and finally dark green. Now this is truly amazing, because my Canon EOS 5D only gives me four filtering choices for B&W photographs. Picasa is giving me eight for far more control over B&W filtering effects.
And what are the effects? Take your eyedropper cursor and slide from left to right to find out. As we learned on Wednesday, the B&W filters most often used for landscapes are yellow, orange, and red, and that as you go up that scale anything that was formerly blue or green becomes darker while anything that was previously in the warmer range of colors (yellows, oranges, and reds) will brighten. Thus, if you’re editing a landscape, watch the sky darken and clouds suddenly pop out as you go up the scale from light yellow to red. Green foliage and blue pool water will also darken at the same time. Place the eyedropper over the light green hexagon and the sky lightens and clouds fade. Go to the dark green option and the fainter clouds closer to the horizon will disappear altogether while the water in the pool becomes almost white. If you’re editing a portrait, then you generally want to use the cooler green filters to darken skin tones and increase contrast.
But Picasa doesn’t just stop at a mere eight filtering possibilities. Take your eyedropper cursor back down to that enlarged multi-colored square. It’s actually a palette. Start moving your eyedropper around and watch what happens to your photograph. Suddenly, you’ve gone from just eight possible filtering effects to literally tens of thousands. Now that’s control.
Once you’ve found a filtering effect that you like, whether in the upper row of eight hexagons or in the enlarged filter effects palette below, left click your mouse to set it. If you’re still happy after you’ve set the effect, go down to the “Apply” button. If you want to do a bit more experimenting, just hit “Cancel.”
A word of caution: If you intend to use Picasa’s “Filtered B&W” tool, do not take your photographs in your camera’s B&W mode. When you do that, your camera discards the original color information. Picasa needs that color information in order to apply the filtering effects. If you take black and white photographs, Picasa cannot possibly figure out from the monochrome JPEG file what the original colors were, and thus cannot digitally “filter” those colors after the fact.
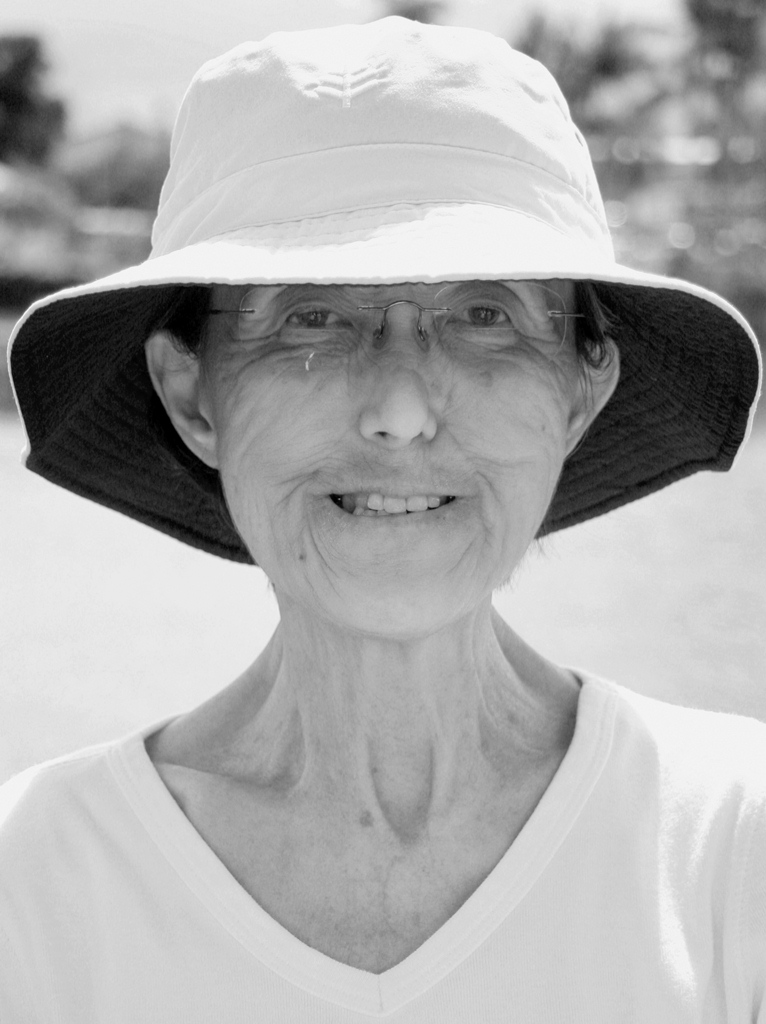
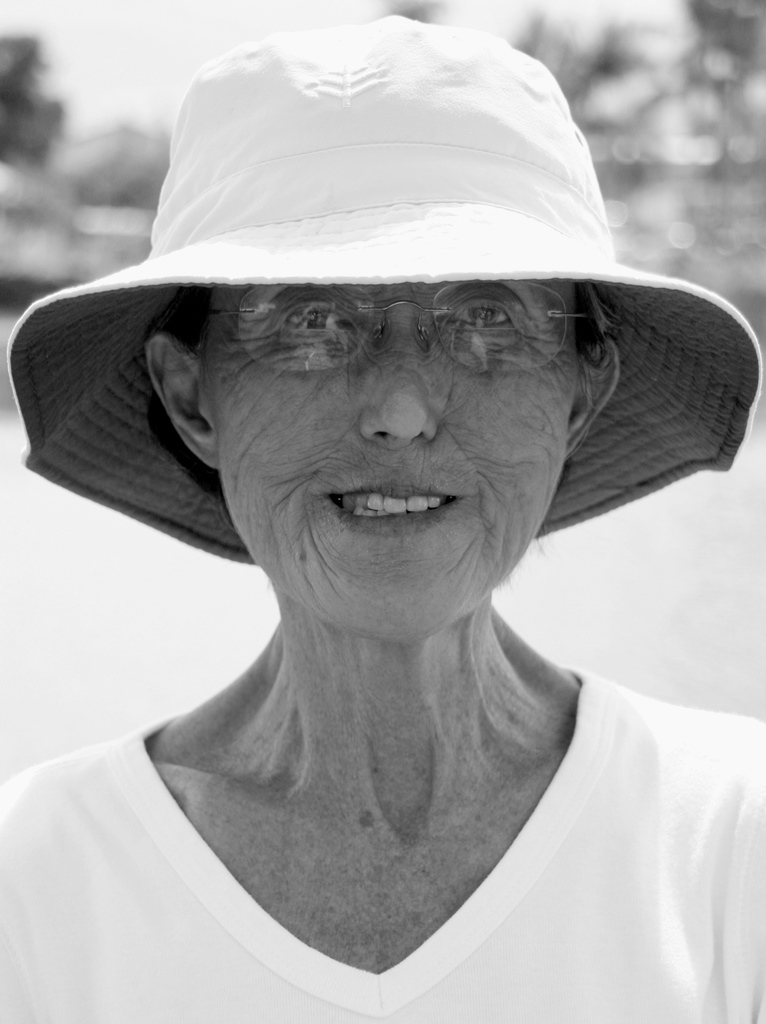
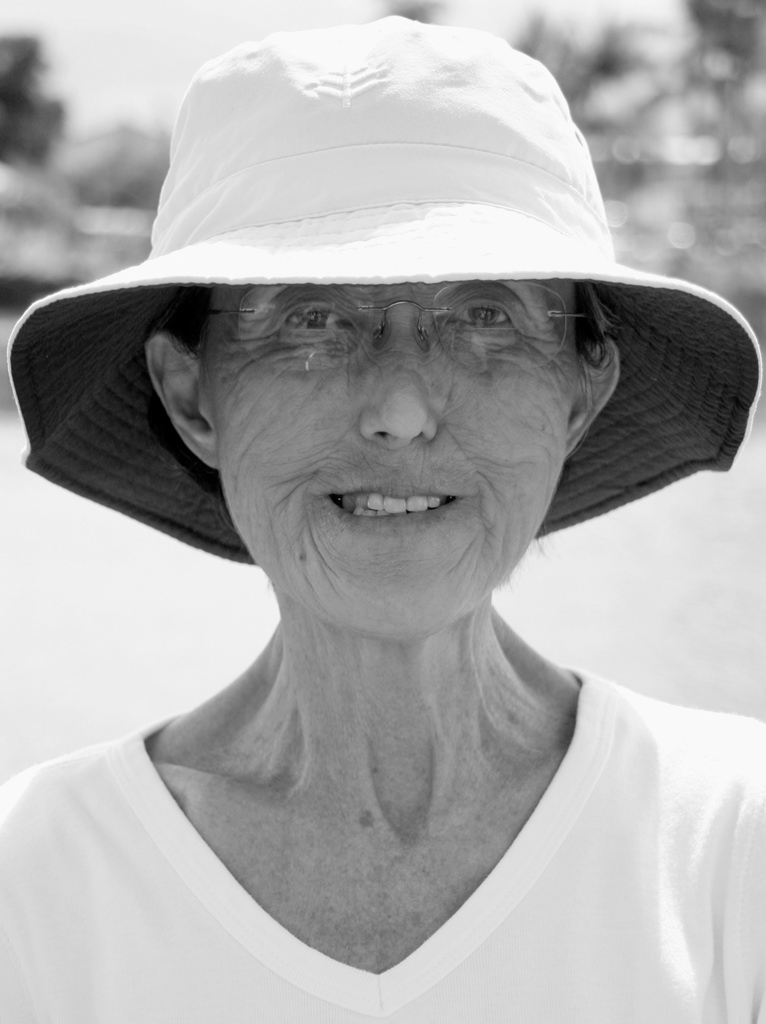
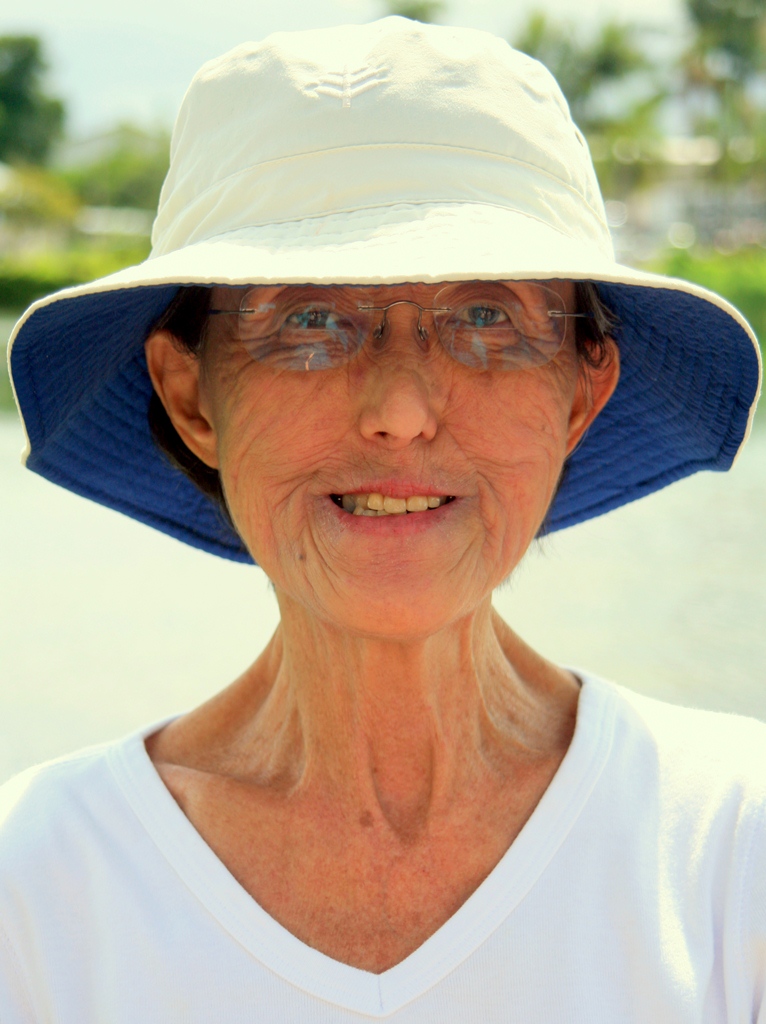
For today’s demonstrations, I chose three color JPEG photographs, all of which had minor adjustments made prior to conversion to B&W. No additional post- processing was done after B&W conversion except for Picasa’s filtering effects. What follows below are four columns in three rows. The pictures from left to right are: Color JPEG, Unfiltered B&W, Dark Green Filtering, and Red Filtering. I chose dark green and red for this demonstration because their effects on colors are the most intense and at the opposite ends of the spectrum—green filtering lightens greens and blues while darkening yellows, oranges, and reds; red filtering lightens yellows, oranges, and reds while darkening greens and blues.


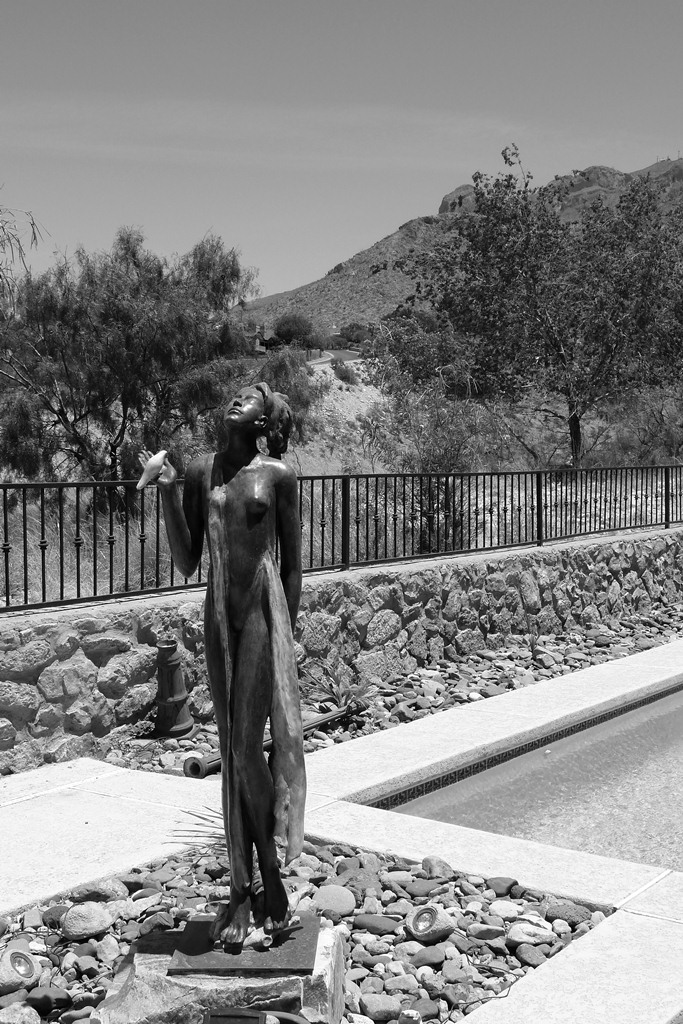
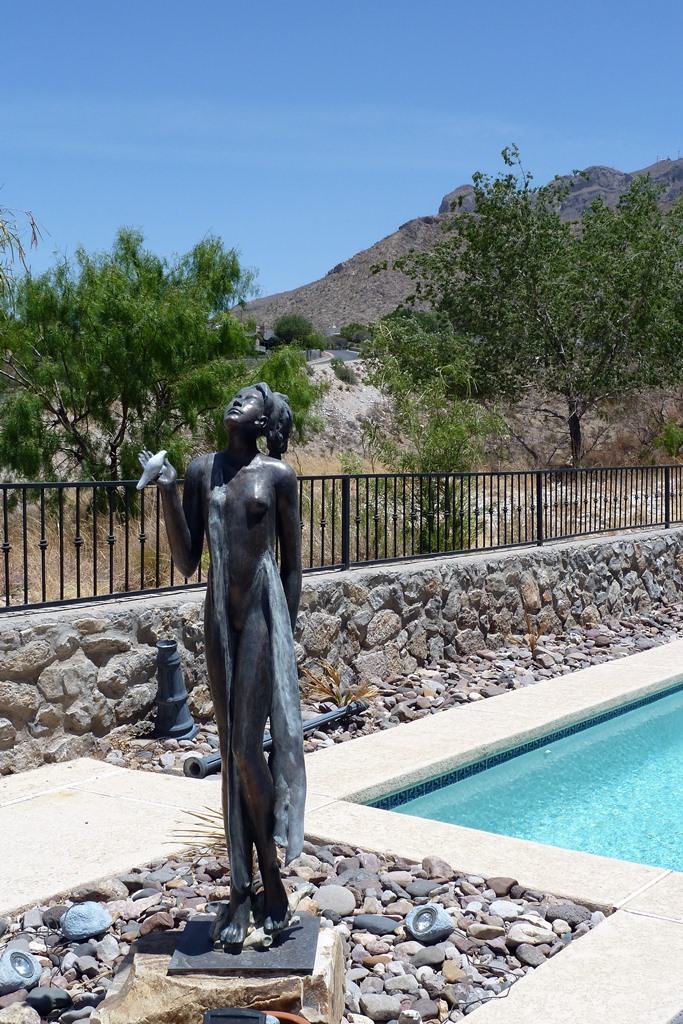
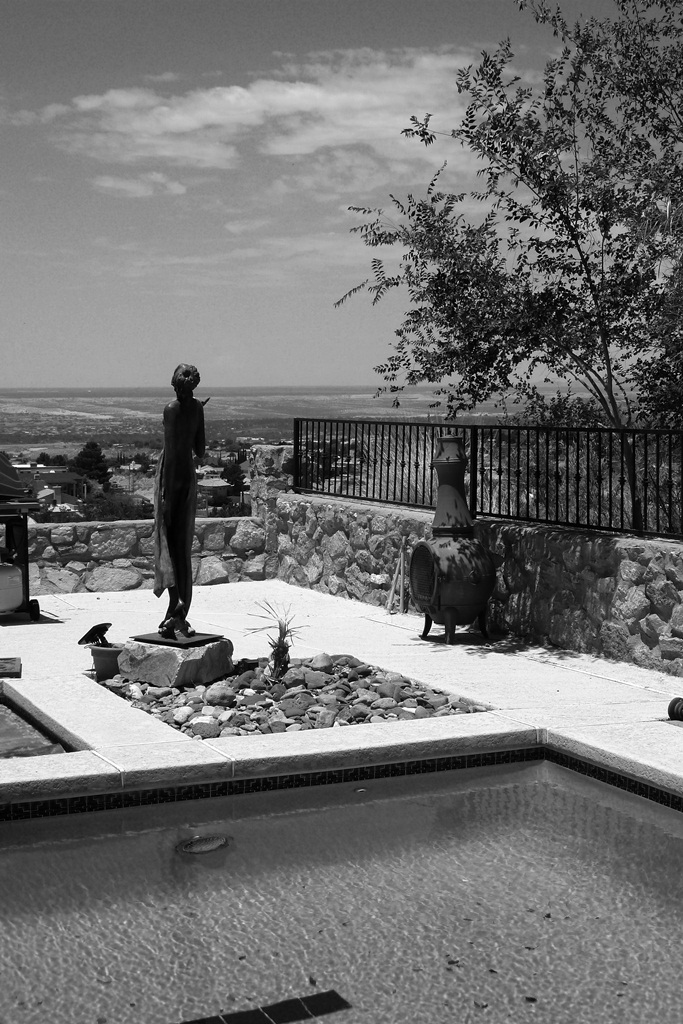
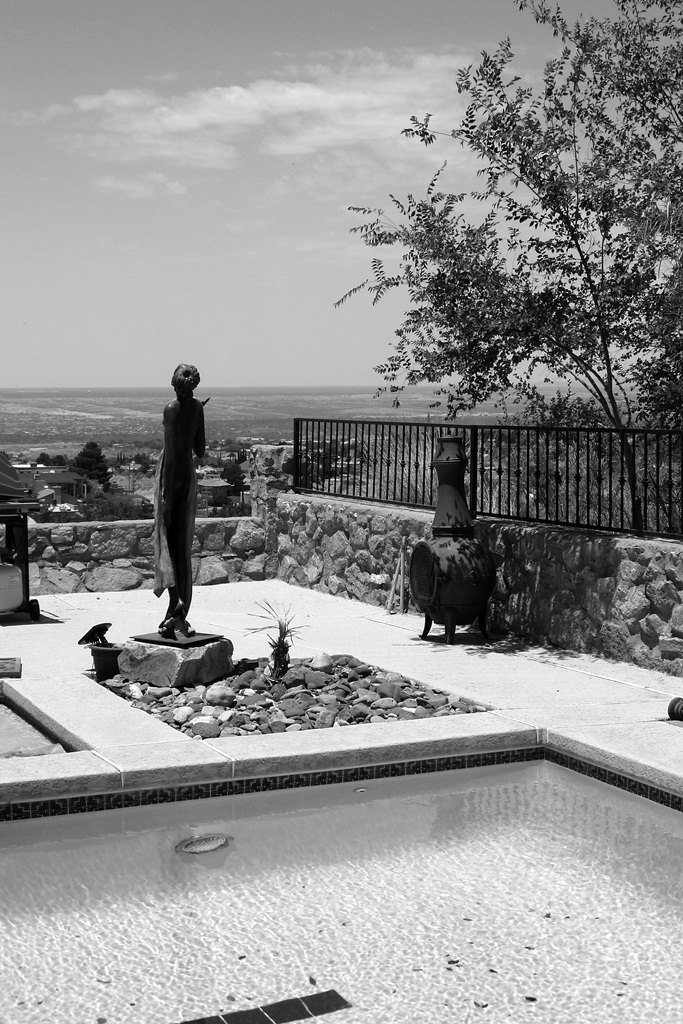
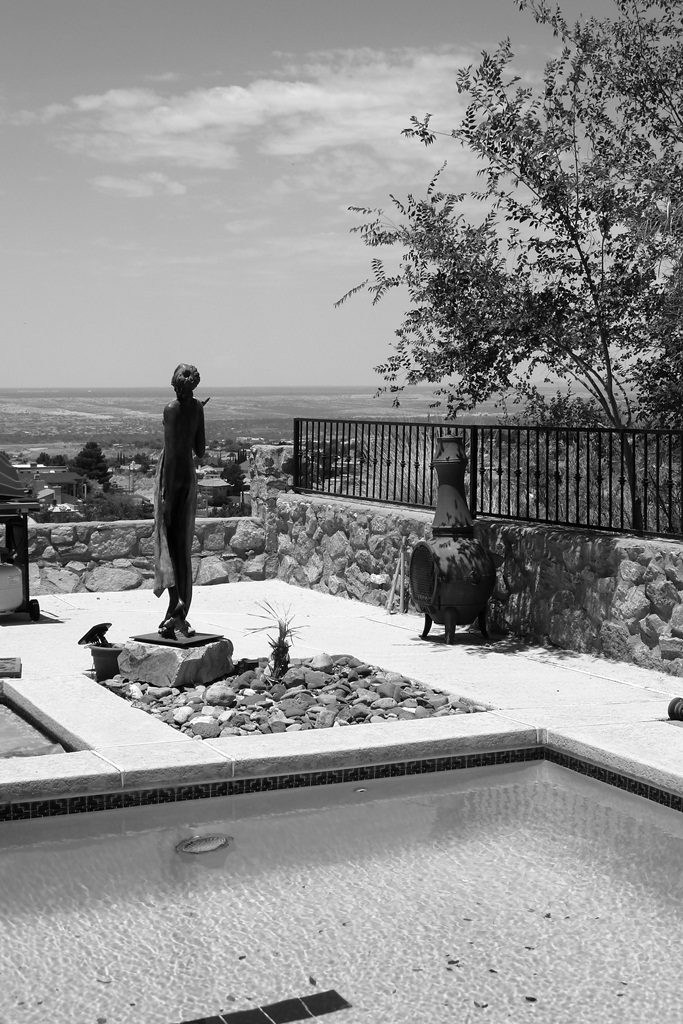
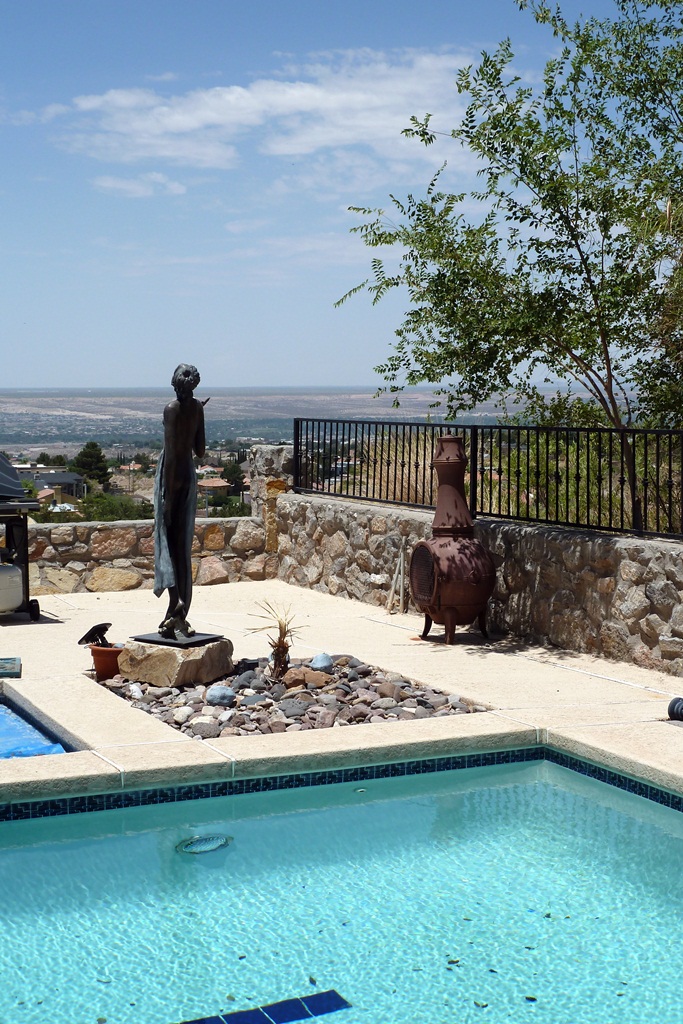
In the top row, notice how the red filtering (right-side photograph) shows the most dramatic sky and how that darkened sky brings out clouds in the background far better than the unfiltered version (second from the left). In the next row there is a very faint, wispy line of cirrus cloud cutting across the sky near the top. It’s just barely visible in the color and unfiltered versions, almost completely vanishes in green filtering (third from the left), and is the most prominent in the red filtered photograph.
But watch what happens when we go from landscapes to a portrait shot. If this case, we want to enhance the warm colors and suppress the cooler colors. This brings out more detail and contrast in the face, thus giving the portrait far more character than would otherwise be achieved without filtering. Suddenly, it’s the green filtering that really pops, while the red filtering washes out the face giving it an unflattering ghostliness that does nothing to enhance the subject.
So, there you have it. Don’t have an expensive DSLR with internal B&W digital filtering capability? You no longer need it. Download Google’s Picasa and your problem is solved. Indeed, you’ll have much more filtering control than your DSLR with its internal digital filtering capabilities could ever achieve.
 Decisions — Murder in Paradise
 The Globe — Murder in Luxury
Thanks for a great well written article, Im downloading picassa right now and looking forward to converting some portrait shots i took yesterday.
Thanks again!
Jeff
Amateur photographer ?
Isle of Man
Hope you enjoy it and get some really good B&W conversions out of it, Jeff. It’s a pretty versatile little program, considering it’s free, and the B&W filtering capabilities are among the best I’ve seen.
Pingback: The Mexican Riviera—Ixtapa and Puerto Vallarta | R. Doug Wicker — Author
Pingback: Color Filtering in Black & White Revisited | R. Doug Wicker — Author
Pingback: Photographing the Old West | R. Doug Wicker — Author