I was recently sent a link to some pictures taken by an online friend who wanted to know what I thought of them and asking my opinion on suggested improvements. Now, I don’t really enjoy critiquing some else’s artistic endeavors. Doing so makes me uncomfortable. Art truly is in the eye of the beholder and my opinion may not be the opinion of others. Nevertheless I decided to give it a go, but I had insufficient information. You might ask why that is, since I had access to the actual photographs, but that isn’t really enough. To really help M. Schwartz (photographer’s nom de plume of choice) I needed to know the camera used so that I could better analyze the photographs in the context of the capabilities of both the camera and lens, so I asked. Turns out that the photographer was using a Nikon Coolpix S550 (which, if I’d been thinking, I could have ascertained via the EXIF metadata embedded into the photographs—but obviously I wasn’t thinking). Armed with that information, I was able to download a copy of the S550 User’s Manual and give tips appropriate to the specific camera.
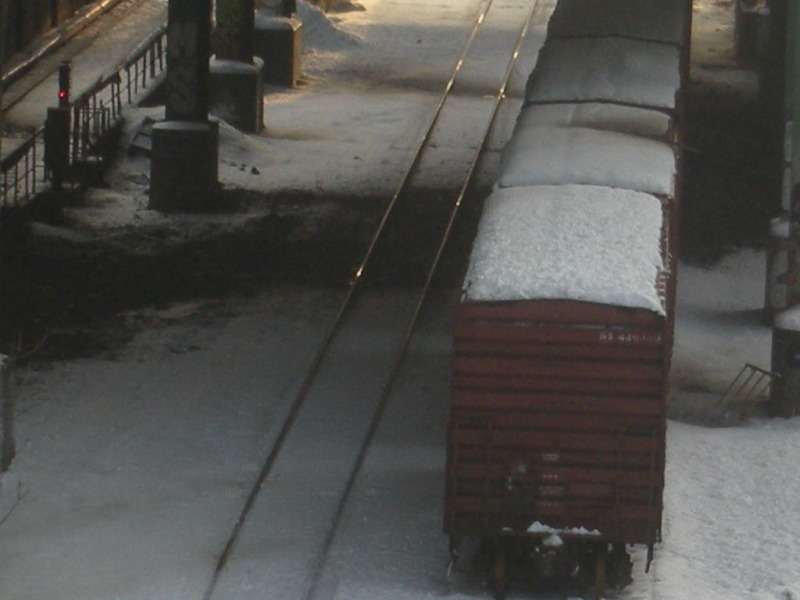
But first, a word about the conditions under which these photographs were taken. The photographer was faced with the challenge of aiming the camera’s lens through a chain-link fence, which greatly reduced the photographer’s options on camera placement, angle, zoom, and ultimately even composition. Consequently, some of the photographs were post-processed to zoom in and recompose digitally after the fact, which is not the optimum way to improve any shot. Finally, the photographer was maneuvering in ankle-deep snow in temperatures hovering around the 20° mark (-7° Celsius) beneath cloudy skies aiming at subjects further shaded by an overpass and surrounding vegetation. These are conditions that would challenge many experienced photographers, me included. All things considered, these shots represent a valiant photographic effort.
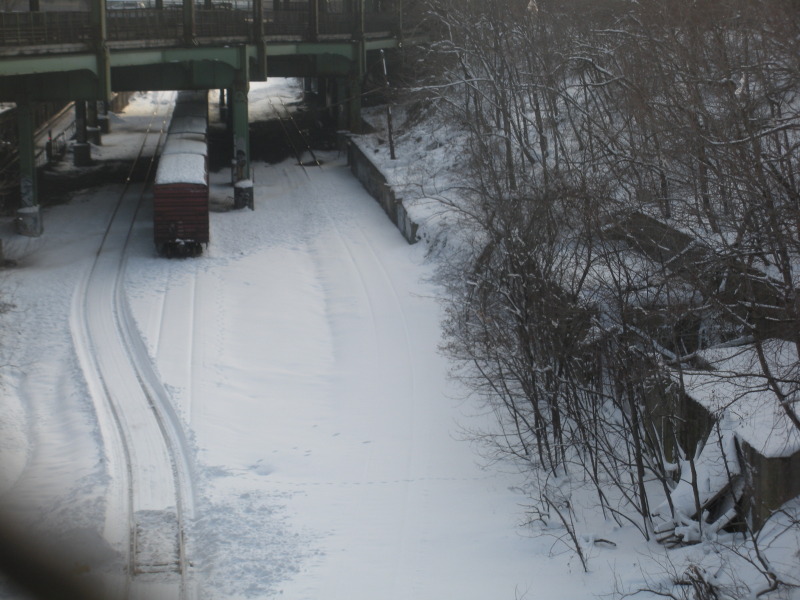
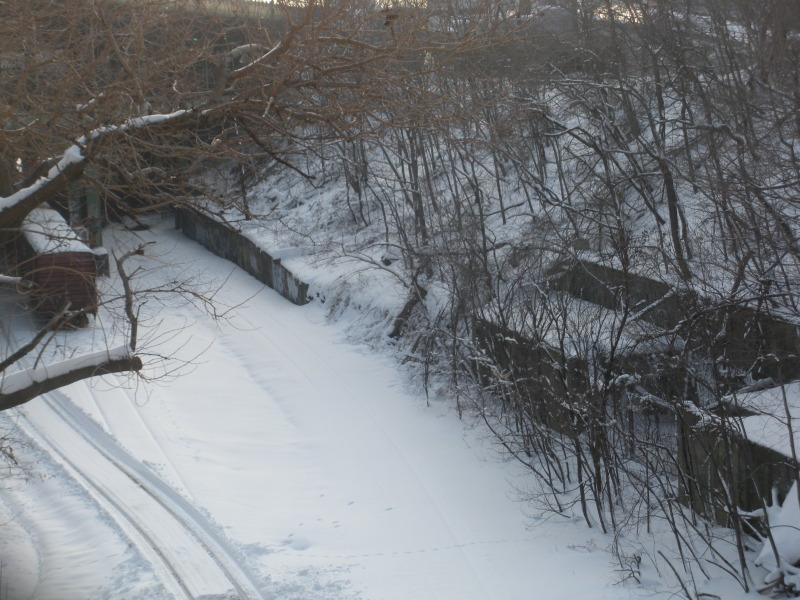
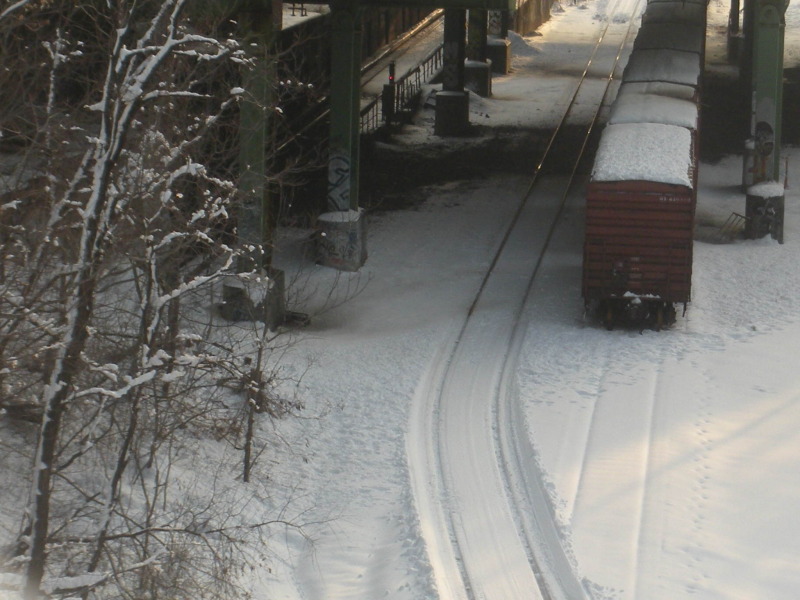
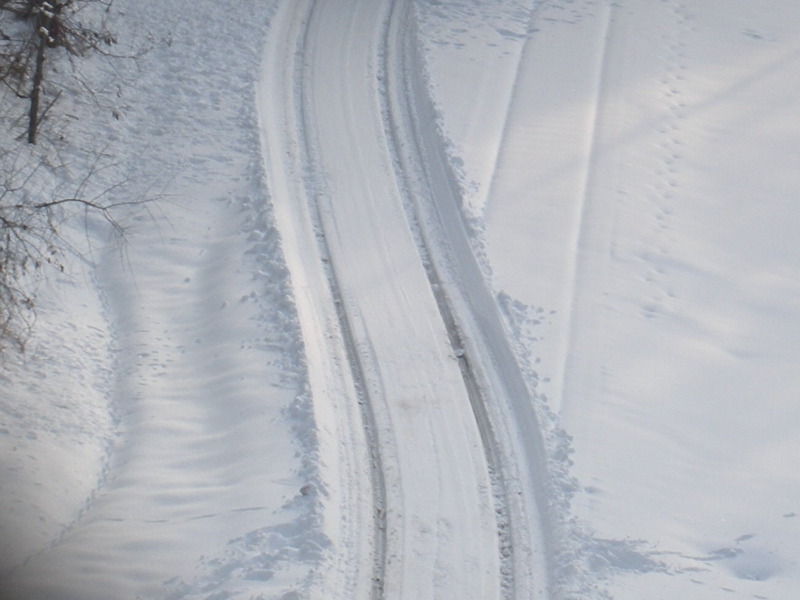
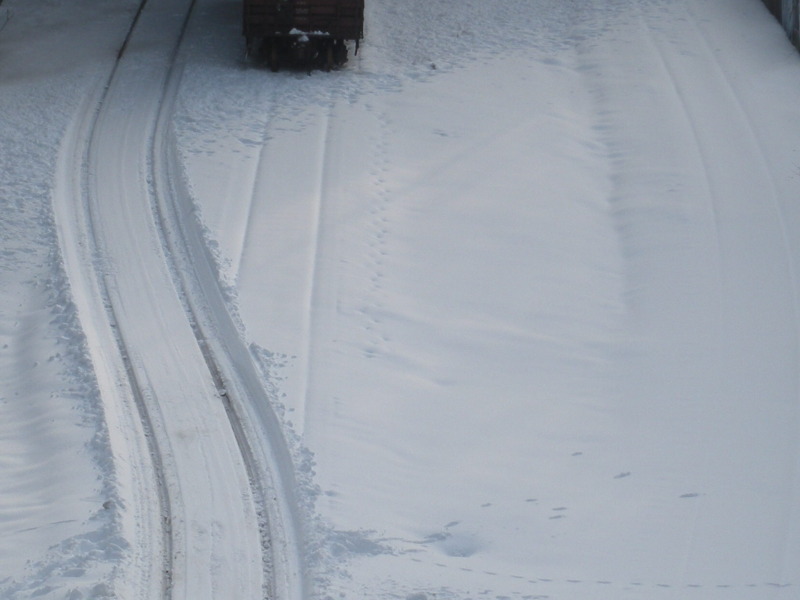
Here are the photographs in question (reprinted with permission of the artist/copyright holder):
After some thorough analysis and research, here was my response:
Dear M. Schwartz,
So sorry about taking so long to get back to you. And believe it or not, I lost the first version of this because my message on KindleBoards timed out and I lost it, so I’m having to retype it (this time using WordPad).
Composition-wise, I really liked some of your shots: 3, 5, 6, 14, and 16. Shot 13 had some real promise, and I can see why you chose to center the subject rather than use the Rule of Thirds, but if you’re going to forgo that rule you need something else to give the shot visual interest. In this case (and as a way of improving a little on shot 14 as well I might add), I would have held the camera vertically to give the tracks through the snow greater depth. This is known as a “portrait” orientation (taller rather than wider). Holding the camera normally, as you did in all these shots, is called a “landscape” orientation. Another way you could have improved on shot 13 would have been, in addition to a portrait orientation, angling the camera so that the tracks started in a foreground corner and receded near the top center, or perhaps even cutting diagonally across the frame.
Your camera’s automatic white balance worked fairly well, but it didn’t quite compensate enough. This is evident in the bluish tint of the snow. Looking at page 89 of the Nikon S550 User’s Manual, you will note that the S550 has in addition to an automatic white balance mode a “Preset Manual” mode, which you probably don’t want to mess with until you get really experienced, and five specific lighting modes: Daylight, Incandescent, Florescent, Cloudy, and Flash. Unfortunately not included in those modes is a separate “Shade” setting, but “Cloudy” will help resolve most of the bluish tint you would get under those circumstances. A good rule of thumb on when to take your camera out of automatic white balance mode is this: If the frame is filled primarily with one strong color (the green of a forest, yellow from a carnation, the bright red of a rose, or, in this situation, the stark white of a field of snow beneath cloudy skies), then switch to another white balancing mode to ensure accurate color rendition. If the sun is out go with Daylight. If it’s cloudy or if your primary subject is in shade, set the camera to Cloudy. In this case, most of the blue tint would have been reduced, resulting in a whiter-looking snow and better rendering the color of the freight car.
Unfortunately even changing the white balance would not have given you the stark whiteness you would have looked for in the snow because your S550’s exposure meter was completely fooled by the amount of light reflecting off the snow. That is why the snow is a dingy gray in almost every shot. Go to page 34 of the manual, “Scene Modes.” There are fifteen such modes listed. One of them is “Beach/Snow,” which is covered more in-depth on page 37. Had you set your camera to this mode it would have increased exposure, probably by around one full stop. That equates to a doubling of the exposure, which would have greatly increased the whiteness of the snow and better rendered the color and fine details of the freight car and railroad tracks, which are currently lost in the darkness.
But even your camera’s Beach/Snow mode probably would not have compensated enough, as beach sand is usually not as bright as snow and that means compromises had to be made. While this mode may have gained you as much as one full stop, you probably needed closer to 1.5 to two full stops to get the best and most accurate exposure. Thus, this next tip would have fixed this situation even better.
Go to page 32, “Exposure Compensation.” This will tell you how to manually adjust the exposure compensation for any given shot, either by reducing the exposure or increasing it. The S550 can compensate ± 2 stops in ⅓ increments. Since snow is highly reflective, you would have wanted to compensate by increasing the amount of exposure initially by 1.5 stops. Reviewing a test photograph on the LCD you could then increase the amount of exposure if the snow were still gray-looking, or back off the exposure if the overall frame were overexposed. After adjusting exposure compensation accordingly, retake the shot and verify again on the LCD.
While we’re on the subject of exposure compensation, let’s get off topic for a moment and talk about sunsets. Your camera has a Scene Mode for that as well. Sunsets represent the opposite problem from that encountered in snow because these pictures often come out overexposed, requiring decreased exposure compensation. If you don’t compensate, that dark horizon will fool your camera’s built-in light meter and as a result those bright oranges, reds, and purples you were trying to capture will get washed out. in a muddled sea of overexposed light. In this case, either go with the Sunset Mode on your S550 or, if you really want to be in control, set the white balance to daylight and adjust the exposure compensation to -1. Again, take the shot and adjust the exposure compensation accordingly.
I hope this helps you out and that it wasn’t too technical. Please let me know if it was, and also if referring you to specific pages in your camera’s User’s Manual assisted in the explanations.
Gee . . . this would have made a really good blog. You wouldn’t want me to make you famous and get your pictures some additional exposure (pun intended) would you?
One thing I neglected to include in my correspondence to M. Schwartz was an admonition to make sure you put your camera’s settings back to automatic white balance and zero out the exposure compensation when you’re done. Otherwise all subsequent pictures may turn out incorrectly tinted and exposed.
You will no doubt notice that two of the topics covered here (composition and exposure compensation) were discussed in previous blog entries:
Honey, Why is the snow so gray . . .
The Rule of Thirds
Hopefully, this advice helps to reinforce those tips by showing their application in real world photography. Many thanks to M. Schwartz for the use of the photographs and for agreeing to allow me to reproduce here my research and advice. I hope others found this information informative as well.
The Photo Clinic is now closed.

















 Decisions — Murder in Paradise
 The Globe — Murder in Luxury

