Category Archives: Photography

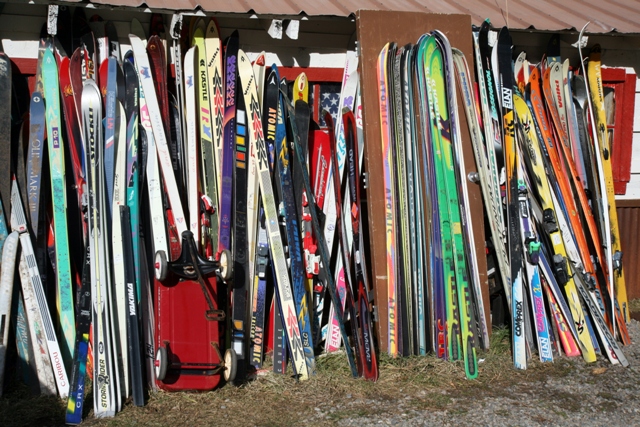
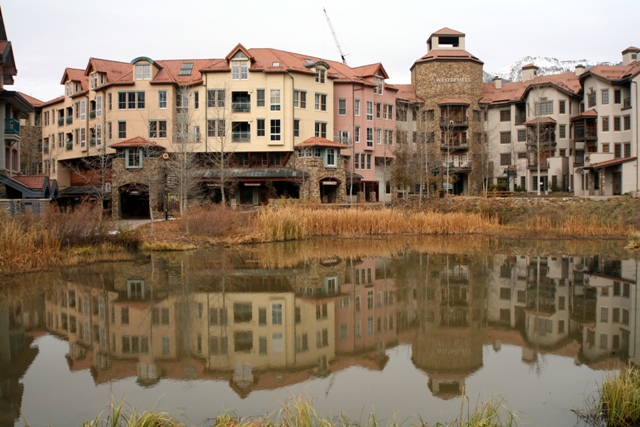
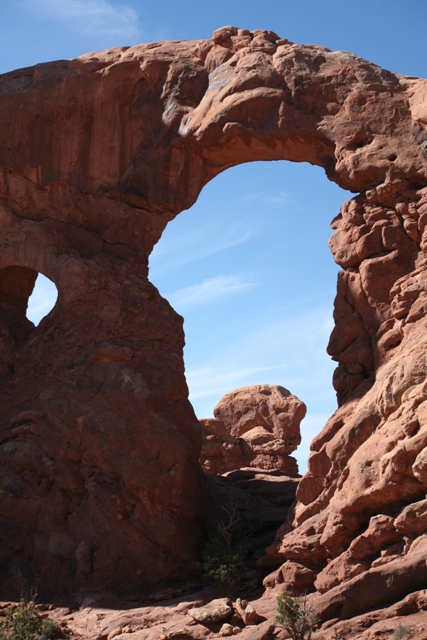
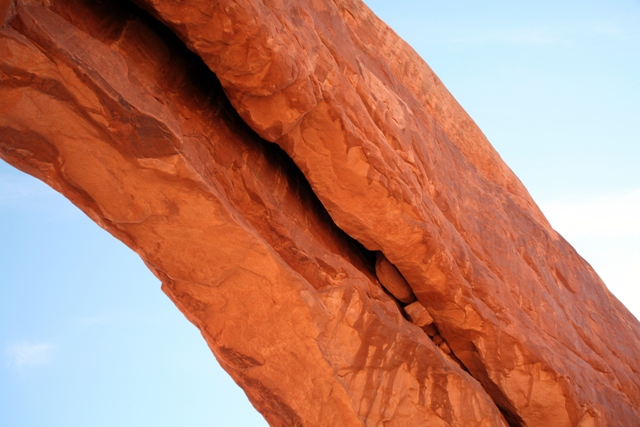
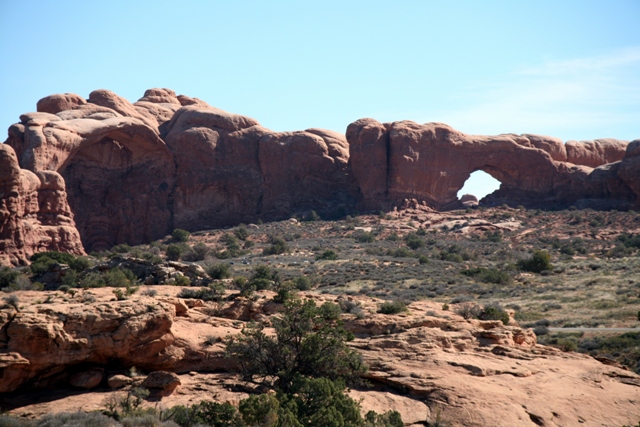
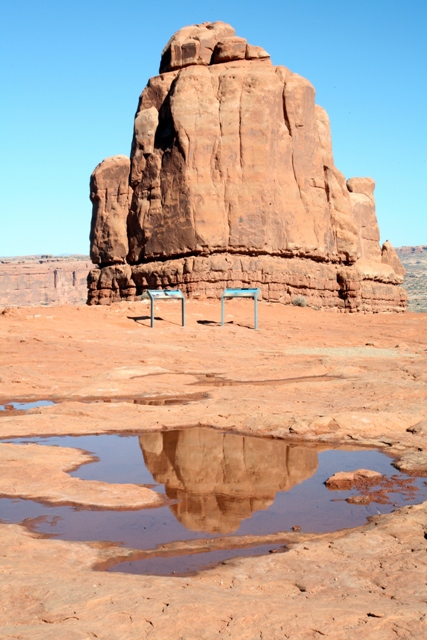
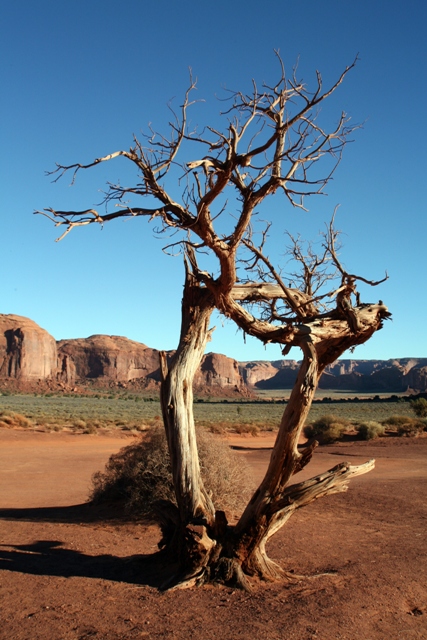
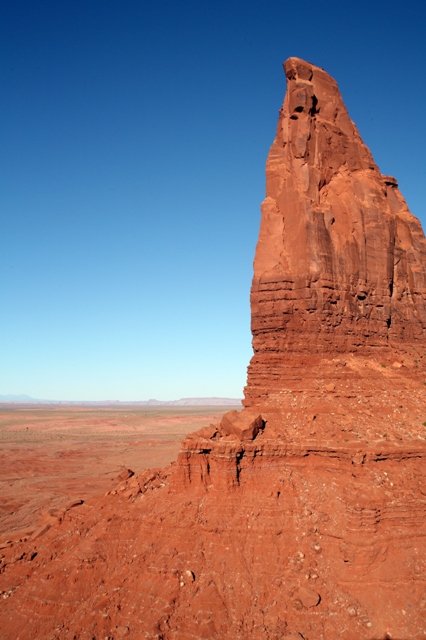
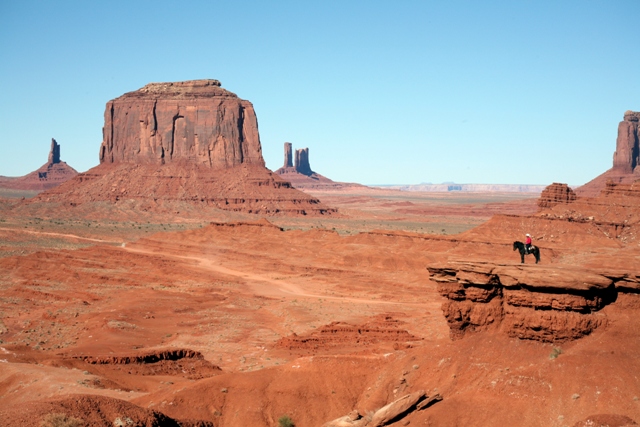
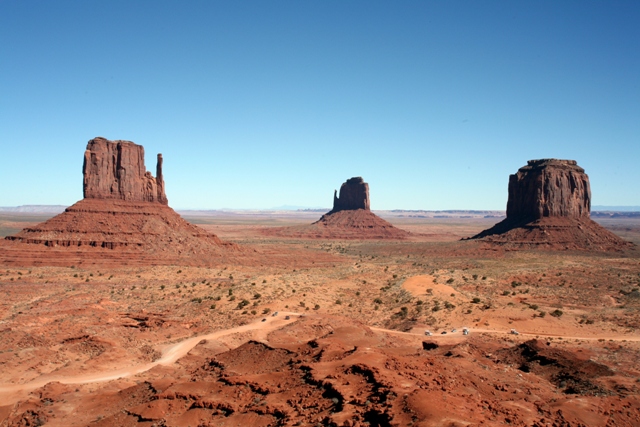
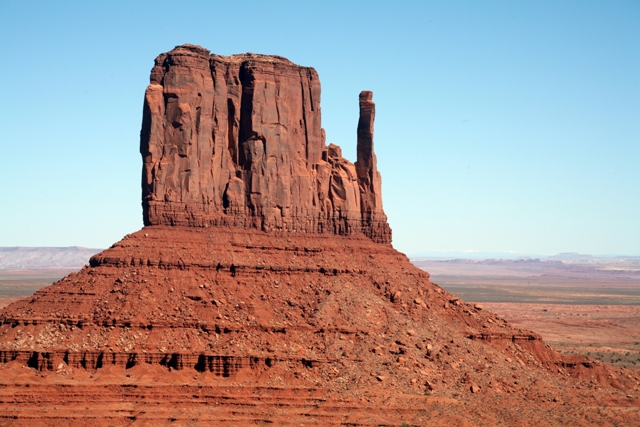
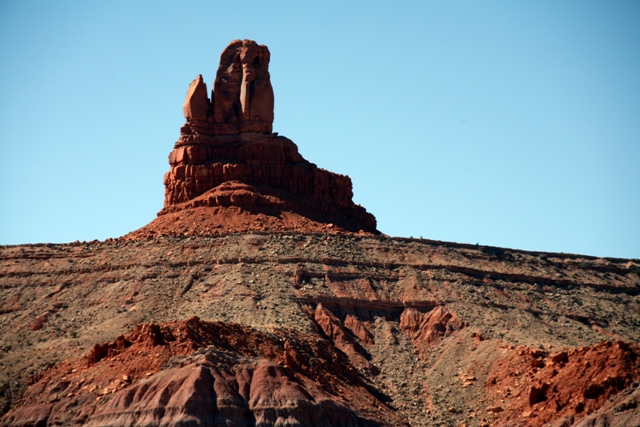
Monument Valley, Arches N.P., Telluride, Ghost Ranch, & Santa Fe


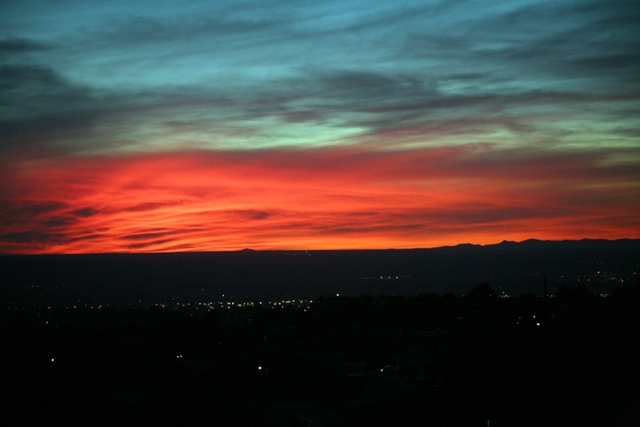
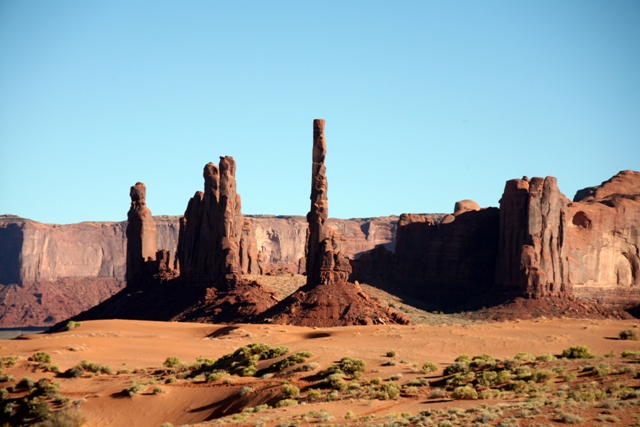
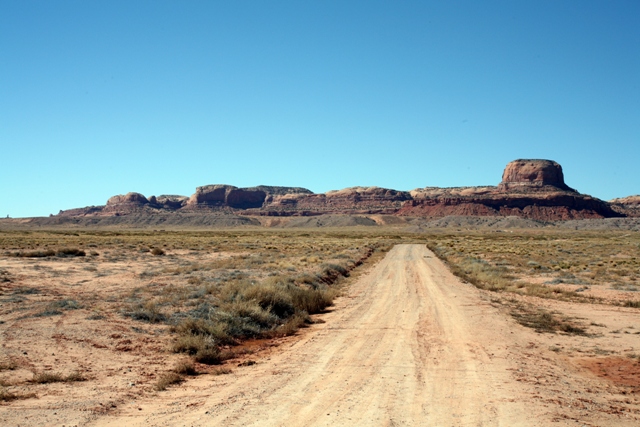
I love the Desert Southwest.  The climate is great almost year-round.  The sights are incredible.  The sunsets can’t be matched anywhere for vibrancy and color.  And it’s a photographer’s paradise.  Add a road trip and you multiply your photographic opportunities.

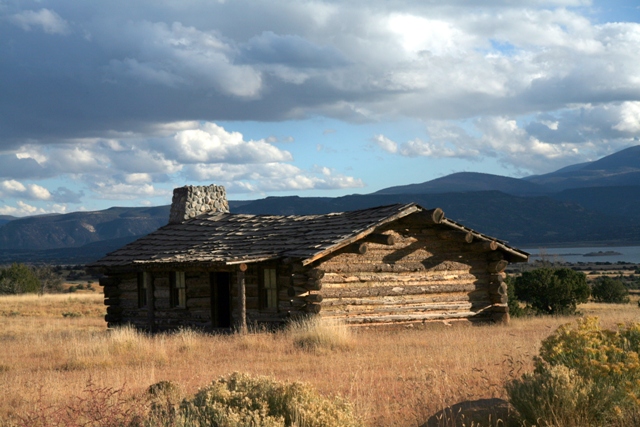
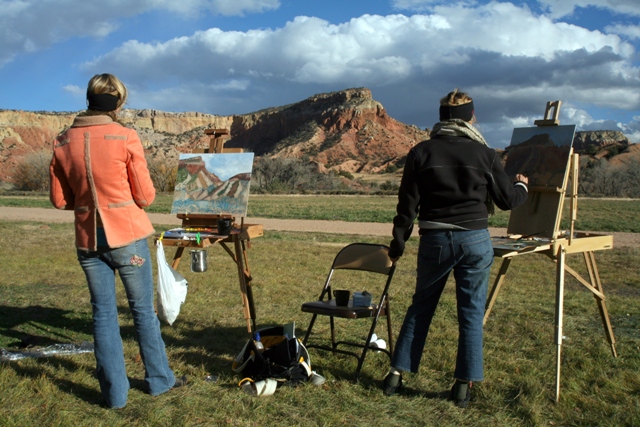
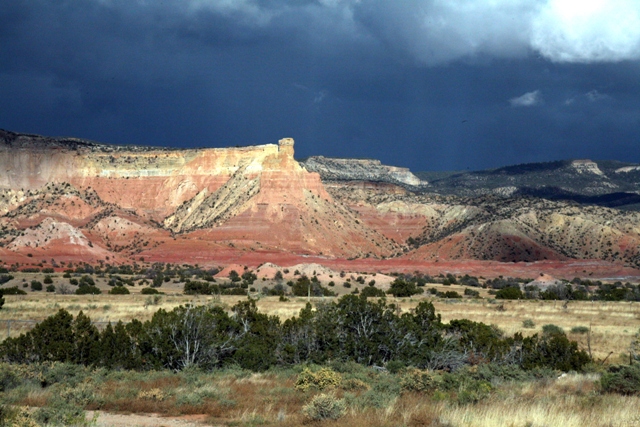
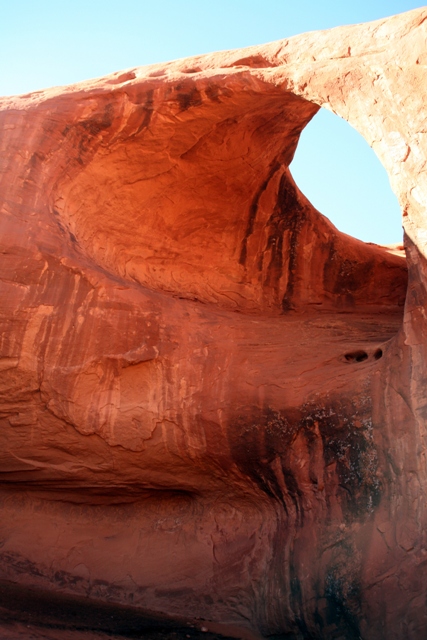
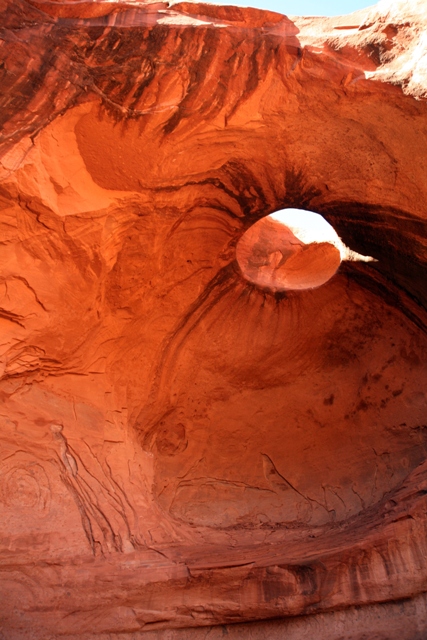
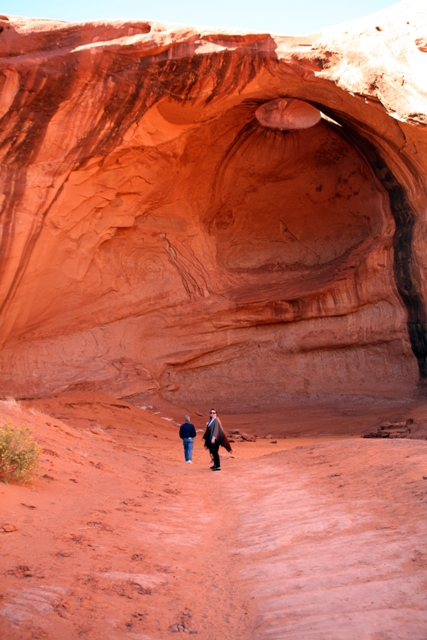
The following vistas were photographed on one such road trip Ursula and I took back in October of 2006.  That trip took us through Monument Valley, Arches National Park, Telluride, the Ghost Ranch of Georgia O’Keeffe fame, and Santa Fe.  Some of the Ghost Ranch and Santa Fe shots are a bit dark because I somehow inadvertently set a -1.33 exposure compensation on my camera and didn’t catch it right away.  See?  Even an experience photographer can make the occasional boneheaded mistake now and then.  Anyway, I’ve post-processed some of that error away.

1 Comment

Filed under Photography, travel

Don’t Be a Casualty of the Great Megapixel War


After a brief respite, the Great Megapixel War is back in full swing. It seems camera manufacturers are upping their cameras’ megapixel ratings on almost a monthly, if not weekly, basis.  Unfortunately, there are other factors far more important than the number of megapixels crammed on that camera’s sensor, and most digital camera purchasers don’t have a clue what those factors are.  To illustrate my point please allow me to relate the following story:

I started using 35 mm cameras well over forty years ago, starting with a Petri 7s Rangefinder I saved up for and purchased when I was around fourteen or so.  I’ve been using SLR cameras since 1974, when I received on Christmas morning a really nifty Canon TLb.  Both cameras taught me a lot about photography, as did my all-time favorite book on photography The Honeywell Pentax Way by the late, great Herbert Keppler.  Because I was so enamored from such an early age with the 35 mm format, I delayed going to a digital SLR (DSLR) until someone came along with a (relatively) affordable “Full-Frame” version, meaning a sensor approximating the size of a 35 mm frame.  I was overjoyed when my old friends at Canon did just that with their breakthrough camera the Canon EOS 5D back in 2005.  When I finally got my 5D, my trusty old Canon EOS 10S was reverently and lovingly placed into semi-retirement, but still stands ready for those times when I want to revert back to 35 mm photography.

Alas, there are times when it’s just too darned inconvenient, cumbersome, or obvious to lug around such a huge camera and assorted lenses.  This is especially true when traveling abroad or in areas where thieves covet such gear.  I’m thinking specifically here places such as Rome, Athens, Barcelona, and Paris, where professional thieves working in packs can strip you practically down to your underwear in seconds.  Thus, I found myself just over a year ago in the market for a small travel zoom that I could take with me into areas or situations where a large, bulky DSLR just isn’t practical.

So it was in the early Spring of 2009 that I started shopping around for small camera that would give me at least acceptable pictures—not on par with my DSLR, of course, but at least something that would produce pictures I wouldn’t be embarrassed to show.  There were several competing cameras in the travel zoom category by then, including some rather nifty examples from my beloved Canon.  Indeed, many of these cameras offered 12 megapixels or more.  But being the photographic enthusiast that I am, I knew that megapixels do not necessarily equate to resolution, which is far more important.  Also, a higher megapixel rating often goes hand-in-hand with reduced low-light performance.  Obviously more pixels means smaller pixels for a sensor of any give size, and the smaller the pixel the more susceptible that pixel is to digital noise.  More digital noise means you have to lower the ISO setting of the camera to compensate.

After tossing aside megapixel considerations, I fixated on what is probably the most important yet also most neglected camera component—the lens.  Anyone who takes travel shots which, by definition, are landscape-centric, will tell you that wide angle performance is much more important than telephoto considerations.  My personal magic number for this is 24, which means I want a lens that gives me the 35 mm equivalent of at least a 24 mm lens.  If I can get below that magic number then all the better.  If I can’t, I want to get as close to that number as possible.  That means 28 mm or narrower just doesn’t do it for me.

Well, that magic number of mine immediately disqualified all the usual suspects. Canon, Nikon, and Sony started out at 28 mm to 38 mm on the wide side.  That left me looking at Panasonic, a brand I had never even considered before.  The Panasonic models closest to my magic number were the Lumix DMC-ZS1 and DMC-ZS3.  Both came equipped with the same Leica-manufactured 12X  4.1 mm to 49.2 mm zoom lens,.  For the size sensor in the ZS1 and ZS3, that worked out to the 35 mm equivalent of a 25 mm on the wide angle side zooming out to an incredible 300 mm on the telephoto side.  It was also the fastest lens of the bunch, f3.3 to f4.9 depending on the level of zoom.  Between the two, the ZS3 had the larger, higher-resolution LCD screen.  A large, bright LCD is essential in direct sunlight, so I sprang for the higher cost and happily left the store with my ZS3 even though it effectively had “only” 10.1 megapixels.  I was later vindicated in that decision when DPReview rated image quality for the ZS1/ZS3 line, both for daylight and low-light situations, above offerings from Canon, Olympus, and Samsung, and on par with the Sony H20.  If you glance at the specifications for the cameras tested, you will notice that the ZS1/ZS3 also happened to have the lowest megapixel ratings of the entire bunch.

That Spring, during a 54-day cruise, I went head-to-head against fellow passengers with DSLRs and equipment costing ten times or more what I spent on my diminutive Panasonic.  During a shipboard photo competition in which there were three categories, that little ZS3 produced 8 x 10 photographs that took first place in landscapes and third place in people.  Not bad.

Just a few months later Panasonic upgraded the ZS line with the ZS5, ZS6 (only available at Costco), and ZS7.  The sensor was now packed with 12.1 megapixels.  I wouldn’t have bit on this new line for the increased megapixel rating, but I did covet the manual modes this new line offered.  I was concerned that the smaller, more densely packed pixels would degrade low-light performance, but Panasonic managed to somewhat mitigate that problem by upgrading their Venus processing engine.  So, after due consideration I went ahead and purchased the ZS6, but only because of the increased control over aperture, shutter speed, and the ability to go into full manual mode when needed.

Sure enough, ISO performance slipped a little. Whereas I will push the ZS3 to ISO 400 with confidence, I find myself limiting the ZS6 to no more than ISO 200 unless I really have no choice.  And if I know I’m going into a low-light situation, as I did when I took these shots of Carnival in Rio de Janeiro, I revert to using the tried-and-true ZS3 if I don’t have access to my much more capable EOS 5D.

Now Panasonic has yet another new ZS line, the ZS8 and ZS10 with a new Leica 16X zoom that starts out at the 35 mm equivalent of 24 mm (they finally hit my magic number) and zooming out to an incredible 384 mm.  This new line also comes with a mind-boggling 14.1 megapixels crammed once again onto a sensor measuring only 6.13 mm across, 4.6 mm high, and 7.8 mm when measured diagonally.  This is known as a 1/2.33” sensor, and it’s smaller than the nail on your pinky finger. The internal processing engine remained pretty much the same with enhancements geared toward video capability, so I just knew there were going to be problems.  No way was I going to fall for this one.  And, boy, was I right.  The first review is in and CNET’s findings are not encouraging.  Even in good, bright light the pictures are coming out “soft” and there is observable “noise” at even ISO 100.  Image quality has dropped to the point that CNET advises against making prints any larger that 8×10, whereas I’ve had exceptional results with prints as large as 16×20 with my first-generation ZS3.

What a shame. Yet another senseless, tragic casualty of war . . . the Great Megapixel War.

2 Comments

Filed under Photography

Available Light Photography Without a Tripod


Remember M. Schwartz of Photo Clinic Fame? Well, M. has another request.  This time M. wants to know how to take pictures requiring long exposure times without a tripod.

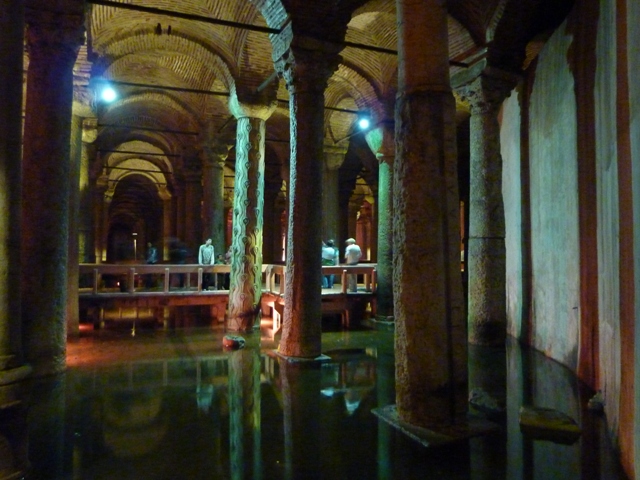
We’ve all been there, so you know what I’m talking about. You’re inside a dismally lighted medieval castle; a deep, underground cistern dating back to the Roman Empire; a cavernous cathedral illuminated only by the light streaming through stained glass; or a mosque with an intricate mosaic tile ceiling high above.  Flash photography is not allowed and wouldn’t do you any good even if it were.  You have no tripod available.  Your only available camera is a travel zoom containing a small 1/2.33” sensor with a top useable ISO of maybe 400 . . . on a good day and then only if you’re really, really pushing it.  What the heck do you do?

Well, believe it or not, that small sensor size can actually work to your advantage in creating some really stunning interior shots using only available light and while setting the ISO to 200, 100, or even lower for optimum noise reduction.  That’s because that small sensor invariably comes packaged inside an equally small camera, and that small camera usually comes with two very flat surfaces—the bottom of the camera and, if properly designed with rear controls recessed, the back side where the LCD screen resides.  And these little travel zooms also frequently come equipped with one very important feature that negates the need for a shutter release cable or a tripod—a two- to ten-second self-timer.

But first, a rule of thumb. I know your camera says that either the lens or the sensor is “stabilized,” and that the manufacturer claims a benefit of anywhere from 1 to 3 stops.  Forget all that.  Here’s the rule:  If you’re at wide angle (less than a 50mm focal length in 35mm equivalent), don’t shoot hand held below 1/30th of a second.  If you’re at normal to mildly telephoto focal lengths (say 50 to 135mm), you should increase your shutter speed to at least 1/60th of a second.  At longer focal lengths, start looking for something to stabilize the camera if the shutter speeds falls below the reciprocal of the focal length.  Now, I know, that last one was confusing as heck.  In simpler terms, if you’ve zoomed in on a subject at the 35mm equivalent of a 200mm lens, your camera had better be telling you that the selected shutter speed is at least 1/200th of a second or faster.  At 300mm it should be at least 1/300th of a second, and so forth.  If you’re really confident with the manufacturer’s claim of, say, a 2-stop advantage with your particular camera then you can halve those times, but don’t get too pushy on it or you’ll get blurred results.

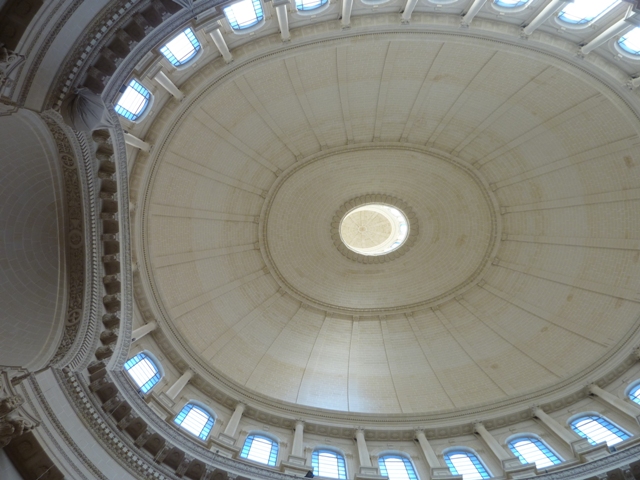
Tip One, The Ceiling: Wow.  Look overhead.  Isn’t that tiled mosque ceiling stupendous?  Now, how do I get the shot?  Set the camera’s self-timer to two seconds, the white balance to automatic, and the ISO to 100 or even lower.  Position the camera, properly zoomed, on the floor directly beneath the subject of your adoration.  Crouching low and offsetting to the side, out of line-of-sight of the lens, depress the shutter release button half way for a brief moment to allow the camera to focus and determine exposures settings, then depress fully.  Back away as the camera begins its countdown.  Wait a couple of seconds after you hear the shutter click, then retrieve the camera and check the shot.  It should be rock solid clear with no noticeable digital noise.  But just to make sure, you can zoom in on the details and see if they maintain their sharp crispness.

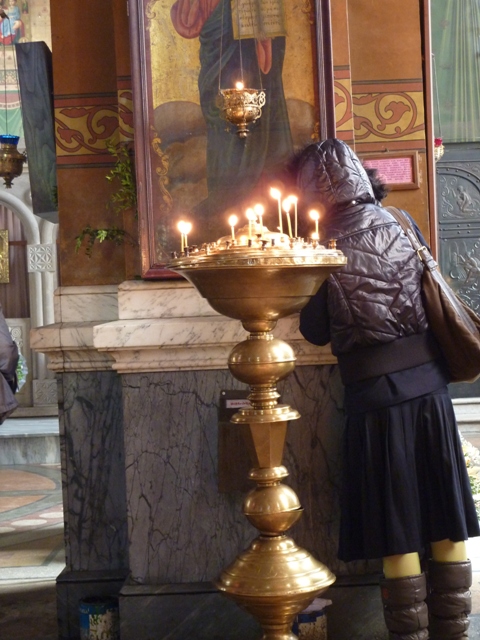
Tip Two, That Piece of Art on the Wall: Whether it’s a religious statue, mosaic, or perhaps even an action shot of a woman kissing a religious artifact, chances are that lighting conditions will not be conducive to a hand held shot.  If there’s something nearby upon which you can balance your camera, then great.  Set the camera as in Tip One, including the self-timer.  Compose the shot from where you’ll be placing the camera.  Press the shutter release as described before and get out of the way for a few seconds while the camera does its thing.  Voilà.  Another perfect shot.  This is getting easy, isn’t it?  You’re really starting to look like a pro.

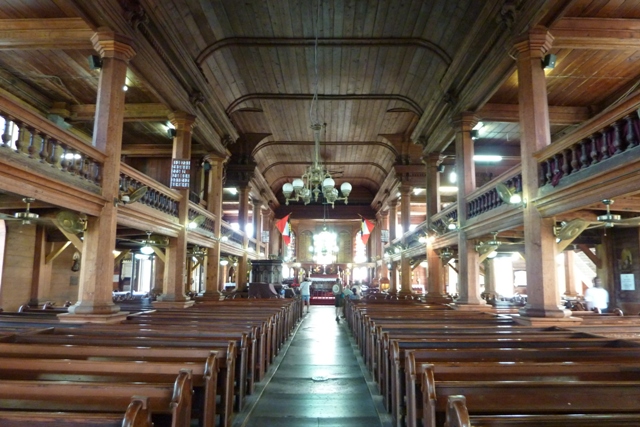
Tip Three, That Cavernous Cathedral: I don’t care what your pastor says, this is the real reason God made pews.  Trust me.  They’re great for this next tip.  Perch the camera onto the back of the pew in front of you.  Compose and snap the shot, bracing the camera perfectly still.  If the back pew rail angles the lens too high or too low, try compensating by placing something (such as the camera’s own carry strap for instance) in a position below the camera that helps achieve the proper lens angle.

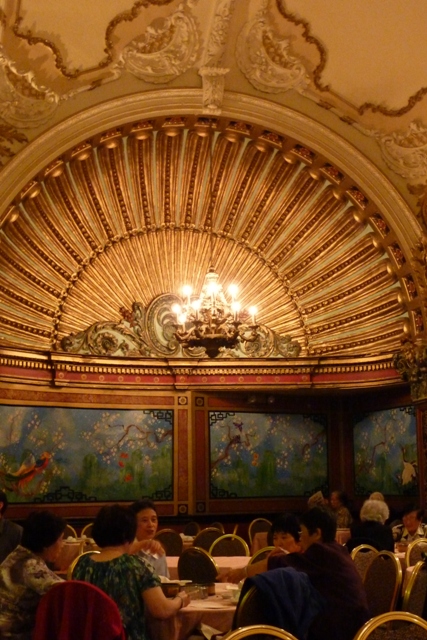
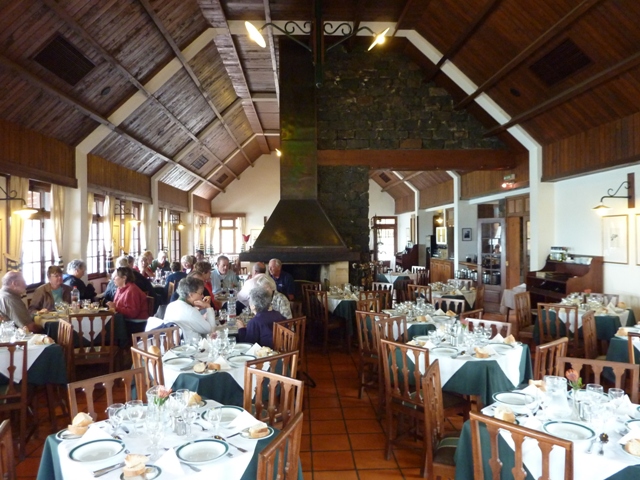
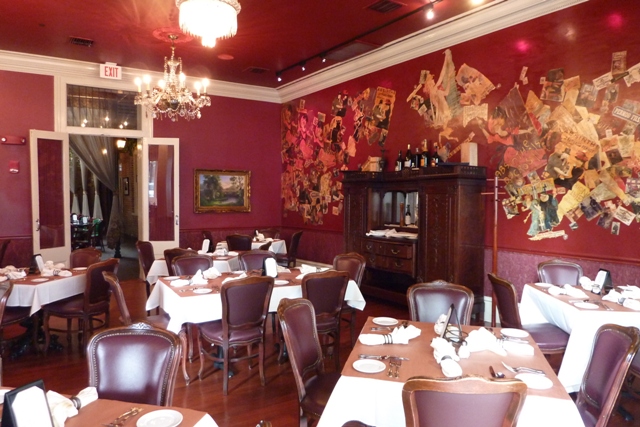
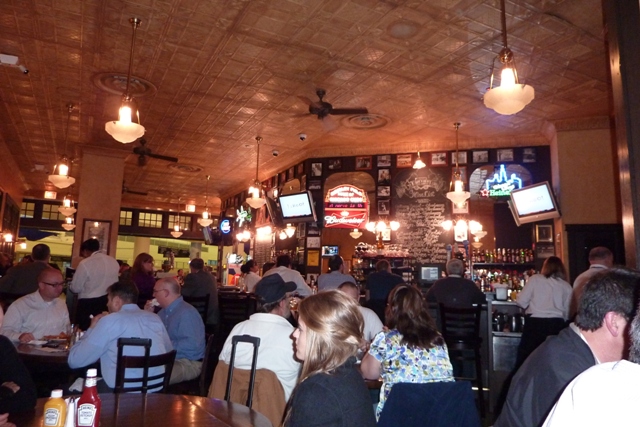
Tip Four, The Restaurant: Restaurants are big.  Even if you have a flash, chances are anything beyond ten feet is going to render as a dark, ghostly shadow in your photograph.  Worse, the table top is too low and the seat backs block the view from the lens.  Okay, now what are you going to do?  HMMmmm.  Let’s look around.  What’s that I see?  Oh, yeah, the waiter brought me a glass of water.  How convenient.  Set the camera up as previously described, including the two-second self-timer delay.  Perch the camera carefully atop the glass, making sure neither end is in danger of tipping into the glass (water and most digital cameras are loathe to mix; bad things usually happen when they do).  Compose the shot.  Use that two-stage shutter release trick from before and let go of the camera once the self-timer has activated.  Check your perfect, non-flash, available-light restaurant shot and try it again if something is amiss.

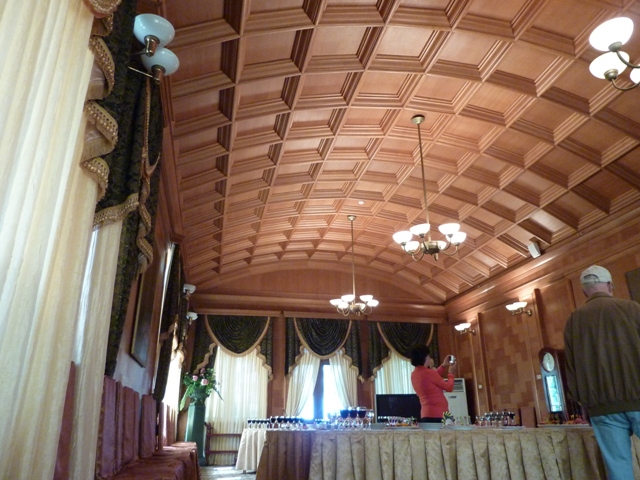
Tip Five, When All Else Fails: No church pews.  Nothing on which to balance even a small camera.  In fact, there are so many people meandering about that they’d block your shot anyway.  My goodness.  This is a toughie.  Actually, it isn’t, but don’t let the institution curator catch you doing this or they’ll go ballistic.  Stand with your back to a wall or column and hold the camera high above your head.  Now, push back until the camera’s backside is firmly braced against the wall or column.  Do that two-stage shutter release and hold the button down while you count off three or four seconds.  If you had the camera firmly braced and didn’t move any, your shot will be just as blur free as with the previous tips.

But by blur free, I’m not referring to moving objects. Just because your camera is rock-stable doesn’t mean that your subject is.  People moving about the scene can and will blur, but that’s not necessarily a bad thing.  It can add an artistic feel and a really great contrast to the intricate details lying beyond them.  You’ll need to decide for yourself on a shot-by-shot basis when this occurs.  Just don’t automatically delete a photograph because something moved and blurred in the foreground.  You might actually have a winner despite that perceived “flaw.”

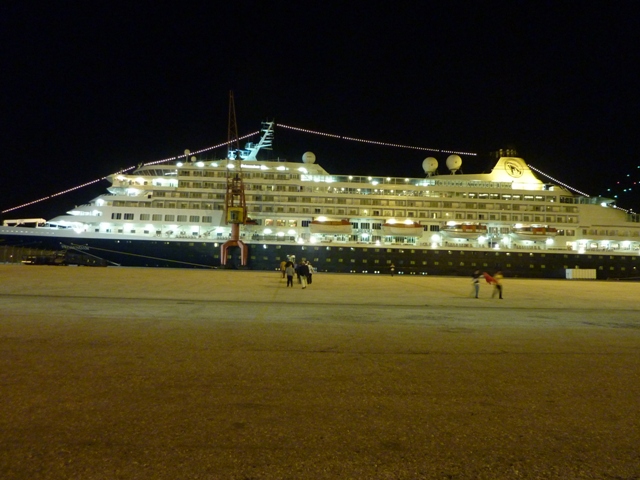
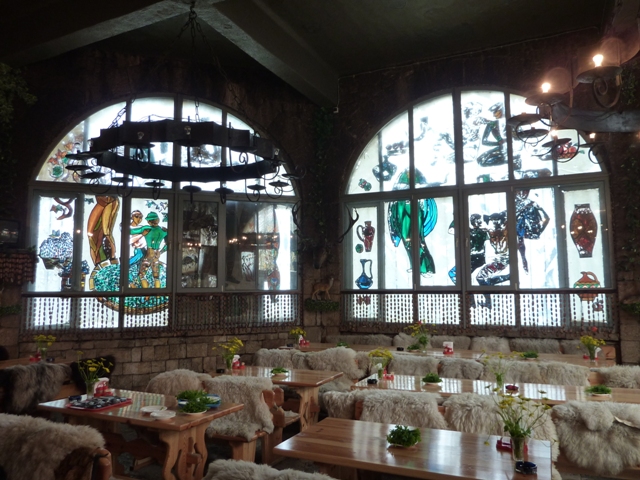
Below are photographs that were all taken using the aforementioned techniques. None have been post processed in any way, not even for straightening which is a common fix often needed whenever you have to resort to this type of shooting.  They are all displayed here as they came straight out of the camera just to show you what to expect.

7 Comments

Filed under Photography